
Watch You Suck at Cooking, a Hilarious Source for Tasty Recipes and Food Hacks of Questionable Veracity

Watch You Suck at Cooking, a Hilarious Source for Tasty Recipes and Food Hacks of Questionable Veracity

Is it just us, or did half of Gen Z teach themselves how to cook on TikTok during the height of the pandemic?

The recipes that go viral have more in common with gonzo science experiments than Julia Child’s Coq au Vin.

Hacks are golden in this forum – whether or not they actually work – and running time is of the essence.

There’s an unmistakable visual vocabulary, too – from the god shots of manicured hands dumping pre-measured ingredients into mixing bowls to the reveal of the completed dish just seconds later.

One has to be conversant in these tropes to subvert them as gleefully as the anonymous creator of the seven year old online series You Suck at Cooking.

Unlike such TikTok heavy hitters as cloud bread or whipped coffee, most of You Suck at Cooking‘s dishes are things you might consider preparing on a regular basis, however trendy they may be at the moment.

The responsible party’s cooking and editing skills are solid, but his writing is the real star here. We also appreciate the massive amount of planning and care that goes into every five minute episode.

He’s an unabashed coiner of vocabulary and elaborate ways to refer to straightforward appliances and ingredients. His delivery is mild mannered, but he doesn’t mince words when it comes to culinary biases – e.g., condimenting only one side of the bun is a certifiable burger crime and if you don’t like pickles, one thing you can do is seek help.

Simple dishes such as overnight oats require so little instruction, he’s freed up to skewer the questionable claims of food-focused wellness “experts” by leaning all the way in.

The spirit of the project carries over into his written step-by-steps on the rare occasions when mere video demonstration will not suffice.

(His cookbook, You Suck at Cooking: The Absurdly Practical Guide to Sucking Slightly Less at Making Food, was published anonymously in 2019.)

To get the most from your experience, we recommend you first watch his deep fried Korean-style corndog How To, then follow the written recipe:

1. Go to the store 

2. Buy corn dogs 

3. Enjoy 

If you insist on making corn dogs yourself, first read these frying safety tips

The reason home fryers are safer than doing it on the stovetop is because they limit the heat of your oil so it won’t catch fire. It’s easy to let it get too hot which is very bad news. 

Batter

    • 1 ¼ cups flour 
    • 2 tablespoon sugar 
    • ½ teaspoon salt 
    • 1.3 teaspoon yeast 
    • 1 egg 
    • 100 ml warm water

Wangjangle until your wrist is furious (I did it for a few minutes tops)

Let it sit for half an hour 

Dry off anything you’re rolling in it 

Peg your dogs 

Roll ‘em 

Roll them in artisan Italian bread crumbs (okay seriously this is a flavor game changer and I can’t recommend them enough. Kortalian food just has such depth. 

Fry for 3 minutes 

Cool for a few minutes 

I think anything else is pretty straight forward

When it comes to cooking hacks, our hero is a champion fabulist.

It’s safe to assume that the first tip is legit, after which… well, let’s just say that some of his orange peeling methods remind us in the best possible way of our old pal Shel Silverstein’s Uncle Shelby’s ABZ Book.

Enjoy a playlist of all 150 episodes of You Suck at Cooking here.

Related Content 

Michael Pollan Explains How Cooking Can Change Your Life; Recommends Cooking Books, Videos & Recipes

10,000 Vintage Recipe Books Are Now Digitized in The Internet Archive’s Cookbook & Home Economics Collection

The New York Times Makes 17,000 Tasty Recipes Available Online: Japanese, Italian, Thai & Much More

– Ayun Halliday is the Chief Primatologist of the East Village Inky zine and author, most recently, of Creative, Not Famous: The Small Potato Manifesto.  Follow her @AyunHalliday.
Make This No-Bake Fall Dessert If You Suck at Decorating

Make This No-Bake Fall Dessert If You Suck at Decorating

Image for article titled Make This No-Bake Fall Dessert If You Suck at Decorating

Photo: Allie Chanthorn Reinmann

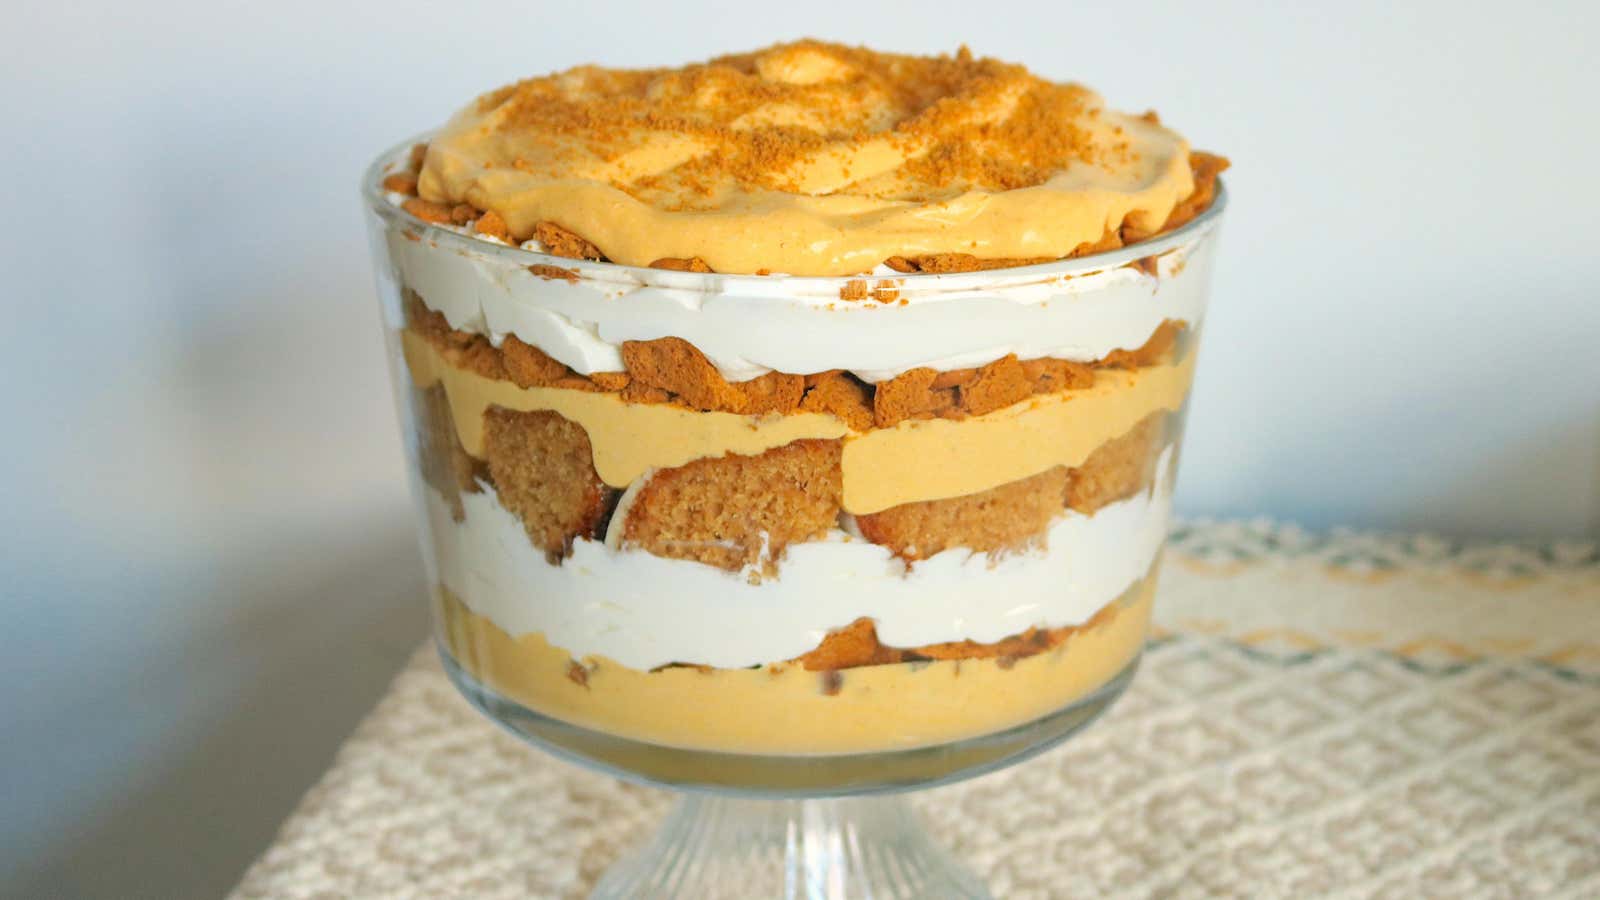
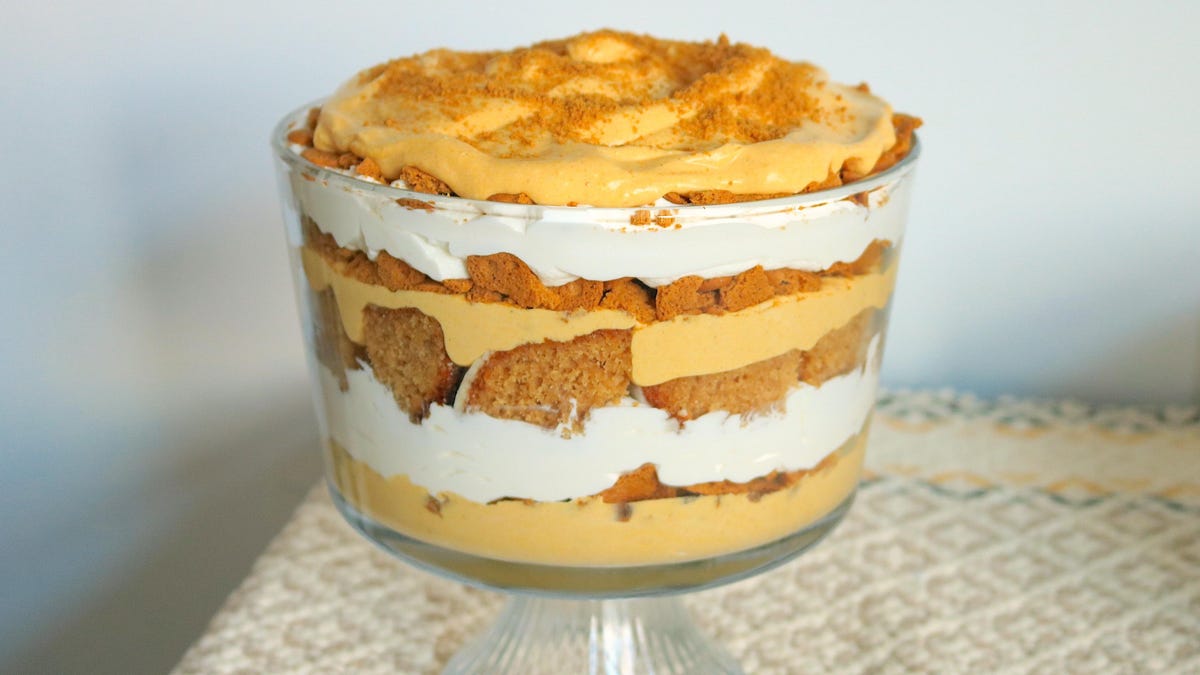
Tricky dessert recipes can spell trouble, and frankly, my oven is busy enough already during the holidays. Instead of making finicky desserts, let’s make one that’s impressive and yet which still allows us to revel in its shapelessness. A dessert that doesn’t need any heat, requires zero decorating skills, and can be made in advance–nay, should be made in advance. You’re cordially invited to produce this pumpkin cheesecake trifle. If crumbling cookies with your fists, and spooning heaps of whipped pumpkin filling sound like your jam, follow me.

If you can make an icebox cake, you can make a trifle. The biggest difference between the two is an icebox cake is built and a trifle is dumped. Besides tasting great, this style of dessert makes a great example for other simple desserts: All you need is whipped cream and a dry component to soak up some moisture, and you have a damn classy treat. Since the trifle takes the icebox idea and piles it all into a container, the only decorating tool you need is a presentable vessel. You can use a giant bowl, a large mason jar, or even make dainty individual servings in champagne glasses. Choosing a clear container will let you show off the layers swirling around inside. These layers are the decoration. No piping bags or frosting necessary; the way you plopped things in the bowl is decoration enough.

To make this gargantuan dessert, I layered a pumpkin cream, whipped cream, cookies, and leftover cake (my apple cider bundt cake is the gift that keeps on giving), but you can use any cake, or lose the cake completely, and just do an extra layer of cookies. For the cookies, I used Anna’s Swedish Thins in the ginger flavor, but you can use any dry, brittle cookie. It’ll get crumbled anyway.

Image for article titled Make This No-Bake Fall Dessert If You Suck at Decorating

Photo: Allie Chanthorn Reinmann

Add a sweetened whipped cream and the pumpkin “cheesecake” layer. This latter, fluffy layer summons all the right flavors without actually requiring you to bake said cheesecake. I like to remove some of the moisture from the pumpkin puree before adding it to the mix. Line a bowl with a few layers of paper towel and put the puree on top. Cover it with more paper towels until it’s soaked with moisture—you can go after it with more paper towels if you want, but usually one round is enough. Discard the paper and the pumpkin will be ready to go. Warm one and a half packages of cream cheese in the microwave until it’s soft and spreadable, and mix in the sugar, salt, spices, lemon juice, and the pumpkin puree. In a separate bowl, whip the cream to stiff peaks and gently fold two or three cups of the whipped cream into the pumpkin mixture to lighten it.

Image for article titled Make This No-Bake Fall Dessert If You Suck at Decorating

Photo: Allie Chanthorn Reinmann

In a bowl or clear container of your choosing, spread a third of the pumpkin mixture on the bottom. Crush some cookies in your hands and sprinkle them on top. Use as many cookies as you need to cover the creamy layer with about a half inch of cookie crumbles, making sure to crumble all the way to the walls of the container so you can see it from the outside. You’re already decorating, well done!

Layer a third of your whipped cream onto the cookie layer, and top that with more cookies. Repeat this, alternating pumpkin cream with cookies (or cake), and whipped cream, in a pattern that pleases you. Periodically take a peek from the outside to see how your decoration is going; this your moment for dessert self-expression, and trifle is your artistic medium. Make as many layers as you have space and materials for, and top it all off with any leftover cookie dust.

Image for article titled Make This No-Bake Fall Dessert If You Suck at Decorating

Photo: Allie Chanthorn Reinmann

This recipe will make a rather large dessert, about 12-20 servings, but it will work equally as well if cut in half. To ensure the cookie layers soak up enough moisture from the cream layers, you need to make it at least five hours before serving, but I suggest doing so the night before. Store in the fridge when not being eaten. It will keep, covered, in the cold for up to four days.

Pumpkin Cheesecake Trifle

Ingredients:

Pumpkin Cream Cheese Base

  • 12 ounces cream cheese, microwaved until soft and melty
  • ¼ teaspoon salt
  • ¾ cup sugar
  • ½ teaspoon cinnamon
  • ½ teaspoon ground cardamom
  • ¼ teaspoon ground clove
  • 1 can pumpkin (15 ounces), drained of excess water with paper towels
  • 1 tablespoon lemon juice

Whipped Cream

  • 1 quart heavy cream
  • ¼ cup granulated sugar
  • 1 teaspoon vanilla extract
  • Cookies or cake for layering (I used 2.5 boxes of Anna’s Swedish thins, and some cake.)

In a large mixing bowl, whisk the warm cream cheese with the salt and sugar until smooth. Add all of the remaining ingredients in the cream cheese base, and whisk until smooth.

In a separate mixing bowl, whip the heavy cream and sugar on medium high speed for about 10 minutes, or until firm peaks have been reached. Add the vanilla extract and stir in. Gently fold about 3 cups of the whipped cream into the pumpkin mixture. It should appear light and fluffy and you will have nearly equal quantities of both creamy mixtures in their separate bowls.

In your trifle vessel of choice, layer the pumpkin cream, crumbled cookies, and whipped cream. Each cookie layer should be about a half inch thick. It doesn’t matter much what order the creams are added, but the cookies should be between each layer to provide maximum material for soaking up moisture. Finish the trifle with a layer of either cream you have left and store in the fridge to set for 5-24 hours before serving.