Buffalo Chicken Pasta Bake | Everyday Family Cooking
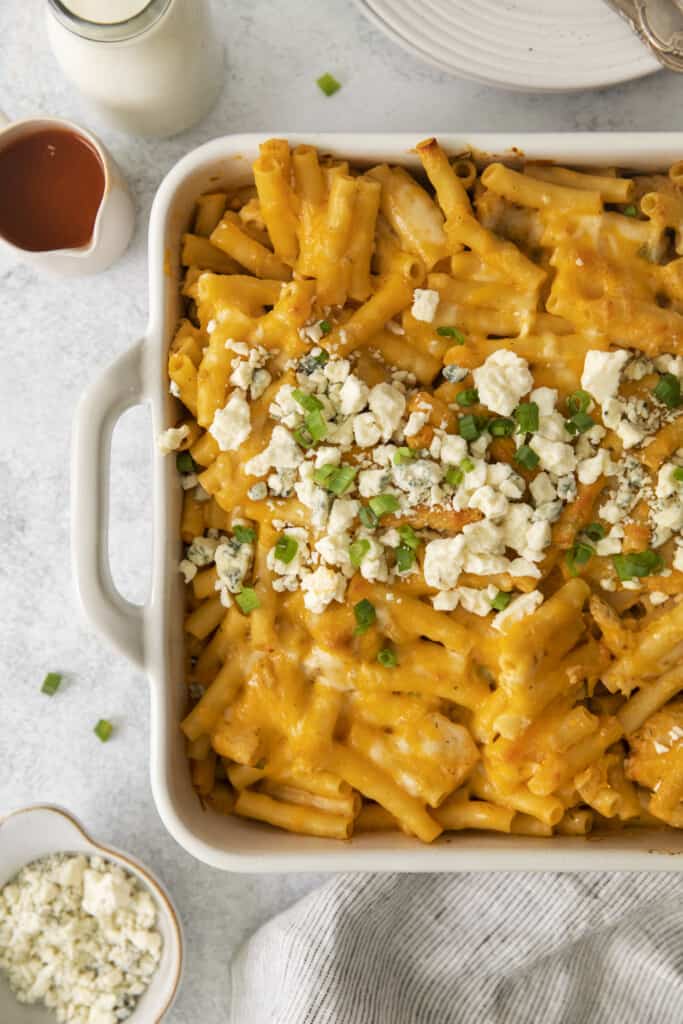
It has heat, meat, and plenty of melty cheese – buffalo chicken pasta bake has everything! It takes just an hour and is perfect for weeknights, gamedays, and every day in between.
This post may contain affiliate links. If you click on a link and make a purchase, I may receive a small commission at no extra cost to you. For more information, please read my disclaimer.
Combining buffalo chicken dip and pasta, you just know it’s going to be good! You get that thick, rich, spicy sauce smothered all over springy, chewy noodles.
This buffalo chicken pasta recipe can be easily doubled, but it’s best to use multiple dishes to make sure all of the cheese melts and the pasta cooks evenly.
It keeps for up to 3 days, so there’s no harm in making plenty to enjoy leftovers throughout the week!
I make this recipe with my homemade buffalo sauce. Note that this recipe makes more than enough for this buffalo chicken pasta recipe – luckily there are plenty of ways to use the leftovers!
Dress up a regular chicken sandwich or make everyday mac and cheese extraordinary.
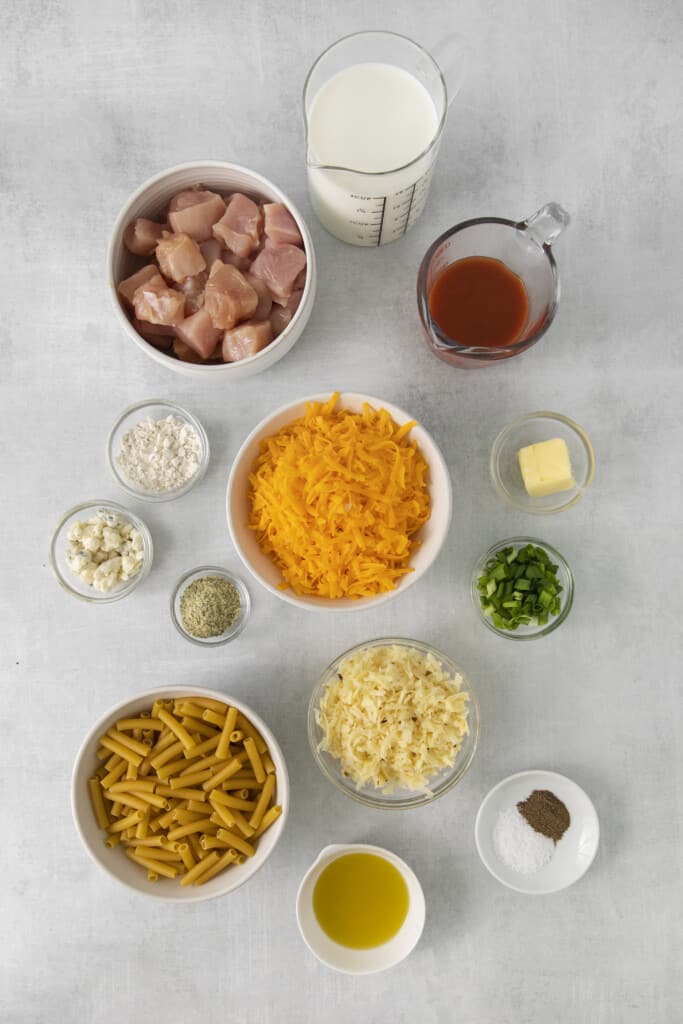
How to Make Buffalo Chicken Pasta Bake
A full printable version of this recipe with ingredient measurements is available at the bottom of this post.
STEP ONE: Preheat the oven to 400F and lightly grease your 9×13” baking dish.
STEP TWO: Prepare the ziti in a pot of boiling, salted water until al dente. Save ½ cup of the cooking water, then drain the pasta.
STEP THREE: Warm the olive oil in a pot over medium-high heat. Season the chicken with salt, pepper, and ranch seasoning. Add it to the pot and sear for a couple of minutes per side until browned – it’s okay if it isn’t cooked through. Remove from the heat and set aside.
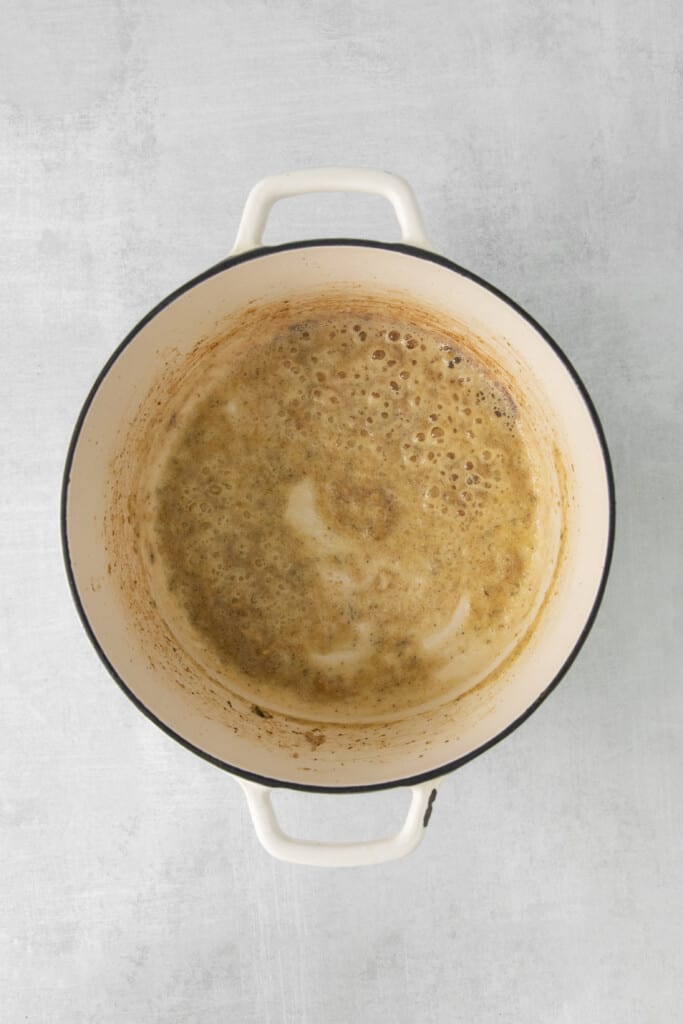
STEP FOUR: Add butter to the pan. Once melted, add the flour and whisk. A roux will form after a few minutes of continuous whisking.
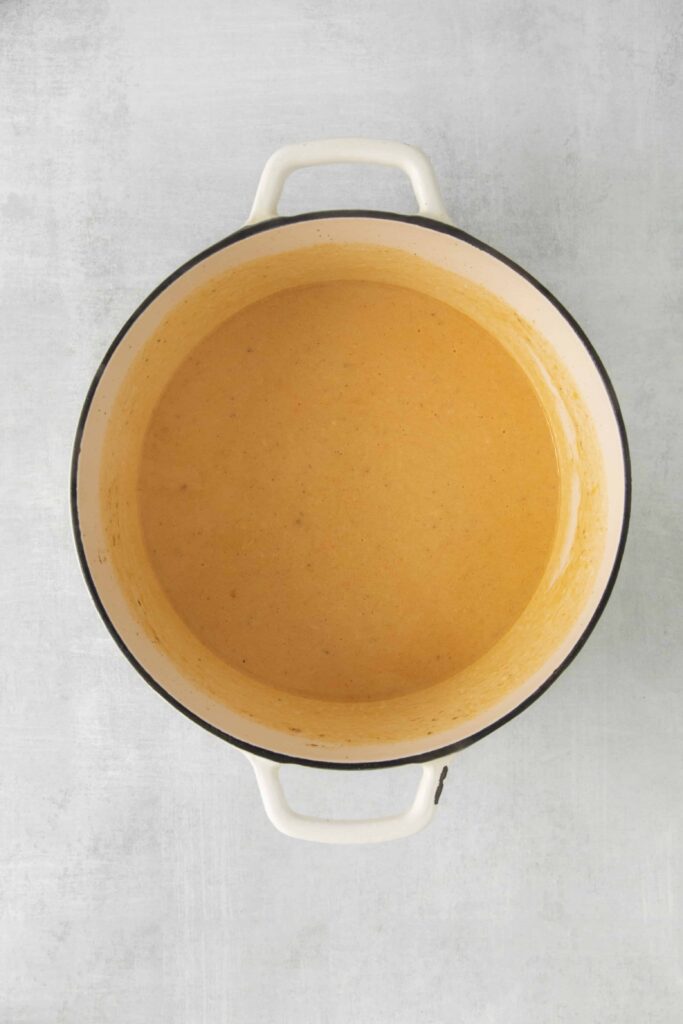
STEP FIVE: Add the milk and buffalo sauce. Continue whisking until all lumps are worked through. Bring to a simmer and cook until thick enough to coat your spoon.
STEP SIX: Bring the heat down to low and add 1 ½ cups of cheddar cheese and 1⁄2 cup of Pepper Jack. Whisk until the cheese melts.
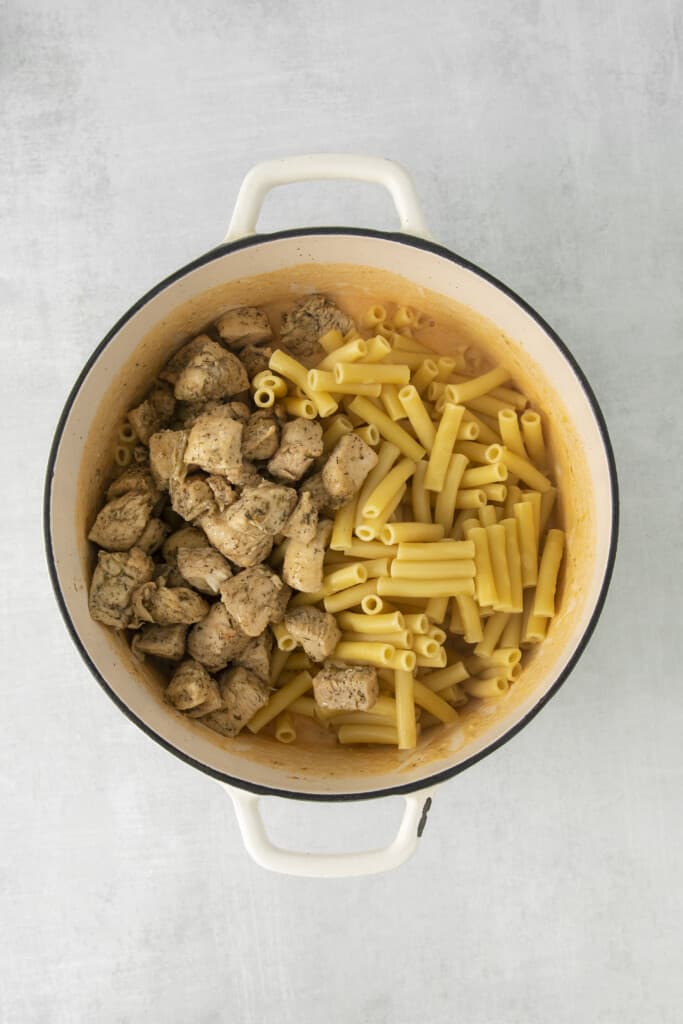
STEP SEVEN: Take the pot off the heat and add the pasta. Follow with the chicken, onions, and blue cheese. Stir until combined. If the sauce is too thin to coat, pour some of the retained cooking water and stir until thickened.
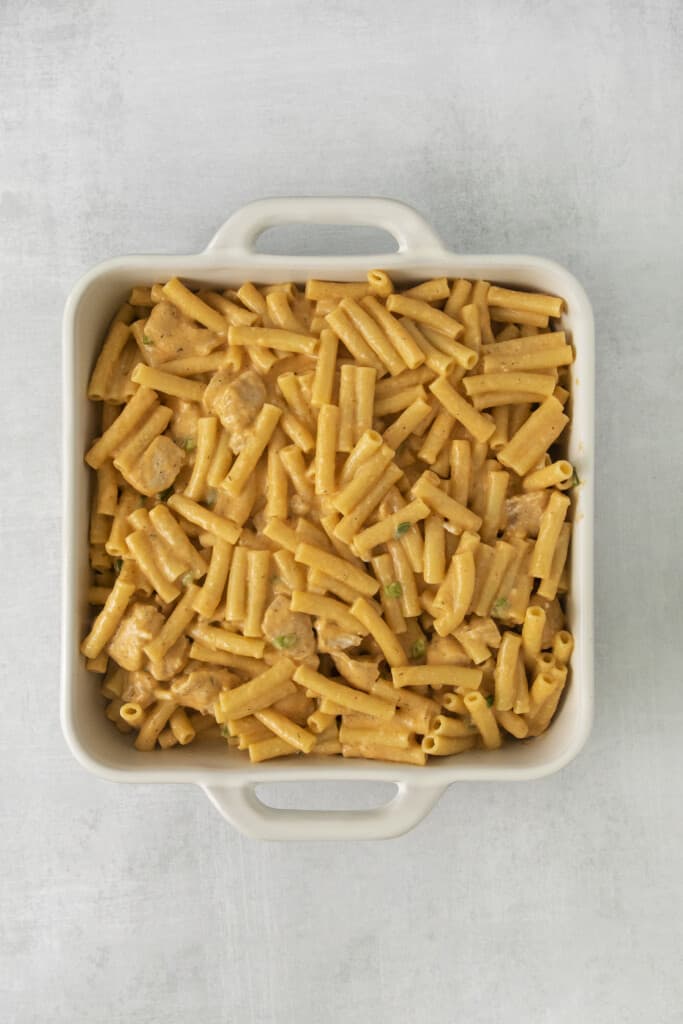
STEP EIGHT: Spoon the coated pasta into the prepared dish, top it with the remaining cheeses, and bake for 15 to 18 minutes until the cheese is melted and bubbling. Give the buffalo chicken pasta bake a few minutes to cool and garnish with extra cheese and onions if desired.
Adjust the Spice of Your Buffalo Chicken Casserole
This buffalo pasta chicken bake has a medium spice level as-is – not at all overwhelming.
However, if you find you’d like less heat, simply reduce the amount of buffalo sauce to just ¼ cup. It can also be left out of the buffalo chicken bake altogether, although it isn’t really buffalo chicken pasta at that point!
Spice lovers can amp things up by adding just a pinch of cayenne or red pepper flakes to the cheese sauce as it melts.
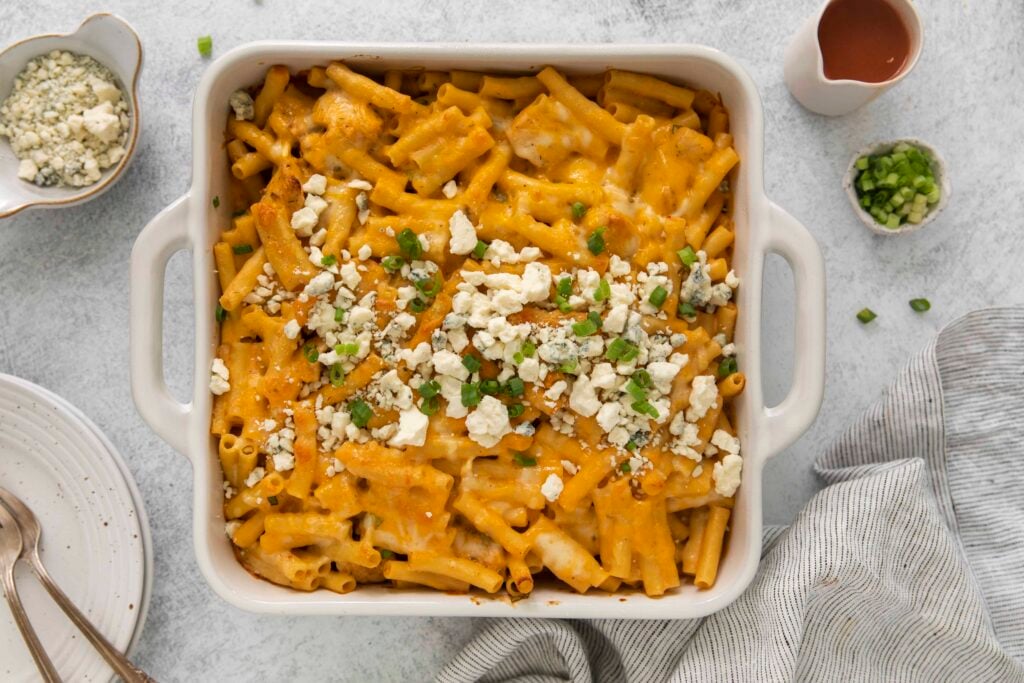
Buffalo Pasta Chicken Bake Recipe Variations
- We use blue cheese. It gives that chicken wing flavor but is certainly an acquired taste. A tangy feta or some cream cheese does a great job of adding extra dimension too!
- Any short pasta is suitable for our buffalo chicken pasta recipe. Macaroni is another popular choice, for example, as well as rotini.
- While this buffalo chicken bake is made with breast meat, you could use thighs or tenders. You could even use shredded rotisserie chicken to really save some time!
- Ranch is a staple of any buffalo chicken dip pasta (or just the dip on its own), but the ranch seasoning can be left out if desired.
- The onions aren’t necessary, but the sharp earthiness they bring helps to keep each bite interesting! If you’re looking for substitutes, I recommend fresh parsley.
Can This Buffalo Chicken Pasta Bake Recipe Be Made Ahead of Time?
Buffalo chicken casserole keeps well in the refrigerator for up to three days.
It’s important to keep it chilled and properly covered so the cheese does not harden or turn in the meantime.
You could also put the whole thing together and then bake it for just an hour or so before serving. Give it 30 minutes or so for it to come to temperature before putting it in the oven.
Then, you can bake it as you normally would.
In this case, make sure the chicken is cooked all the way through before adding it to pasta.
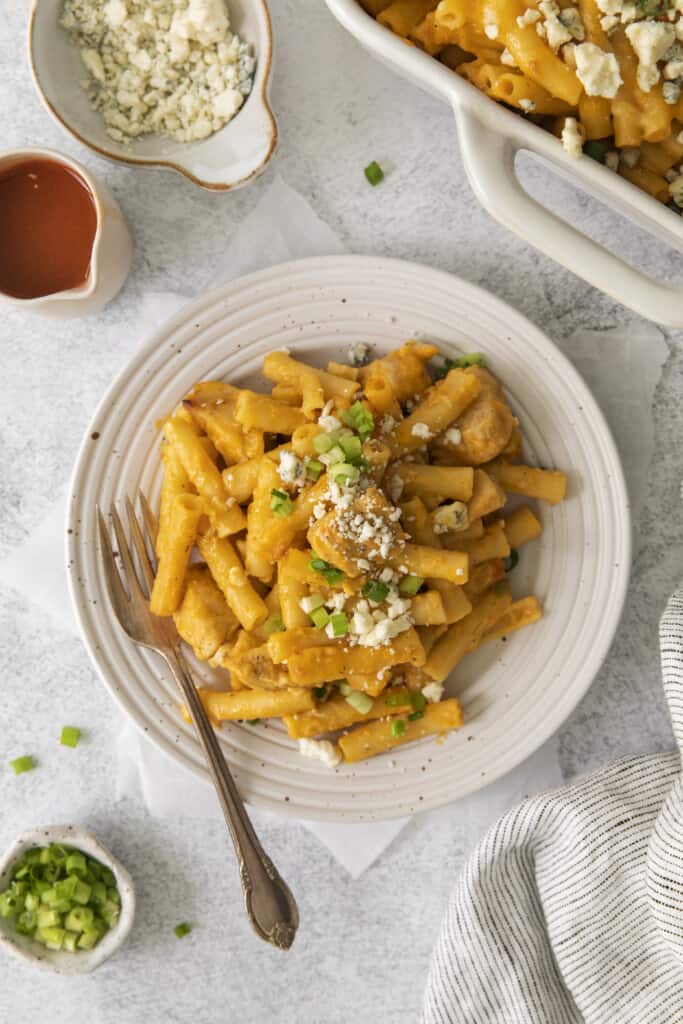
Why Is My Buffalo Chicken Pasta Bake So Dry?
This usually happens because you have more pasta than you have sauce.
Another common culprit is undercooked pasta – it can be hard to get it al dente without following the instructions on the box, so be sure to follow them just right.
Finally, be sure to cook the sauce until it’s properly thick, ooey, creamy, and cheesy.
Other Casserole Recipes You’ll Love:
More Buffalo Chicken Recipes
Prep Time
15 minutes
Cook Time
40 minutes
Total Time
55 minutes
Ingredients
- 1 box (16 ounces) uncooked ziti
- 2 tablespoons olive oil
- 1 pound boneless skinless chicken breast, cut into ½” cubes
- 2 teaspoons ranch seasoning
- 1 teaspoon kosher salt
- ½ teaspoon black pepper
- 2 tablespoons butter
- 2 tablespoons all purpose flour
- 3 cups milk
- ½ cup homemade buffalo sauce (see notes)
- 2 ½ cups freshly shredded cheddar cheese
- 1 ½ cups freshly shredded pepper jack
- ¼ cup sliced green onion, plus more for garnish
- ¼ cup blue cheese crumbles, plus more for garnish
Instructions
- Preheat the oven to 400F and grease a 9×13” pan with nonstick cooking spray.
- Bring a large pot of salted water to a boil. Cook the ziti to al dente according to the package directions (about 8 minutes). Reserve ½ cup of starchy cooking water and then drain the pasta and set it aside.
- In a large pot or dutch oven, add the olive oil and warm it over medium-high heat.
- Sprinkle the cubed chicken with kosher salt, ranch seasoning, and black pepper. Toss to evenly coat the chicken with the seasoning.
- Add the chicken to the pan and sear for 1-2 minutes per side, or just until the chicken is lightly browned– it won’t be fully cooked in the middle. That’s okay! Remove the chicken to a plate and set it aside.
- Add the butter to the pan (still over medium-high heat) and allow it to melt. Next, add the flour and whisk until a roux forms. Cook the roux, whisking constantly, for 1 minute.
- Next, add the milk and buffalo sauce. Whisk until no lumps of roux remain. Bring the sauce to a simmer and cook until it has thickened just slightly and barely coats the back of a spoon.
- Reduce the heat to low and add 1 ½ cups of cheddar cheese and ½ cup of pepper jack cheese. Stir until the cheese has melted.
- Remove the pan from the heat and add the cooked pasta, cooked chicken, green onion, and blue cheese crumbles. Stir to combine. If the sauce becomes too thin, add a splash of the reserved pasta water and continue to stir– we want a really gooey, creamy sauce.
- Transfer the pasta mixture to the greased pan and top with the remaining cheddar and pepper jack cheese.
- Bake for 15-18 minutes or until the cheese is melty and bubbling. Garnish with additional crumbled blue cheese and sliced green onion, and enjoy.
Nutrition Information:
Yield:
6
Serving Size:
1
Amount Per Serving:
Calories: 629Total Fat: 40gSaturated Fat: 21gTrans Fat: 1gUnsaturated Fat: 16gCholesterol: 162mgSodium: 1505mgCarbohydrates: 17gFiber: 1gSugar: 7gProtein: 49g
This nutrition information is based on the exact products I used in this recipe. Brands and sizes of products could alter exact nutrition and should always be calculated independently.

