
KARE 11 Saturday cooking show tips and recipes

KARE 11 Saturday cooking show tips and recipes

GOLDEN VALLEY, Minn. — Every year, the hosts of the KARE 11 Saturday show throw a big cooking party before Thanksgiving and share their recipes.

This year, the show turns 25.

Bel’s recipe: Sue Erickson’s Prosciutto Stuffing

1 Leek, halved, rinsed, and sliced

1 (6oz) package of sage and herb stuffing mix cubes

1 (14 ½ oz.) chicken broth

3 oz. pine nuts, toasted 

1 pkg. proscuitto, sliced thin crosswise

1 cup shredded parmesan cheese 

Preheat oven to 350 degrees. In skillet, melt butter over medium high heat.  Saute leeks 4 to 5 minutes, set aside.  In large mixing bowl, combine stuffing cubes, broth, pine nuts, cranberries, proscuitto, parmesan, and leeks.  Spoon mixture into a well greased large muffin pan or 2 quart baking dish.  Cover and bake 25 to 30 minutes.  Remove cover and fluff to fork.  Bake an additional 5 to 10 minutes, uncovered.  Serves 6.

Chris’ recipe: Gordon Ramsey mashed potatoes (3 variations)

1kg Yukon Gold or Désirée potatoes, peeled and cut into 1cm cubes

Sea salt and freshly ground black pepper

Variation 1: Mustard Mash

Variation 2: Truffle Mash

30g porcini and truffle paste

Variation 3: Garlic and Herb Mash

2 garlic cloves, peeled and crushed

2 tbsp woody herbs, e.g. rosemary, thyme, sage, leaves finely chopped

2 tbsp soft herbs, e.g. parsley, chives, dill, finely chopped

Bring a pan of salted water to the boil. Add the potatoes and cook for 15 minutes with the lid on.

Meanwhile, if you’re making the regular, mustard or truffle mash, put the butter, milk and cream into a small saucepan and bring to a gentle simmer. For the mustard mash, add the mustards to the warm cream mixture. For the truffle mash, add the truffle paste and truffle oil to the pan instead.

For the garlic and herb mash, heat the butter in a small saucepan, add the garlic and woody herbs, and cook for 2–3 minutes. Pour in the milk and cream and bring to a gentle simmer. Add the soft herbs and cook for another 2–3 minutes.

When the potatoes are cooked, drain in a colander. Put them through a potato ricer as quickly as possible and return them to the saucepan.

Pour over the flavoured cream and mix well. Season to taste with salt and pepper, stir again and serve.

Tips: The hotter the potato when you put it through the ricer, the fluffier the mash, so move fast once the potatoes have been drained.

Bobby’s recipe: Lunds & Byerly’s Wild Rice Waldorf Salad

1 (8 ounce) can pineapple tidbits in own juice

2 Granny Smith apples, diced (2 cups)

2 Red Delicious apples, diced (2 cups)

Drain pineapple, reserving 1 tablespoon of juice

Combine pineapple, wild rice, apples, celery and walnuts in a large bowl.

Stir reserved pineapple juice and remaining ingredients together until sugar is dissolved.

Fold dressing into salad. Refrigerate, covered, several hours.

KARE staff’s favorite Christmas cookies: Julie’s pick: Puff

Cream shortening and sugar until light.

Sift dry ingredients and add alternately with sour cream.

Drop by teaspoonful onto cookie sheets.

Bake at 325 for 8 minutes. Frost while hot.

Brown 1/4 cup butter. Remove from heat and beat in 3 cups *powdered sugar, 3/4 tsp. vanilla and about 3 Tbsp. hot water.

*Start out with half the powdered sugar. Not too thick.

Cookies are very soft. Can add sprinkles after frosting.

Nikki’s pick: The Spritz

John’s pick: Peanut Butter Blossom

48 HERSHEY’S KISSES Milk Chocolates

3/4 cup REESE’S Creamy Peanut Butter

1/3 cup packed light brown sugar

1 1/2 cups all-purpose flour

1/3 cup granulated sugar, for rolling (additional)

Heat oven to 375°F. Remove wrappers from chocolates.

Beat shortening and peanut butter in a large bowl until well blended. Add 1/3 cup of granulated sugar and brown sugar; beat until fluffy. Add egg, milk and vanilla; beat well. Stir together flour, baking soda and salt; gradually beat into peanut butter mixture.

Shape dough into 1-inch balls. Roll in granulated sugar; place on ungreased cookie sheet.

Bake 8 to 10 minutes or until lightly browned. Immediately press a chocolate into the center of each cookie; cookie will crack around edges. Remove from cookie sheet and onto a wire rack. Cool completely.

Kent’s pick: White chocolate macadamia nut 

¾ cup packed light brown sugar

½ teaspoon vanilla extract

½ teaspoon almond extract

2 ½ cups all-purpose flour

1 cup coarsely chopped macadamia nuts

1 cup coarsely chopped white chocolate

Preheat the oven to 350 degrees F (175 degrees C).

Cream butter, brown sugar, and white sugar together in a large bowl until smooth. Beat in eggs one at a time, then stir in vanilla and almond extracts.

Combine flour, baking soda, and salt in another bowl. Gradually stir the dry ingredients into the butter mixture. Fold in macadamia nuts and white chocolate.

Drop dough by teaspoonfuls onto ungreased cookie sheets.

Bake in the preheated oven until golden brown, about 10 minutes.

Ben’s pick: Peanut Butter Cookies with Blackberry Jam

1/3 cup unsweetened cocoa powder, such as

1/8 teaspoon fine sea salt

1 stick (1/2 cup) unsalted butter, at room

temperature, cut into 1/2-inch pieces

3/4 cup creamy peanut butter, at room

3/4 cup, plus 1/4 cup granulated sugar

1/2 packed cup light brown sugar

1 egg, room temperature, beaten

1 teaspoon pure vanilla extract

Put an oven rack in the center of the oven. 

Preheat the oven to 375 degrees. 

Line two baking sheets with parchment paper. 

In a medium bowl, sieve together the flour, cocoa powder, baking soda, and salt.

In a stand mixer, fitted with the paddle attachment, beat the butter, peanut butter, 3/4 cup of the granulated sugar, and the light brown sugar together, scraping down the sides of the bowl as needed, until smooth, about 30 seconds.

Add the egg and vanilla extract and mix until blended. With the machine running on low speed, gradually add the flour mixture until incorporated.

Put the remaining 1/4 cup granulated sugar in a small bowl. 

Form the dough into 1/4 cup-size balls and roll in the sugar. 

Arrange 5 balls of dough, evenly apart, on each baking sheet. 

Using a round 1/4 teaspoon measure, or the thin end of a wooden spoon, make a hole in the center of each ball of dough, 1/2 to 3/4-inch deep. 

Spoon 1 teaspoon of jam into each hole. 

Bake until the dough has spread and the surface of the cookies are crackled, 11 to 14 minutes. 

Cool for 5 minutes and then transfer to a wire rack to cool completely, about 20 minutes. 

Arrange the cookies on a serving dish and serve.

Main Event: The Bird

We know some of you are cooking a turkey for the first time and might have some questions. Karl Benson, owner of Cooks of Crocus Hill, offers up some help. Here are the links:

Turkey Tips: https://blog.cooksofcrocushill.com/karls-turkey-tips/

Stuffing: https://blog.cooksofcrocushill.com/karls-stuffing-tips/

Brine: https://blog.cooksofcrocushill.com/karls-brining-tips/

Watch the latest coverage from KARE11 Saturday in our YouTube playlist:

https://www.youtube.com/watch?v=videoseries

Veggie side dishes to brighten up your Thanksgiving table from Smitten Kitchen : NPR

Veggie side dishes to brighten up your Thanksgiving table from Smitten Kitchen : NPR

Deb Perelman in her small “smitten” kitchen in New York City’s East Village. “I make it work!” she says. “I like that there’s a lot of light coming in.”

Melissa Block/NPR


hide caption

toggle caption

Melissa Block/NPR


Deb Perelman in her small “smitten” kitchen in New York City’s East Village. “I make it work!” she says. “I like that there’s a lot of light coming in.”

Melissa Block/NPR

NEW YORK, N.Y. — When Deb Perelman started her blog “Smitten,” back in 2003, it was really just a lark: a platform where she could mouth off and vent her twentysomething angst.

“I was living in New York, and I was newly single and going on a lot of bad dates,” she recalls. “And I just liked to tell stories.”

But a month in, she started dating one of her blog readers, Alex Perelman. They got married two years later.

“So I couldn’t write about dating anymore,” she says with a chuckle. “That would have been very awkward for all of us involved.”

From that random beginning, Deb Perelman’s food fame was born.

In 2006, as she experimented more and more in the kitchen, the “Smitten” blog evolved into “Smitten Kitchen,” a blog (which evolved into a website) all about food. To Perelman’s shock, it took off.

“It’s just so crazy,” she says. “I’m really lucky.”

That success led to two best-selling cookbooks (The Smitten Kitchen Cookbook and Smitten Kitchen Every Day), and Perelman has just published her third: Smitten Kitchen Keepers. As she writes in the introduction, these are 100 time-tested, obsessively-tweaked, fuss-free “recipes I hope you’ll keep around for good.”

“Smitten Kitchen Keepers” is Deb Perelman’s third cookbook: 100 recipes that, she writes, “I hope you’ll keep around for good.”

Deb Perelman


hide caption

toggle caption

Deb Perelman

With Thanksgiving just ahead, NPR asked Perelman to suggest ideas for veggie-centric side dishes that can feed a crowd and that are budget-conscious, since food prices are high. (You’ll find recipes for the two dishes she came up with at the bottom of this page.)

We meet on a brisk, sunny morning at the Union Square greenmarket in Manhattan. Perelman is on the hunt for inspiration in the farm stands.

“Did I make a grocery list?” she asks, rhetorically. “No. I’m going on vibes.”

Those vibes prompt her to zero in on baskets of cranberry beans with beautiful, speckled pods — magenta and a pale, creamy green.

She adds a bag of arugula (“should be really nice and spicy”) and some heavy, squat kabocha squash (“it’s a dark orange and it really roasts up nicely.”)

And then, more inspiration! She spies a mound of purple cauliflower and picks out a petite one.

“This one is so cute!” she exclaims. “Small and, like, low-commitment.”

Deb Perelman shops for seasonal veggies at the Union Square greenmarket in Manhattan.

Melissa Block/NPR


hide caption

toggle caption

Melissa Block/NPR

Back at the East Village apartment that Perelman shares with her husband and their two children, 13-year-old Jacob and 7-year-old Anna, she gets to work in their small, well-organized kitchen. There’s minimal counter space; no fancy appliances.

Despite her best-selling cookbooks and her wildly popular website, with its scads of fanatic Deb Perelman disciples, the kitchen is not much of an upgrade from the tiny, humble kitchen she had when she started blogging about food in 2006.

“It’s real life here!” she says, as she labors to extract a sheet pan from a low shelf. “Everything’s a little crowded in the Smitten Kitchen. Gotta move one thing to move another.”

Before turning on the stove, she opens the oven door – a lesson learned from hard experience.

“I always check for toys in the oven, because it’s happened,” she says. “It’s definitely happened before with kids, where they’ve put a rubber ball in, or whatever. Like, literally the worst thing you could possibly smell.”

Today: No toys. All clear.

Vegetables ready for roasting: chopped cauliflower and wedges of kabocha squash. At Thanksgiving, Perelman says, “a recognizable vegetable is like an oasis on a plate.”

Melissa Block/NPR


hide caption

toggle caption

Melissa Block/NPR

One of the dishes Perelman has decided to make is braised winter squash wedges, a recipe from her new cookbook. She calls it a “fork and knife” vegetable dish, perfect for the Thanksgiving table.

“When you’re doing Thanksgiving,” she says, “so many things are like stuffings and gratins and shredded with cream and cheese. Sometimes a recognizable vegetable is like an oasis on a plate.”

Perelman arranges the kabocha squash, sliced into wedges, on a hot sheet pan sizzling with butter and olive oil. When the squash has a dark, crispy glaze, it’ll get a bath of broth and cider vinegar, and be scattered with garlic and herbs. Perelman likes her roasted vegetables with a bit of char.

“Do not skimp,” she advises. “Get the color you want.”

Later, when she takes the squash wedges from the oven, they’ve turned a fiery, deep orange.

“I love the way it looks like flames, almost,” she says.

She layers the wedges on top of tangy plain yogurt, scattered with arugula.

The finished plating of the warm cauliflower and cranberry bean salad and the braised winter squash.

Melissa Block/NPR


hide caption

toggle caption

Melissa Block/NPR

Along with the braised kabocha squash, Perelman has decided to improvise a warm salad with that “cute” purple cauliflower. It gets chopped and roasted, then tossed in a Dijon vinaigrette with the boiled cranberry beans and some emerald green arugula.

Both dishes are a vibrant visual treat.

“I mean we eat with our eyes,” Perelman says. “Why shouldn’t our food look beautiful?”

Ideally, Perelman says, cooking should make you feel triumphant — like you want to do a victory lap.

“You know when you cook something and it’s really good, and you’re like, ‘I did that! I did that!’ ” she says. “I think you should feel that way about cooking.”

Braised Winter Squash Wedges

This is my favorite way to cook winter squash. It takes a cue from fondant, or melting, potatoes, a technique in which thick slices of potato are roasted on both sides before they finish cooking braised in a puddle of broth. From the oven, they’re crisp and somewhat glazed outside, creamy inside, and booming with more flavor than it seems possible to lock inside a potato. Clearly, I’m a fan — but I had no idea that when I applied this technique to big wedges of winter squash I’d never want to cook it another way again.

I add to the pan everything I like with winter squash — thyme, garlic, and cider vinegar, which gets sweet/tangy when cooked and really helps cut through the sweetness of squash — and then I put the whole thing on a plate of tart yogurt and peppery baby arugula. Any slightly syrupy broth left in the pan is poured over everything, and it’s all so good together, you might wonder why you’d ever consider squash a side dish again. This is centerpiece squash, and it wants you to know it.

Serves 4

2¼ to 2½ pounds (1 to 1.15 kilograms) winter squash (about ½ kabocha or red kuri squash)

2 tablespoons (30 grams) unsalted butter

2 tablespoons (25 grams) olive oil, divided

Leaves from 6 sprigs fresh thyme

Kosher salt and freshly ground black pepper

6 garlic cloves, smashed

1 cup (235 grams) vegetable broth

¼ cup (60 grams) apple-cider vinegar

1 cup (230 grams) plain Greek- style yogurt

2 cups (55 grams) baby arugula leaves

Note: If you can find it — you can often buy squash in halves or quarters from a farmers’ market, which is great, because it runs large — kabocha is my favorite here, followed by red kuri squash. Butternut and acorn squash work, too. The peel of winter squash is fully edible, so no need to trim it away.

Heat the oven to 425°F (220°C).

Cut the squash in half and scoop out the seeds and pulp, then slice the halves into 1½-inch wedges. Add butter and 1 tablespoon of the oil to a 10- by- 5-inch baking sheet, and place in the oven until the butter melts, about 2 minutes. Remove the tray from the oven, and roll the butter around so that it evenly coats the pan. Arrange the squash wedges in one layer, and sprinkle with thyme, ½ teaspoon salt, and lots of freshly ground black pepper. Roast for 15 minutes, or until deeply browned underneath. Flip the slices, and season the second side on top with another ½ teaspoon salt and more pepper. Scatter the garlic cloves in the pan, and return the pan to the oven to roast for another 12 to 15 minutes, until the wedges are browned on the second side. Don’t worry if the squash isn’t fully cooked yet. Carefully pour the broth and vinegar into the pan, and roast for another 10 to 15 minutes, until the squash is tender and the liquid is somewhat cooked off.

To serve the squash: Use the back of a spoon to swirl plain yogurt onto a serving platter into a thin layer. Toss the arugula with the remaining tablespoon olive oil and a pinch of salt and pepper, and scatter over the yogurt. Arrange the squash wedges on top, scrape out every bit of pan juice that’s left, and pour it over the squash.

From Smitten Kitchen Keepers: New Classics for Your Forever Files by Deb Perelman. Copyright © 2022 by Deb Perelman. Excerpted by permission of Alfred A. Knopf, a division of Penguin Random House LLC. All rights reserved. No part of this excerpt may be reproduced or reprinted without permission in writing from the publisher.

Warm Cauliflower and Cranberry Bean Salad

(Note: This was a recipe Perelman improvised on the spot. She used fresh cranberry beans, but says you could use any type of canned beans, instead.)

1 small-medium head cauliflower, chopped into 1-inch chunks

1 cup freshly shelled cranberry beans (from about 8 to 12 ounces in pods)

Salt and freshly ground black pepper

Olive oil

Balsamic vinegar and/or white wine vinegar

1 tablespoon coarse (whole seed) Dijon mustard

Handful arugula, roughly chopped

Sharp cheese — like cheddar or pecorino — to finish (optional)

Heat oven to 450. Drizzle olive oil on a large baking sheet and add cauliflower to it. Season with salt and pepper and toss to coat. Roast for 30 minutes, turning over once for even color.

Meanwhile, cook your cranberry beans in simmering lightly-salted water for 20 to 25 minutes, until tender. Drain, rinsing with water to cool slightly.

Whisk together 3 tablespoons olive oil and 2 tablespoons balsamic vinegar, white wine vinegar, or a combination thereof, with Dijon, until evenly combined. Season with salt and pepper.

Scrape cauliflower into a serving bowl and add cranberry beans on top. Pour dressing over to taste and toss lightly to combine. Stir in the arugula. Shave — you can use a peeler — sharp cheese on top, if you wish. Season with additional salt and pepper, as needed.

12 Time-Saving Tips for Cooking Thanksgiving Dinner, Chefs Say

12 Time-Saving Tips for Cooking Thanksgiving Dinner, Chefs Say

Thanksgiving is stressful enough with all the prep and planning that goes into enjoying a festive meal with loved ones. From figuring out when to purchase the big bird to nailing down the perfect menu for the Thanksgiving holiday, hosting T-Day requires loads of time to make sure everything tastes as delicious as you intended, your guests have a memorable evening, and everything goes off without a hitch.

While you can plan for every potential hiccup that might arise and disrupt your Thanksgiving dinner preparations, sometimes the unexpected is unavoidable. When such moments occur, it can be difficult to get back on track. Before you know it, hungry guests are knocking down your door as you frantically continue an impossible race against the clock, nervously checking your timer as you gauge the temperature of each dish.

To make your life a little easier, we spoke to professional chefs to get their expert time-saving tips for cooking Thanksgiving dinner. Although their advice can help ensure you can spend fewer hours in the kitchen and more time giving thanks, if you find you’re still crunched for time, you can also look to these 20 Last-Minute Thanksgiving Recipes Everyone Will Love.

shopping list with thanksgiving ingredients
Shutterstock

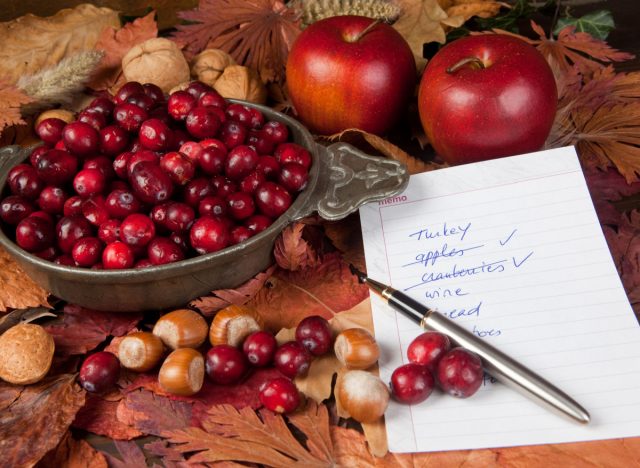
Chef Omar Loney of  Kokomo, a Caribbean restaurant based in Brooklyn, recommends planning out your menu and grocery list ahead of time—preferably at least a week in advance of Thanksgiving. This way, you can make sure you have everything you need and don’t have to scramble to find ingredients at the last minute, while also paying premium prices for them.

“You can buy your nonperishables a few weeks ahead of time, but make sure you have a set list of everything you will need for the days leading up to the big day,” Loney advises.

pre-cut produce
Shutterstock

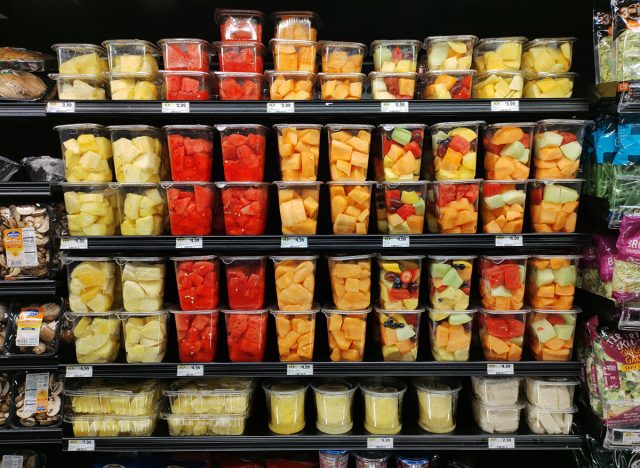
“A lot of time is spent cutting up vegetables, so buying your produce already cut, diced, or shredded can definitely shave off time,” says Erica Barrett, owner of SOCU Southern Kitchen & Oyster Bar.

So, if you’re making a green bean casserole, try picking up frozen green beans, which are already washed and cut. Buying pre-cut sweet potatoes for pie or casseroles can also save you time and energy—because no one wants to wrestle with a spud on Thanksgiving morning.

raw turkey defrosting
Shutterstock

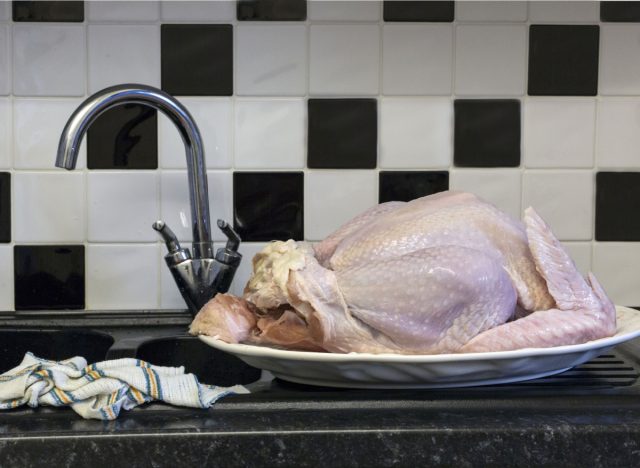
If you are planning on cooking a full traditional turkey for Thanksgiving, make sure you allocate enough time beforehand to thawing and prepping it.

“Some turkeys can take up to six days to defrost. So, make sure you do your research and pay attention to the instructions to be sure you get your turkey done in time,” Loney says. “I recommend not doing it on the day of, because there will be enough other things going on.”

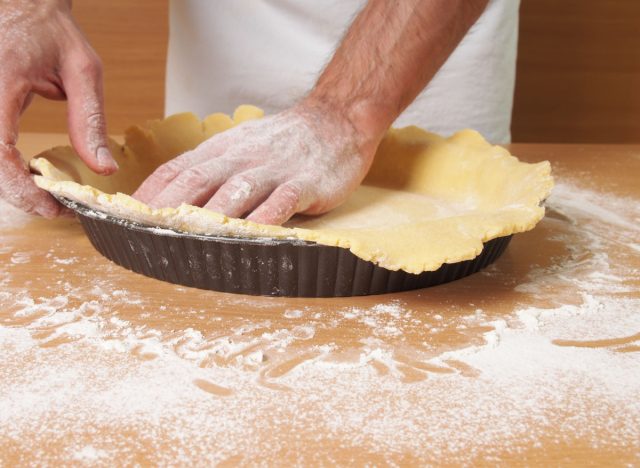
man pressing pastry crust over tin
Shutterstock

Newsflash: Not everything has to be cooked on Thanksgiving day.

“It will make your life a lot easier if you make the desserts—brownies, cakes, pies—the night before, because they won’t go bad from sitting out overnight,” suggests Loney.

Also, make freezer-friendly meals your best friend.

“I’m not talking about TV dinners, but dishes you can make ahead of time that will be ok sitting in the freezer for a few days,” Loney continues. This includes but is not limited to cranberry sauce, gravy, pie crust, and so forth. “Then, all you have to do is thaw them the day before to be ready for Thanksgiving.”

Woman stirring vegetables in a frying pan
Shutterstock

Why sit and wait for your brussels sprouts to cook on the stovetop when you can multitask to make multiple side dishes? You’ll save major minutes by investing in a skillet with different sections.

“Using a multi-sectional skillet allows you to cook multiple dishes at once instead of having to wait for one dish to finish cooking before starting the next,” Barrett says.

Plus, using a multi-sectional skillet instead of multiple pans will save you some clean-up time after Thanksgiving dinner, so you can spend less time scrubbing over the sink.

woman giving man food
Shutterstock

When it comes to prepping as big of a meal as Thanksgiving dinner, make sure to delegate.

“This day requires all hands on deck. So, my recommendation is to tell friends or family members that are attending to bring a side dish or a dessert, so that it’s not all up to you to cook everything that will go on the table,” says Loney.

However, if planning to host Thanksgiving potluck style, just make sure to give your guests a heads up a few weeks ahead of dinner. This courtesy will enable them to have enough time to shop and prepare their dishes, too.

woman putting lid on pot
Shutterstock

Whether it’s stuffing, homemade cranberry sauce, mac ‘n cheese, mashed potatoes, or another mouth-watering stovetop side dish, don’t forget to pop the lid on the pot or pan.

“Your food cooks fasters when you have a lid on top holding the heat inside,” says Ebony Austin, owner of Atlanta-based  Nouveau Bar & Grill.

man cutting potatoes
Shutterstock

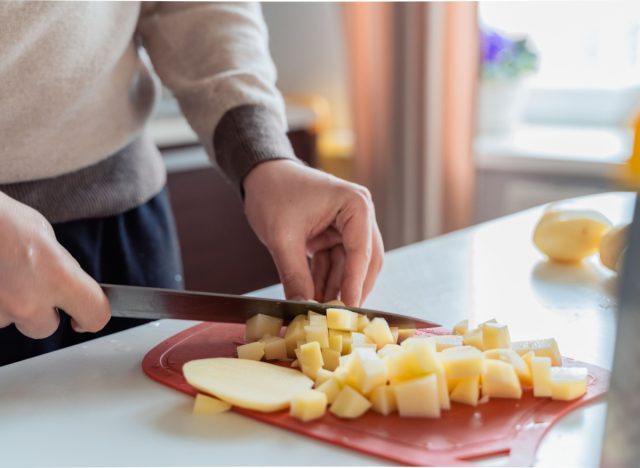
Try to reduce the surface area of your food, Austin recommends. Cutting up veggies or meat into smaller pieces will help everything cook faster.

“This is really important when you are baking any type of dish,” Austin says. “For instance, it’s quicker to bake several pieces of chicken that are cut than it is to bake a whole chicken.”

Another pro tip: “When cooking mashed potatoes, cut the potato into small [cube-shaped] pieces before boiling them, so the potatoes cook faster,” Barrett says.

spices
Shutterstock

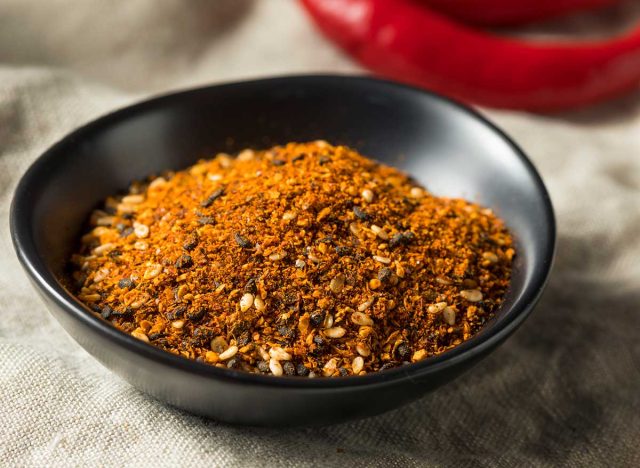
Instead of rummaging through the spice rack or disorganized bottles in your cabinet or pantry, opt for an all-purpose seasoning.

“Using an all-purpose seasoning will stop you from having to sort through your seasonings to find the right one,” Barrett says.

deep frying turkey
Shutterstock

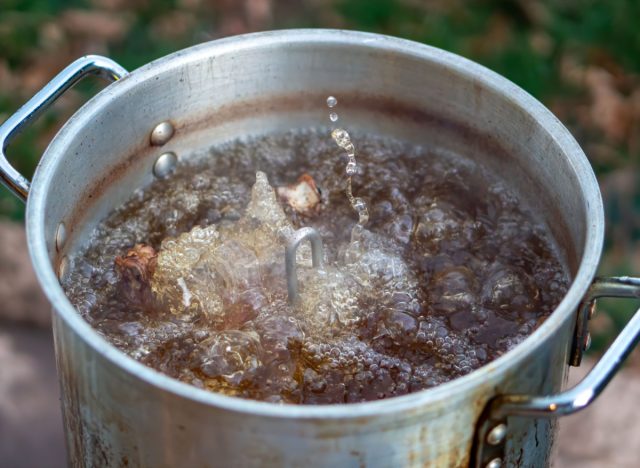
If you have a fryer large enough to fit your bird, put it to good use on T-Day.

“Using the fryer cuts down on cook time significantly,” says Barrett. “Frying a turkey can take up to 45 minutes [depending on its size], as opposed to spending three to four hours cooking a turkey traditionally in the oven.”

roasted turkey with meat thermometer
Shutterstock

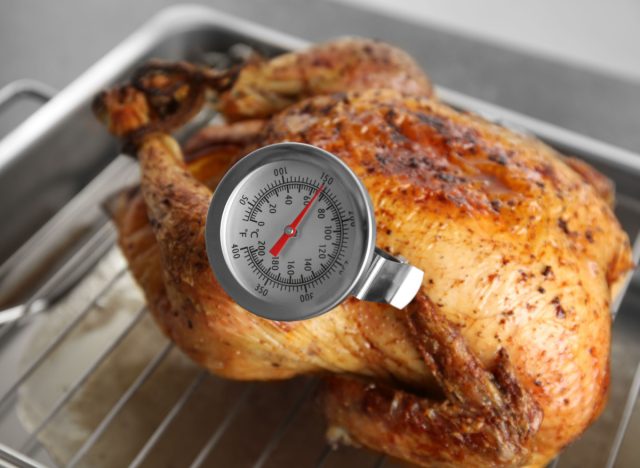
“Cooking at a higher temperature will definitely cook your meat faster,” Austin explains. “But please make sure to use a food thermometer to make sure your meat is all the way done and cooked to your liking.”

FYI: According to the USDA, a turkey needs to reach an internal temperature of 165°F, while beef, pork and lamb should be cooked to at least 145°F for food safety.

chickpeas soaking in water
Shutterstock

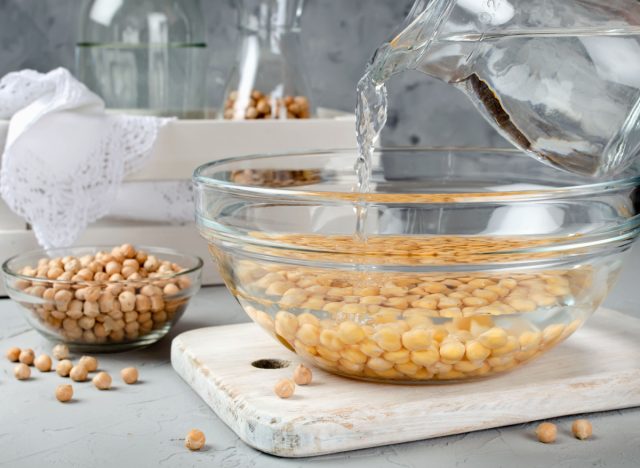
If you plan on serving a dish that calls for any raw legumes—like black beans, pinto beans, or chickpeas—be sure to soak them for at least four hours prior to preparing your dish. Or better yet, make the time to soak them overnight.

“Soaking [legumes] makes them softer and reduces cooking time,” says Austin.

However, to save even more time, you can always buy these items canned instead.

Connecting food to culture | News, Sports, Jobs

Connecting food to culture | News, Sports, Jobs

-Messenger photo by Kelby Wingert

Chef John Sugimura helps FDMS student Ben Touney wrap a Japanese gyoza dumpling on Wednesday afternoon.

Students in the special education classes at Fort Dodge Middle School learned from a pro how to expertly fold Japanese gyoza dumpling wrappers on Wednesday.

Second-generation Japanese-American Chef John Sugimura, a corporate chef with Taher Inc., is visiting the Fort Dodge Community School District this week to share the culture and food of Japan. He spent Tuesday with the culinary arts classes at Fort Dodge Senior High.

“The point is to give them a hands-on foodie experience with a recipe that they’re not familiar with, to open up their world to include Japan,” Sugimura said. “To give them an opportunity to taste something, to smell something, to chop up something that was unfamiliar to them.”

On Wednesday, Sugimura visited the special education classes at FDMS and gave them a tutorial on crafting the perfect gyoza.

“A Japanese dumpling is folded the same way every time,” Sugimura said. “We make it pretty. Japanese cooking is about making pretty food.”

-Messenger photo by Kelby Wingert

Fort Dodge Middle School student Tayt Lind checks out a Japanese gyoza dumpling wrapper he folded with the help of Chef John Sugimura on Wednesday.

Sugimura is an expert in Japanese cuisine and a master sushi chef. He’s competed on “Guy’s Grocery Games” on Food Network and will be competing on the upcoming season of “Iron Chef.”

Sugimura doesn’t just teach students how to make gyoza dumplings — he connects the dumplings to Japan’s culture and how food fits in with its history.

“It’s expanding their horizons and gives them common ground,” Sugimura said. “Most people don’t really know anything about Japanese food.”

“It’s been a joy having him here,” said Chef Nick Sells, Taher chef director for the FDCSD.

Taher has several corporate chefs who travel to different school districts across the country to teach students about different national cuisines and cultures and to bring authentic foods to students, Sugimura said.

-Messenger photo by Kelby Wingert

Students in the special education classes at Fort Dodge Middle School had the opportunity to try some Japanese gyoza dumplings made by Chef John Sugimura on Wednesday.

Gyoza dumplings are the most popular and iconic dish in Japan, he said. During lunch at the middle school and high school at the end of this week, Sugimura will be serving Japanese fried chicken bowls, which he said is probably the second-most popular dish in Japan.

“So they’re getting a really good sample of what Japanese food is about,” he said.

Taher Inc. is the management company that oversees food service across the FDCSD.


Today’s breaking news and more in your inbox


Kitchen Tools and Festive Extras You Need for a Happy Thanksgiving

Kitchen Tools and Festive Extras You Need for a Happy Thanksgiving


This year, we’re thankful for all the usual things: our families, our health, our Netflix subscriptions. And, of course, the meal soon to be set before us—made better by all manner of useful devices, from an otherworldly potato masher to wine that pairs really well with…seeing your extended family for the first time since 2019. Come to think of it, we’d like to give thanks for those things, too.

Products with an “Add to Cart” option are available for purchase through The Shops at Seattle Met.

Viking Hard Anodized Nonstick Roaster, Terra Bella Local


Thanksgiving faux pas number one—besides bringing up the midterm elections in the buffet line—is making it too far into November without nabbing a heavy-duty roaster. If you’ve got a hen with any heft, using one of those last-minute disposable options will feel like mashing potatoes with a toddler fork. This one has you covered up to 25 pounds and comes with the tools you need for carving.


EH Works Canvas Apron, Flora and Henri Local


EH stands for Erica Hanson, whose Seattle-manufactured aprons and accessories are as simple and functional as they are good-looking. Seriously—we’ve seen people look cute in aprons before, but cool feels like a designation reserved for this sturdy canvas number. Which makes it ideal for anyone too distracted by the prospect of stuffing to remember to take the apron off for dinner.


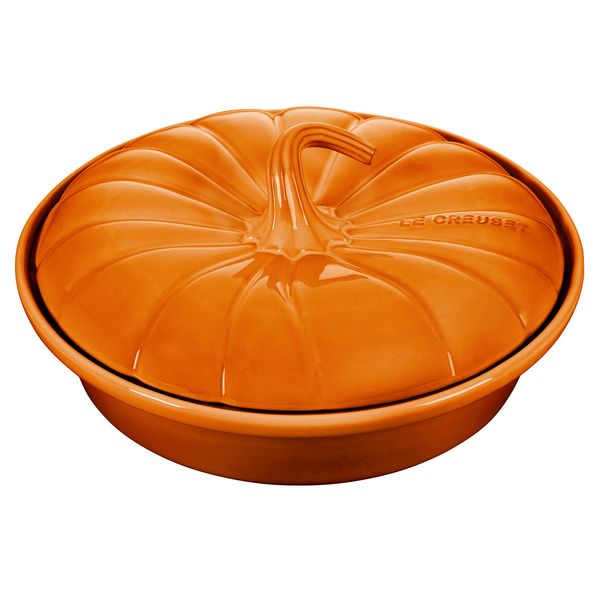
Le Creuset Pumpkin Pie Dish with Lid, Sur la Table Local


$124.95


If your TikTok For You page looks anything like ours, it’s been a parade of gourd-themed cooking vessels since approximately August 30 (if Starbucks can get lost in the pumpkin sauce while it’s still 80+ degrees outside, so can we). Le Creuset’s, in classic French fashion, proved most covetable. Even if you’re not recording it for likes and posterity, it’s hard to imagine a holiday scene quite like lifting this glazed enamel lid to reveal the perfect pie.

Buy Now


Turkey Stuffing Bags, Terra Bella Local


Stuffing is a little like sausage: The squeamish among us have no interest in hearing how it was made. These mesh bags allow your dressing to soak up flavor from the turkey juices (honestly, there has to be a less disturbing way to say that) while making the removal process less, ahem, graphic. And for seasoned chefs unbothered by the prospect of digging bread out of a bird: This way, you won’t waste any of the good stuff.


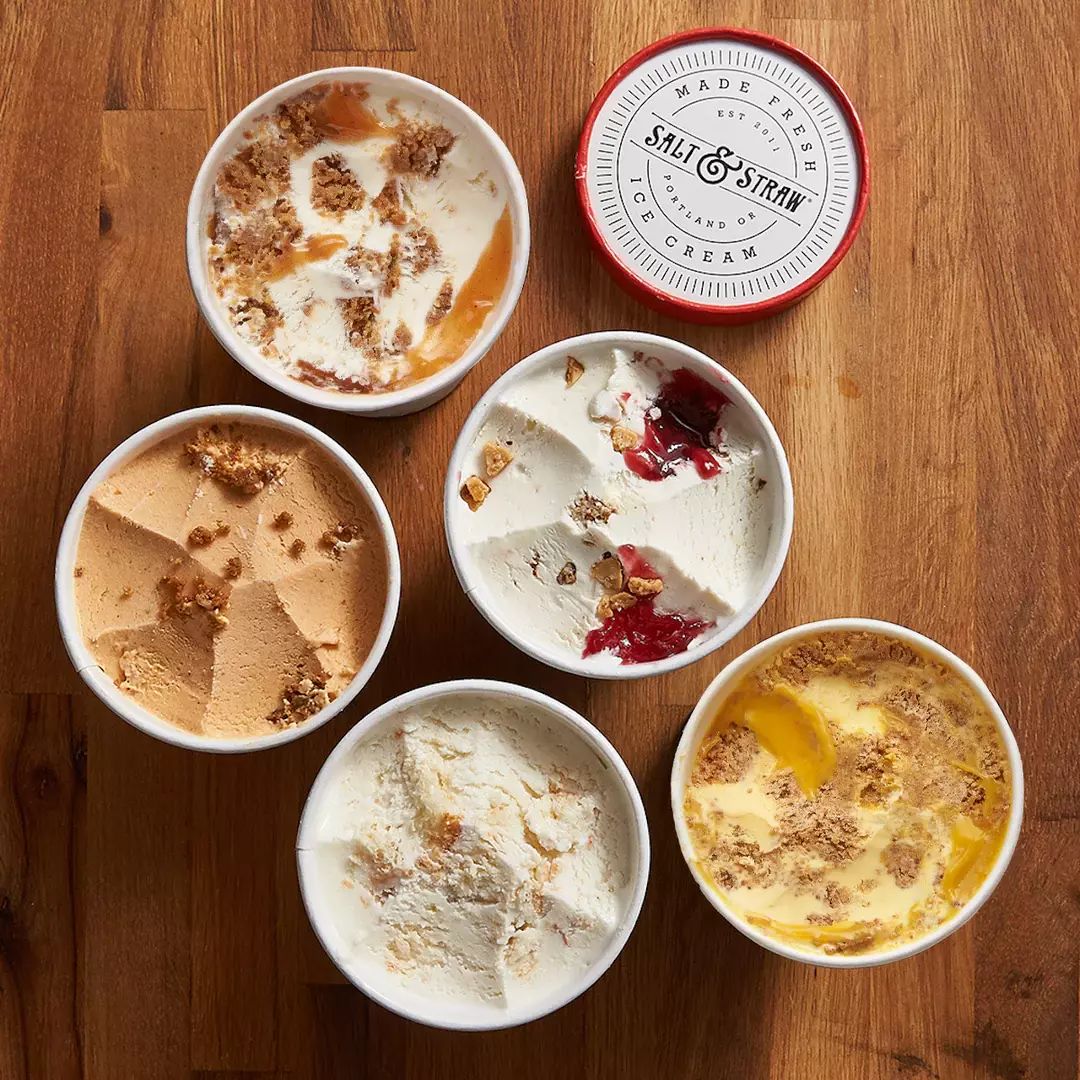
Pints of the Month: Thanksgiving Series, Salt and Straw


$85.00


Salt and Straw’s Thanksgiving flavors—yes, one contains actual turkey—test the limits of the long-held belief that dessert is stored in a separate stomach. Head to one of the Portland-based ice creamery’s Seattle locations to try a scoop, or order the whole meal deal online to subject unwitting family members to the taste test. Though you might want to keep the pint of Parker House rolls with salted buttercream to yourself. 

Buy Now


Le Creuset Heritage Gravy Boat, Terra Bella Local


Gravy: brown, definitely, especially on Thanksgiving. Gravy boat: white. Or maybe Caribbean. Or perhaps Cerise. Whichever color you pick, a bona fide gravy boat—as opposed to, say, the measuring cup you were going to frantically yank out of the cabinet—brings an elevated element of tradition to the table. If you regularly host Thanksgiving, it’s a must.


Laurel White Wine Glasses, Viski Local


$27.99 for two


Whether you’re simply not a wine drinker, or simply a wine drinker who needs more wine glasses, Thanksgiving is the occasion to stock that bar cabinet: Even those with a preference for lagers are likely to eschew brew in the name of tradition. 

Buy Now


World’s Greatest Potato Masher, Terra Bella Local


This spring-loaded, two-in-one instrument efficiently pulverizes potatoes beyond recognition—if the topic of chunky-versus-smooth causes tension at your dinner table, scroll on. 


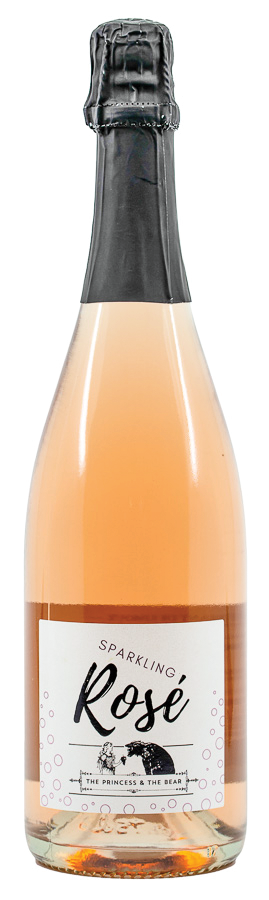
Sparkling Rosé, Princess and Bear Local


$27


When you think of Thanksgiving wine, you probably think of poultry’s traditional white wine pairing, or a festive red—but the folks at South Park wine shop Princess and Bear recommend serving this sparkling rosé from its private label. It’s “substantial enough to hold up to a meal,” but really shines alongside “fruit pies slathered with whipped cream.” 

Buy Now


Trickster Playing Cards Exclusive Edition, Flora and Henri Local


Cards provide an ideal (and tryptophan-friendly) post-dinner diversion. This deck features hand-designed art from Tlingit artist Rico Worl, cofounder of Trickster, a company that strives to promote Indigenous design through “products that non-Native people can wear and appreciate without appropriating”—an especially worthy cause on a day when the true history of colonialism is often grossly misrepresented.


Lift Trivet, Fruitsuper Local


$48.00

Don’t disrespect your carefully chosen cookware by displaying it atop singed oven mitts. This simple, Seattle-designed trivet from Fruitsuper protects surfaces from calamities real and aesthetic, and it still looks good on the table long after the dishes are done.

Buy Now


Le Creuset 9-Quart Signature Round Dutch Oven, Terra Bella Local


Ideally, you’d have a cooking pot in every size Le Creuset has to offer. But for those with a crowd to cook for (and without Mary Poppins cabinets), the extra-large nine-quart provides holiday peace of mind: Just about anything you could think to make will fit with room to spare. 


Pro Leave-In Meat Thermometer, Terra Bella Local


It’s a simple suggestion, but a crucial one: Don’t undercook the bird. 


Make This No-Bake Fall Dessert If You Suck at Decorating

Make This No-Bake Fall Dessert If You Suck at Decorating

Image for article titled Make This No-Bake Fall Dessert If You Suck at Decorating

Photo: Allie Chanthorn Reinmann

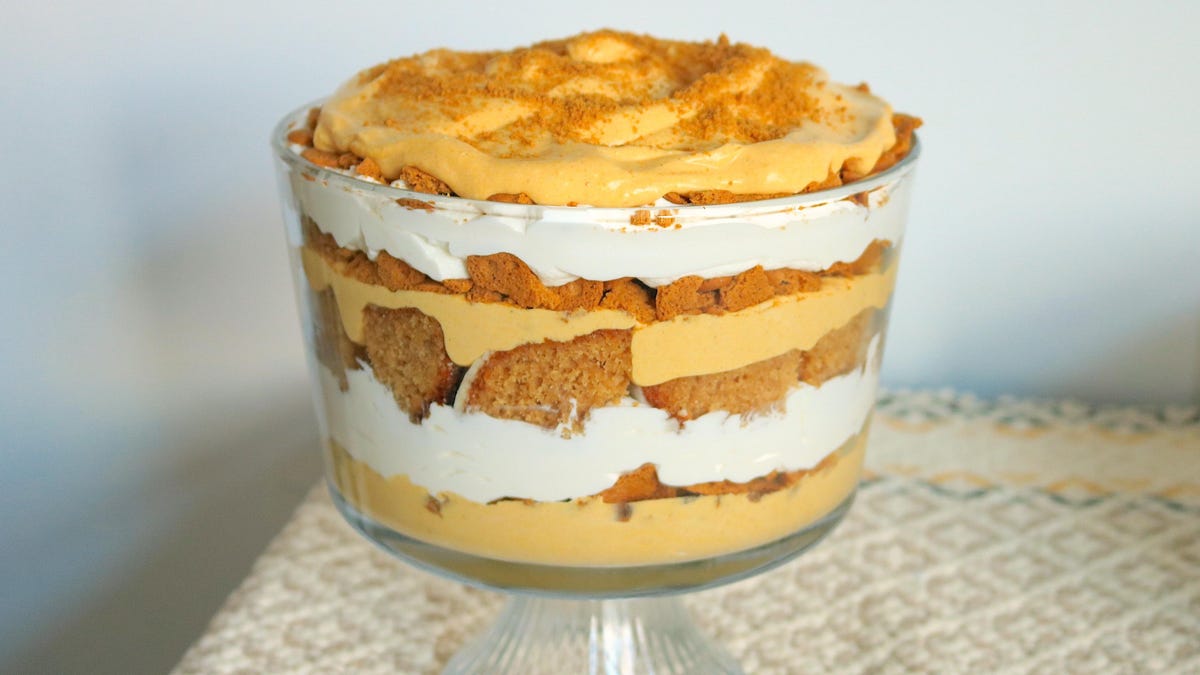
Tricky dessert recipes can spell trouble, and frankly, my oven is busy enough already during the holidays. Instead of making finicky desserts, let’s make one that’s impressive and yet which still allows us to revel in its shapelessness. A dessert that doesn’t need any heat, requires zero decorating skills, and can be made in advance–nay, should be made in advance. You’re cordially invited to produce this pumpkin cheesecake trifle. If crumbling cookies with your fists, and spooning heaps of whipped pumpkin filling sound like your jam, follow me.

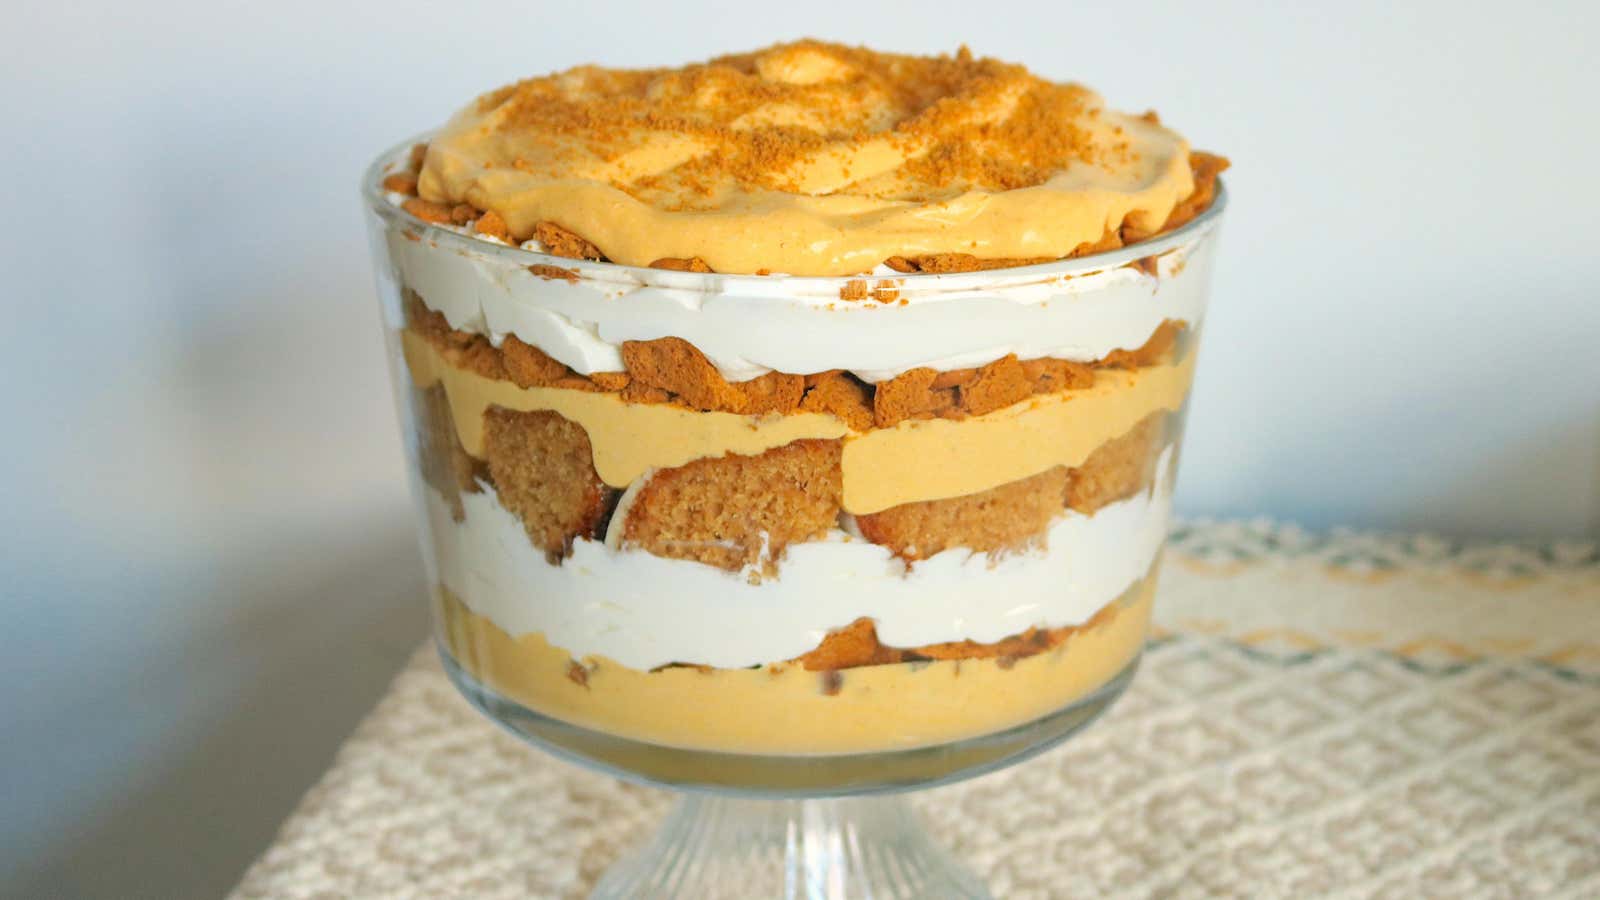
If you can make an icebox cake, you can make a trifle. The biggest difference between the two is an icebox cake is built and a trifle is dumped. Besides tasting great, this style of dessert makes a great example for other simple desserts: All you need is whipped cream and a dry component to soak up some moisture, and you have a damn classy treat. Since the trifle takes the icebox idea and piles it all into a container, the only decorating tool you need is a presentable vessel. You can use a giant bowl, a large mason jar, or even make dainty individual servings in champagne glasses. Choosing a clear container will let you show off the layers swirling around inside. These layers are the decoration. No piping bags or frosting necessary; the way you plopped things in the bowl is decoration enough.

To make this gargantuan dessert, I layered a pumpkin cream, whipped cream, cookies, and leftover cake (my apple cider bundt cake is the gift that keeps on giving), but you can use any cake, or lose the cake completely, and just do an extra layer of cookies. For the cookies, I used Anna’s Swedish Thins in the ginger flavor, but you can use any dry, brittle cookie. It’ll get crumbled anyway.

Image for article titled Make This No-Bake Fall Dessert If You Suck at Decorating

Photo: Allie Chanthorn Reinmann

Add a sweetened whipped cream and the pumpkin “cheesecake” layer. This latter, fluffy layer summons all the right flavors without actually requiring you to bake said cheesecake. I like to remove some of the moisture from the pumpkin puree before adding it to the mix. Line a bowl with a few layers of paper towel and put the puree on top. Cover it with more paper towels until it’s soaked with moisture—you can go after it with more paper towels if you want, but usually one round is enough. Discard the paper and the pumpkin will be ready to go. Warm one and a half packages of cream cheese in the microwave until it’s soft and spreadable, and mix in the sugar, salt, spices, lemon juice, and the pumpkin puree. In a separate bowl, whip the cream to stiff peaks and gently fold two or three cups of the whipped cream into the pumpkin mixture to lighten it.

Image for article titled Make This No-Bake Fall Dessert If You Suck at Decorating

Photo: Allie Chanthorn Reinmann

In a bowl or clear container of your choosing, spread a third of the pumpkin mixture on the bottom. Crush some cookies in your hands and sprinkle them on top. Use as many cookies as you need to cover the creamy layer with about a half inch of cookie crumbles, making sure to crumble all the way to the walls of the container so you can see it from the outside. You’re already decorating, well done!

Layer a third of your whipped cream onto the cookie layer, and top that with more cookies. Repeat this, alternating pumpkin cream with cookies (or cake), and whipped cream, in a pattern that pleases you. Periodically take a peek from the outside to see how your decoration is going; this your moment for dessert self-expression, and trifle is your artistic medium. Make as many layers as you have space and materials for, and top it all off with any leftover cookie dust.

Image for article titled Make This No-Bake Fall Dessert If You Suck at Decorating

Photo: Allie Chanthorn Reinmann

This recipe will make a rather large dessert, about 12-20 servings, but it will work equally as well if cut in half. To ensure the cookie layers soak up enough moisture from the cream layers, you need to make it at least five hours before serving, but I suggest doing so the night before. Store in the fridge when not being eaten. It will keep, covered, in the cold for up to four days.

Pumpkin Cheesecake Trifle

Ingredients:

Pumpkin Cream Cheese Base

  • 12 ounces cream cheese, microwaved until soft and melty
  • ¼ teaspoon salt
  • ¾ cup sugar
  • ½ teaspoon cinnamon
  • ½ teaspoon ground cardamom
  • ¼ teaspoon ground clove
  • 1 can pumpkin (15 ounces), drained of excess water with paper towels
  • 1 tablespoon lemon juice

Whipped Cream

  • 1 quart heavy cream
  • ¼ cup granulated sugar
  • 1 teaspoon vanilla extract
  • Cookies or cake for layering (I used 2.5 boxes of Anna’s Swedish thins, and some cake.)

In a large mixing bowl, whisk the warm cream cheese with the salt and sugar until smooth. Add all of the remaining ingredients in the cream cheese base, and whisk until smooth.

In a separate mixing bowl, whip the heavy cream and sugar on medium high speed for about 10 minutes, or until firm peaks have been reached. Add the vanilla extract and stir in. Gently fold about 3 cups of the whipped cream into the pumpkin mixture. It should appear light and fluffy and you will have nearly equal quantities of both creamy mixtures in their separate bowls.

In your trifle vessel of choice, layer the pumpkin cream, crumbled cookies, and whipped cream. Each cookie layer should be about a half inch thick. It doesn’t matter much what order the creams are added, but the cookies should be between each layer to provide maximum material for soaking up moisture. Finish the trifle with a layer of either cream you have left and store in the fridge to set for 5-24 hours before serving.