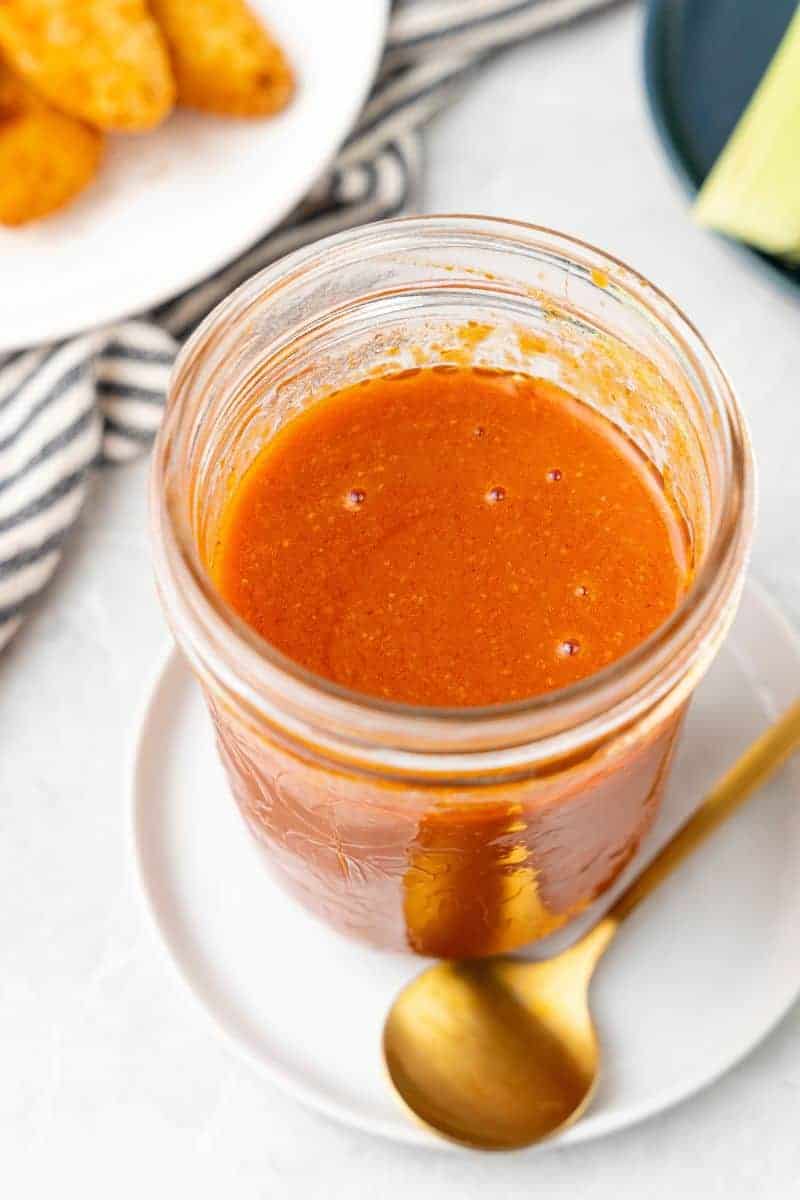
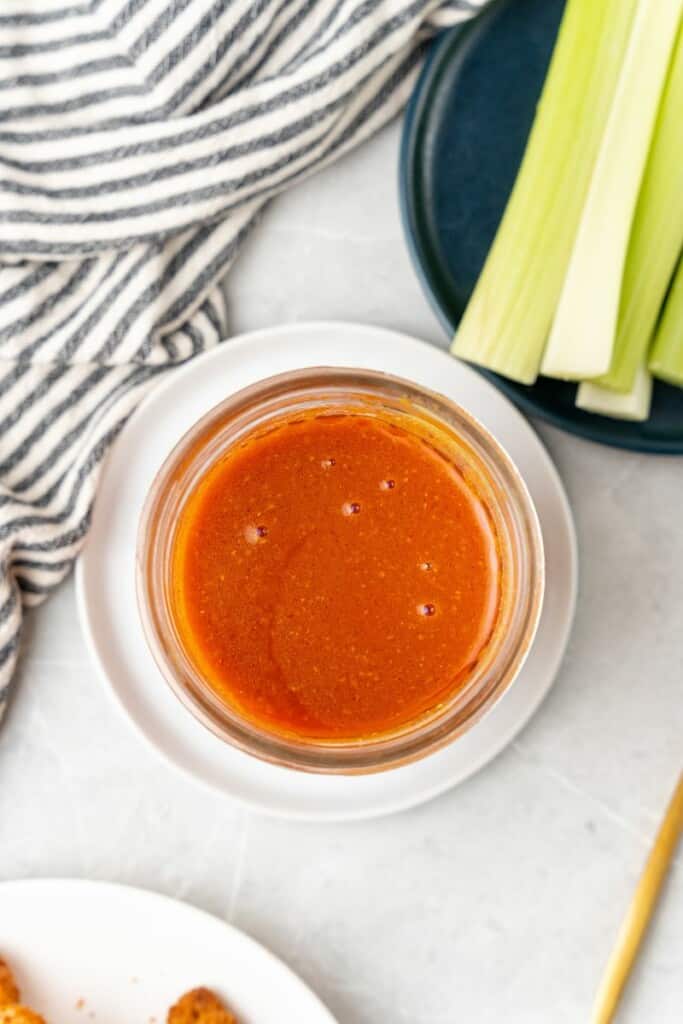
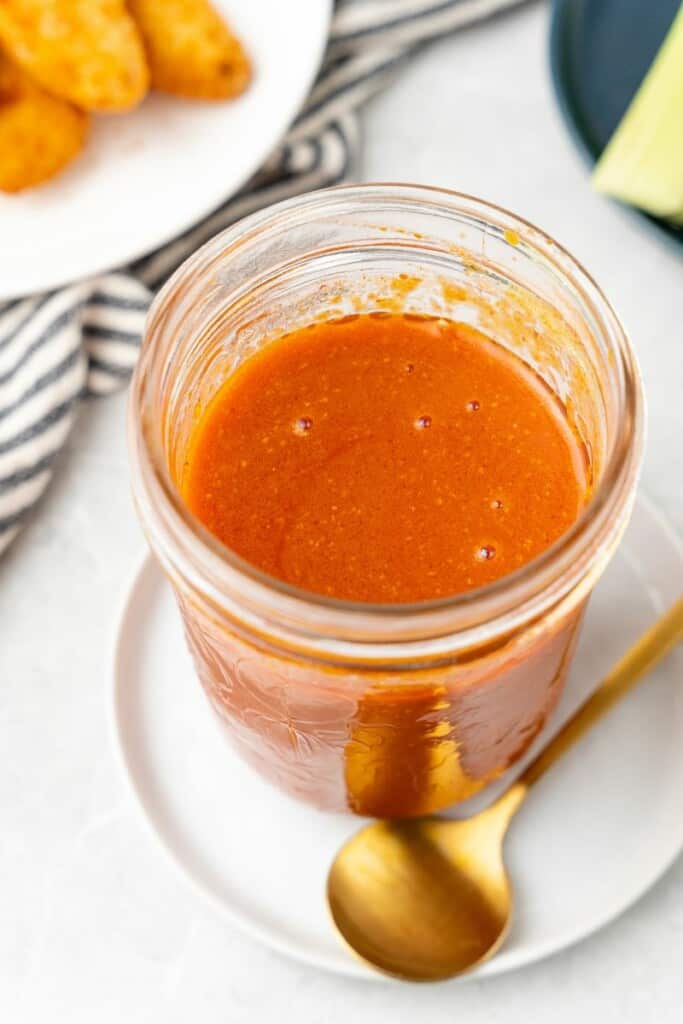
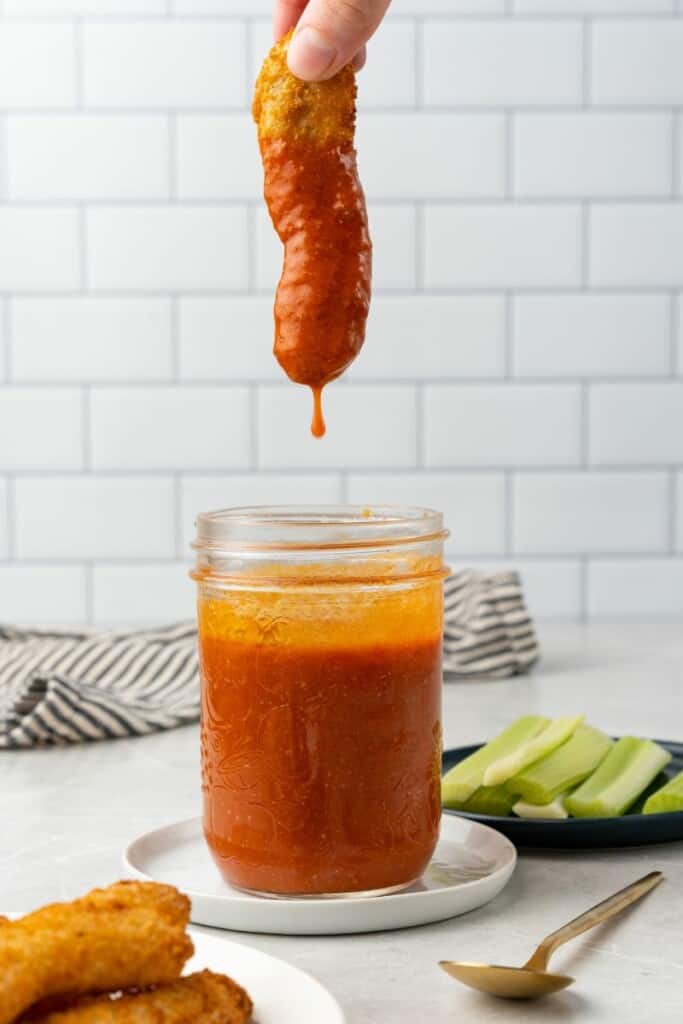
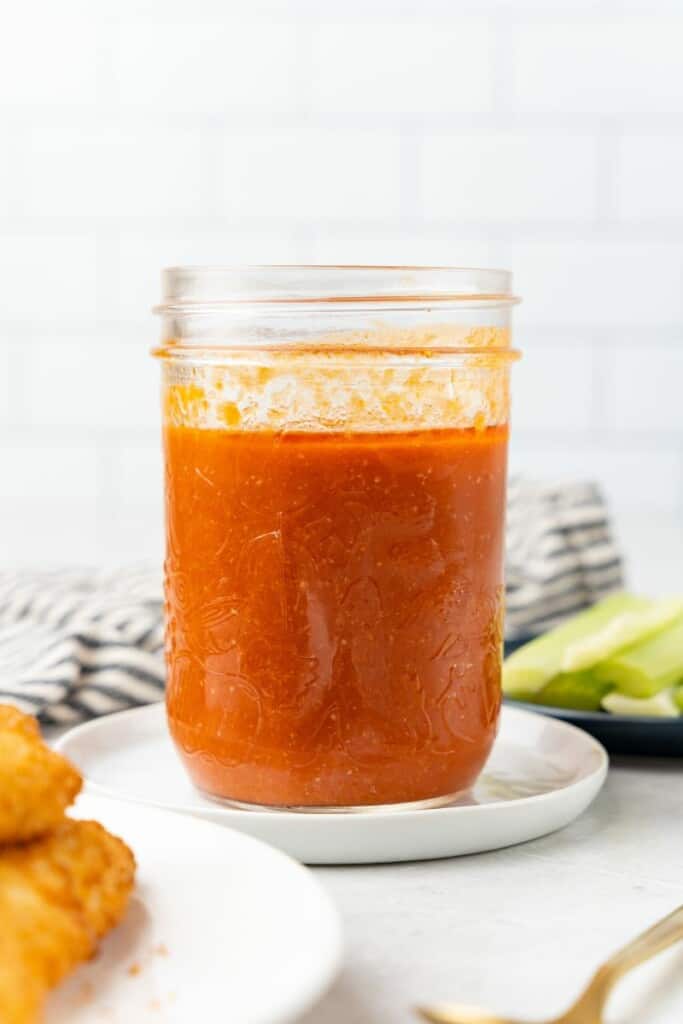
My mild Buffalo sauce is slightly spicy without being overpowering, thanks to the addition of sweet tomato sauce. It’s perfect for wings, dressings, sandwiches, and more and is ready in 10 minutes!
This post may contain affiliate links. If you click on a link and make a purchase, I may receive a small commission at no extra cost to you. For more information, please read my disclaimer.
Those who know me, know how much I love Buffalo sauce! I add it to pretty much any savory dish…from my morning eggs to my mid-day sandwich to my wings for dinner.
It’s spicy, tangy, and creamy and pairs well with so much.
Buffalo sauce was first created in Buffalo, New York, which is where it gets its name. Legend has it that restaurant owner Teressa Bellissimo came up with the sauce when preparing a snack for her son.
She fried up some chicken wings and then topped them with hot sauce, cayenne pepper, and butter. And so, Buffalo sauce was born.
My husband is from Buffalo, so it’s a staple in our meals!
Mild Buffalo sauce, mild Buffalo wing sauce…whatever you call it, I’ve got a really easy recipe that you can follow to make it from scratch.
Learn everything you need to know about how to make mild wing sauce below.
In the meantime, know that it’s made with only 5 ingredients that you likely already have at home.
You’ll be able to enjoy the best mild Buffalo wings slathered in my mild buffalo wing sauce in no time!
How to Make Mild Wing Sauce
A full printable version of this recipe with ingredient measurements is available at the bottom of this post.
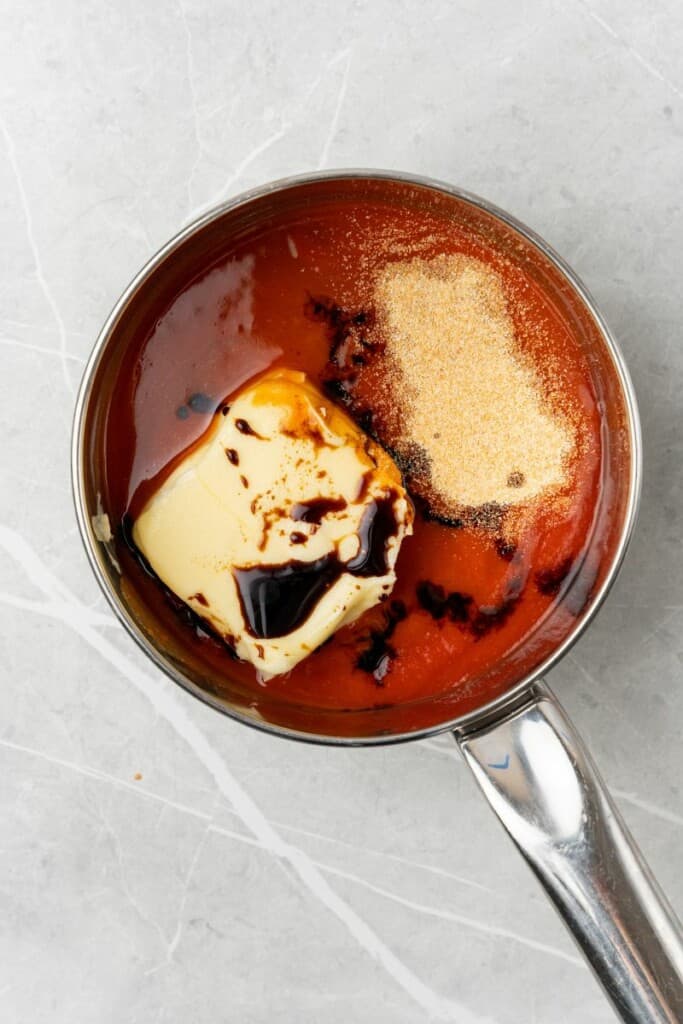
STEP ONE: Add the butter, Frank’s hot sauce, tomato sauce, garlic powder, and soy sauce to a small saucepan.
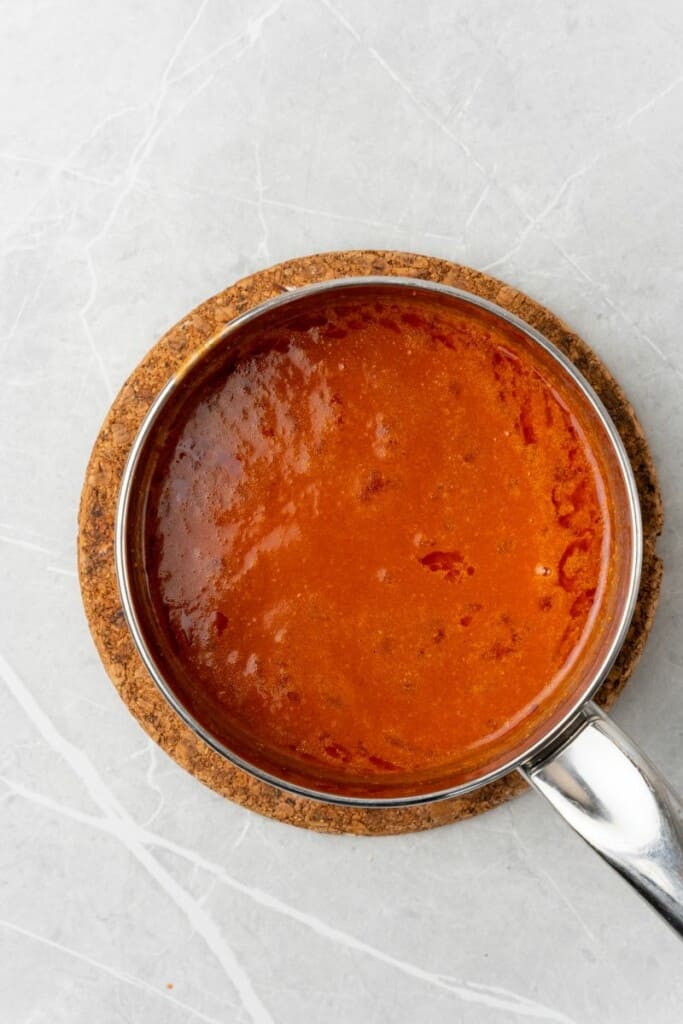
STEP TWO: Heat over medium until the butter has melted and all of the ingredients are well combined. Make sure to stir often to prevent burning!
STEP THREE: Allow your mild Buffalo sauce to cool a bit before serving. This mild wing sauce recipe also works wonderfully as a dipping sauce or in a dressing!
What to Serve with Mild Buffalo Sauce From Scratch
Variations for This Mild Wing Sauce Recipe
Start with my buffalo sauce from scratch to save time. It already includes the extra ingredients like butter and seasonings so you’ll only have to add the tomato sauce.
Add some honey for more sweetness — you can try my honey buffalo sauce!
Serve alongside blue cheese and ranch sauce for more dipping options.
Use Worcestershire sauce, tamari, or coconut aminos instead of soy sauce.
What is Mild Buffalo Sauce Made Of?
My mild wing sauce recipe is made with Frank’s hot sauce, tomato sauce, soy sauce, garlic powder, and butter.
I find that the addition of sweet tomatoes does much to tone down the spice of the hot sauce. You’ll get all of the flavors without worrying about too much heat.
How Do You Mild Down Buffalo Sauce?
The key to mild sauce is in the butter and the tomato sauce. The added dairy takes away some of the spice, and the sweetness of the tomatoes balances out the heat.
I also recommend serving it with another dipping sauce, like ranch or blue cheese. Again, the dairy takes away the heat but leaves the flavor!
Is Buffalo Sauce the Same as Mild?
Traditional Buffalo sauce is considered to be moderately spicy. It’s tangy and creamy thanks to the addition of butter.
I would say that Buffalo is medium in terms of spice level, which is higher than mild.
That’s why I wanted to create this mild wing sauce recipe for those who find Buffalo too hot.
Is Buffalo Sauce Always Spicy?
No, and my mild Buffalo sauce is proof! Yes, this condiment is slightly spicy, but the tomato sauce and butter do a great job of tampering with the heat.
You’ll be able to make mild wings easily and quickly with the addition of my mild sauce!
Other Buffalo Recipes You’ll Love:
More Sauce Recipes
Prep Time 5 minutes
Total Time 5 minutes
Ingredients
½ cup butter
½ cup franks hot sauce
½ cup smooth tomato sauce (a sweeter one works best)
1 teaspoon garlic powder
½ teaspoon soy sauce
Instructions
In a small saucepan, add the butter, franks, tomato sauce, garlic powder, and soy sauce and heat over medium heat, stirring often, until the butter has melted and all ingredients are mixed well
Allow to cool slightly before serving; works great as a dipping sauce or for wings!
This nutrition information is based on the exact products I used in this recipe. Brands and sizes of products could alter exact nutrition and should always be calculated independently.
Did you make this recipe?
Share a photo on Instagram tagging @EverydayFamilyCooking! I love to see your pictures!
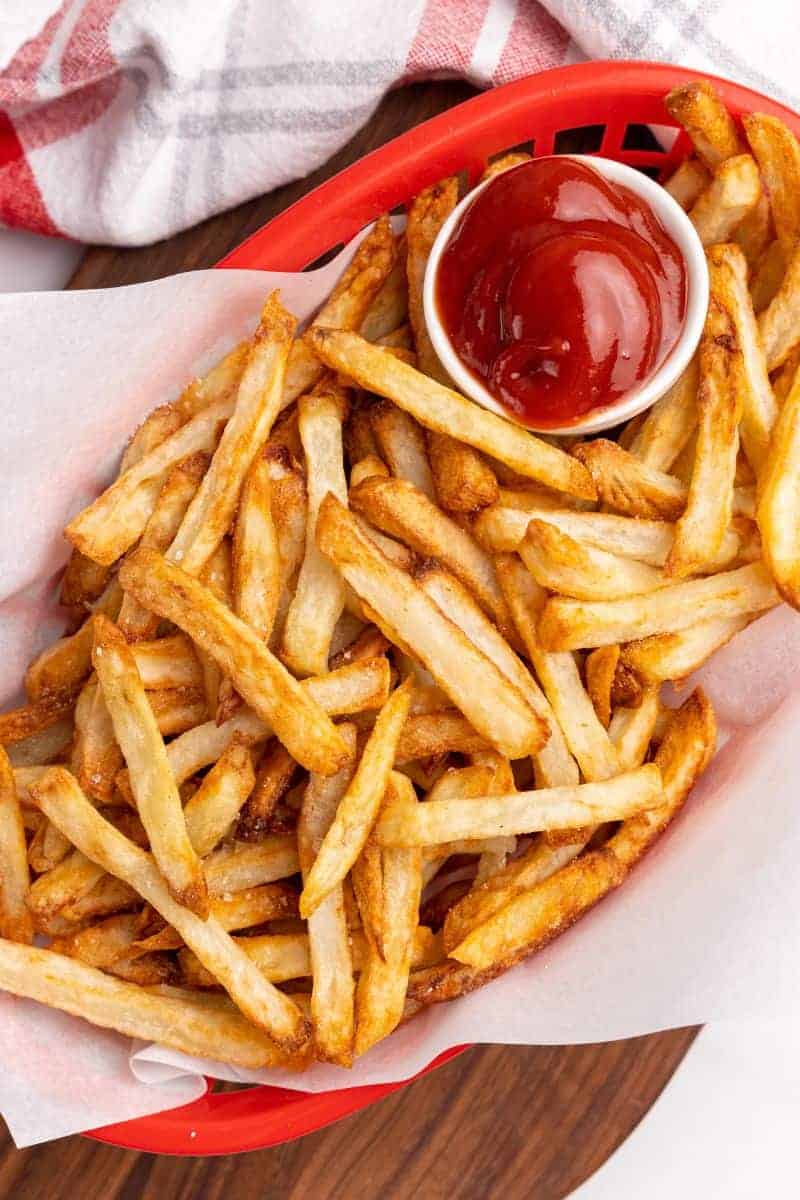
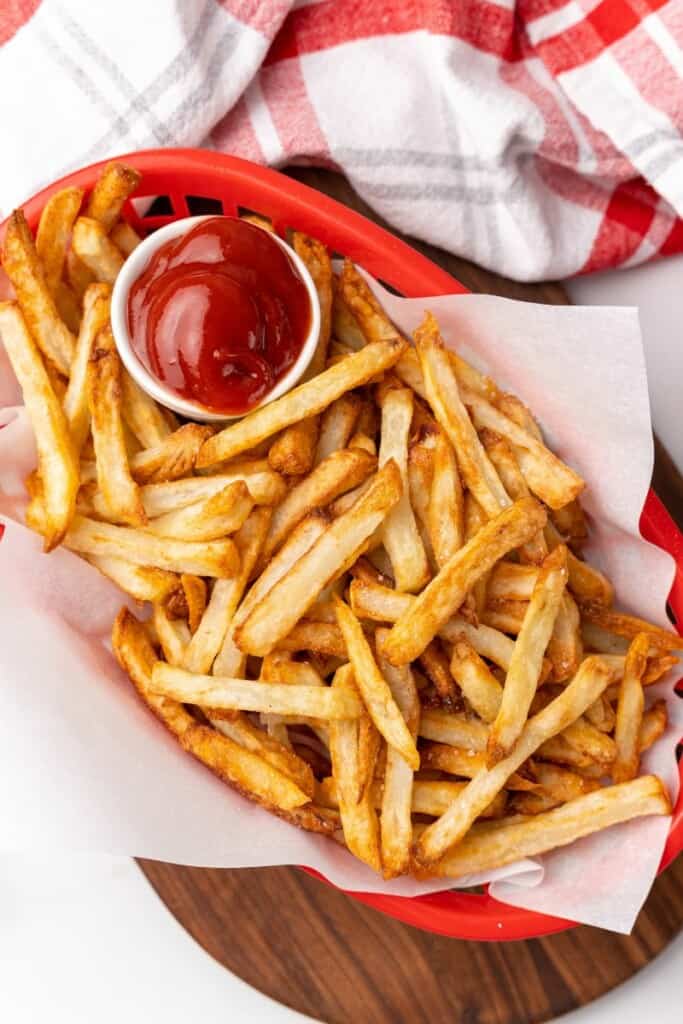
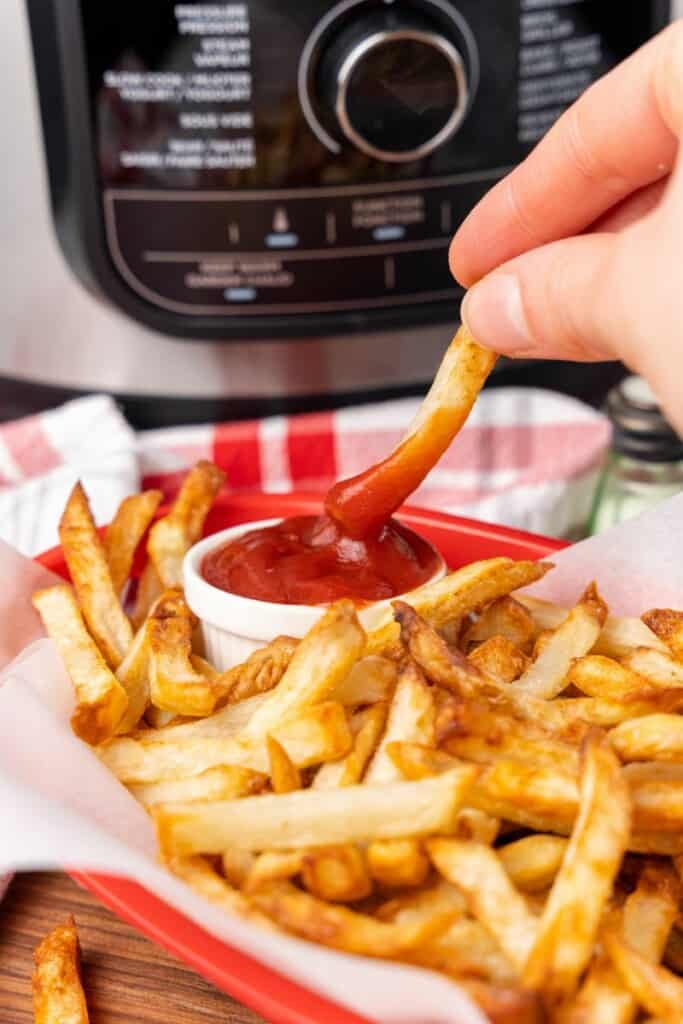
Ninja Foodi French Fries are super crispy, perfectly salted, and absolutely irresistible! You’ve never had homemade fries this delicious or this easy to make.
This post may contain affiliate links. If you click on a link and make a purchase, I may receive a small commission at no extra cost to you. For more information, please read my disclaimer.
Craving crispy, salty, hot-out-of-the-fryer fries? Skip the fast food joint and whip up these craveworthy Ninja Foodi French fries instead!
It’s never been so easy to make homemade French fries that taste so good. Just cut, soak, toss in oil, and let the Ninja Foodi handle the rest.
Best of all, you’ll only use a fraction of the oil you get from deep fried French fries!
I love making frozen French fries when I’m short on time.
But once I realized how easy it was to make fries from scratch, this has become my go-to method when I want an irresistible side the whole family will devour!
A full printable version of this recipe with ingredient measurements is available at the bottom of this post.
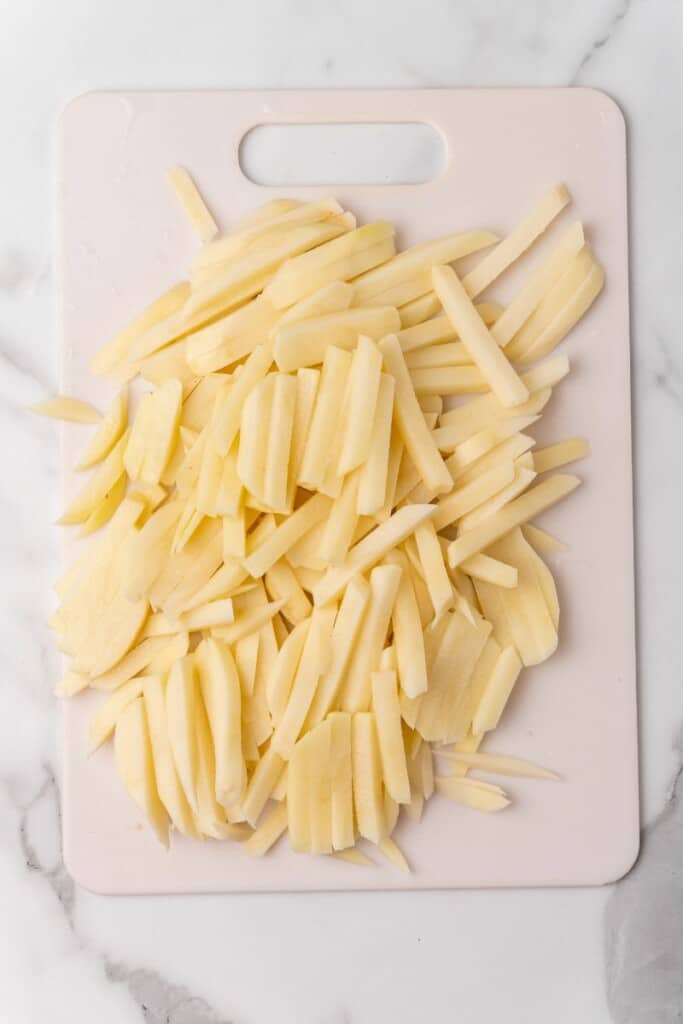
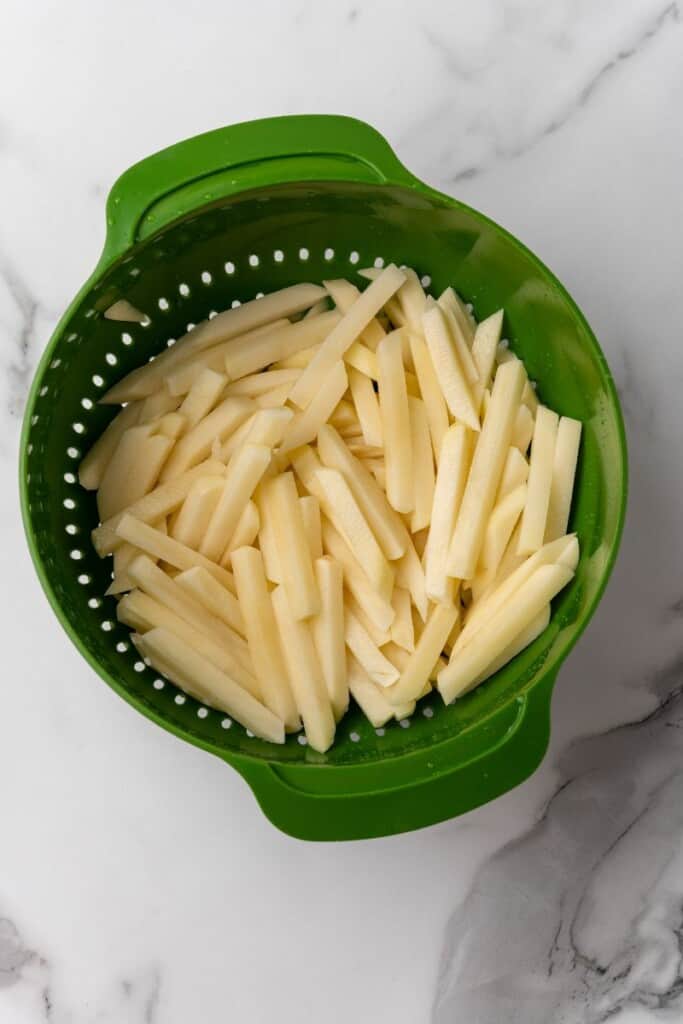
STEP ONE: Peel and wash all potatoes, then cut into ¼-inch rectangle French fries with a fry cutter or a knife.
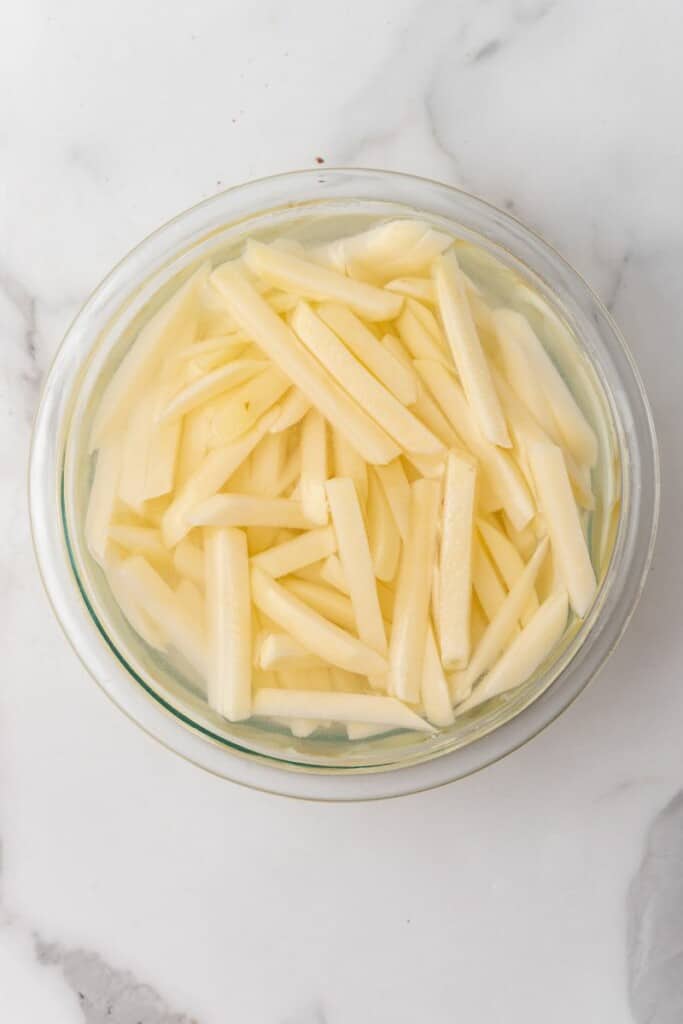
STEP TWO: Rinse the fries, then soak in cold water with 1 tablespoon of salt for at least 30 minutes at room temperature or up to overnight in the fridge.
STEP THREE: Drain the water, rinse the fries, then pat them dry with paper towel until all of the moisture has been absorbed.
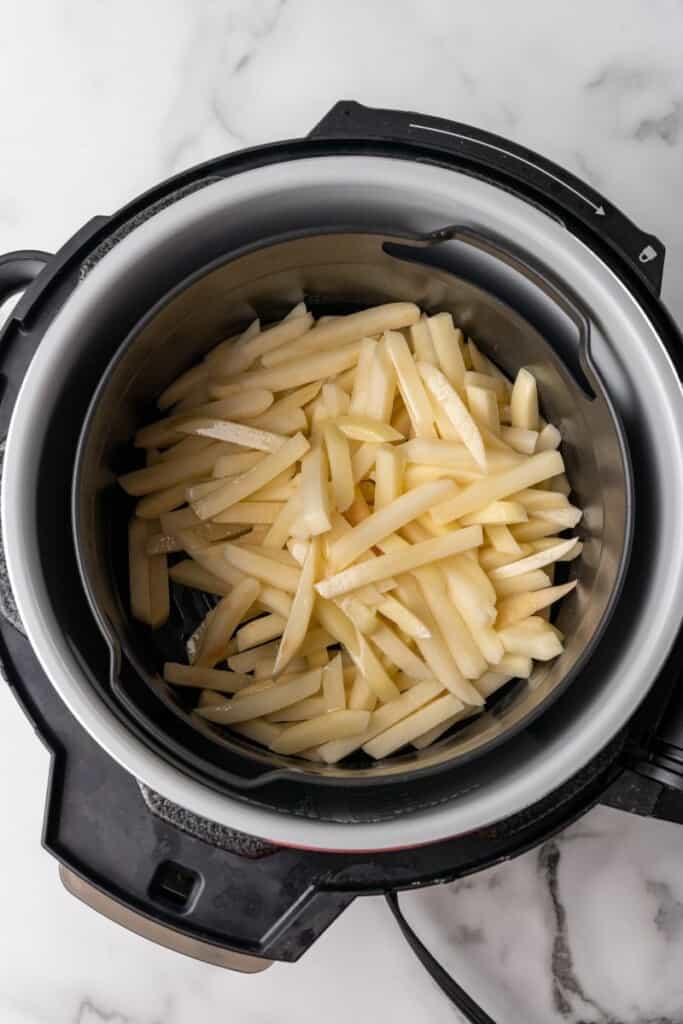
STEP FOUR: Drizzle the fries with oil and toss to coat.
STEP FIVE: Air crisp at 390 degrees F in the Ninja Foodi for 25-30 minutes, shaking the basket every 5-10 minutes to make sure the fries cook evenly.
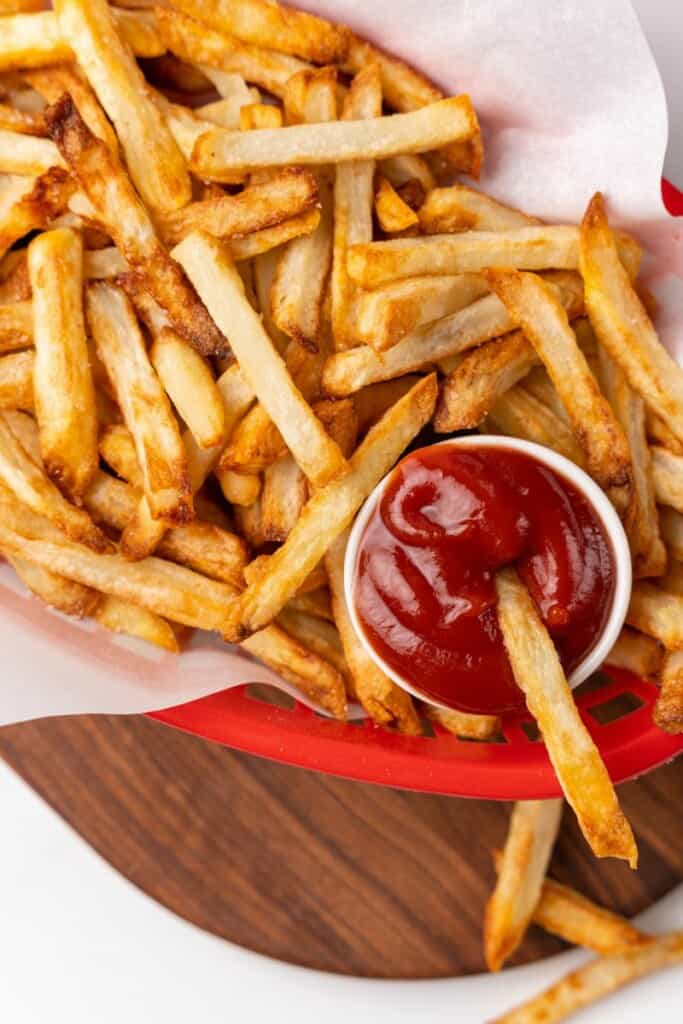
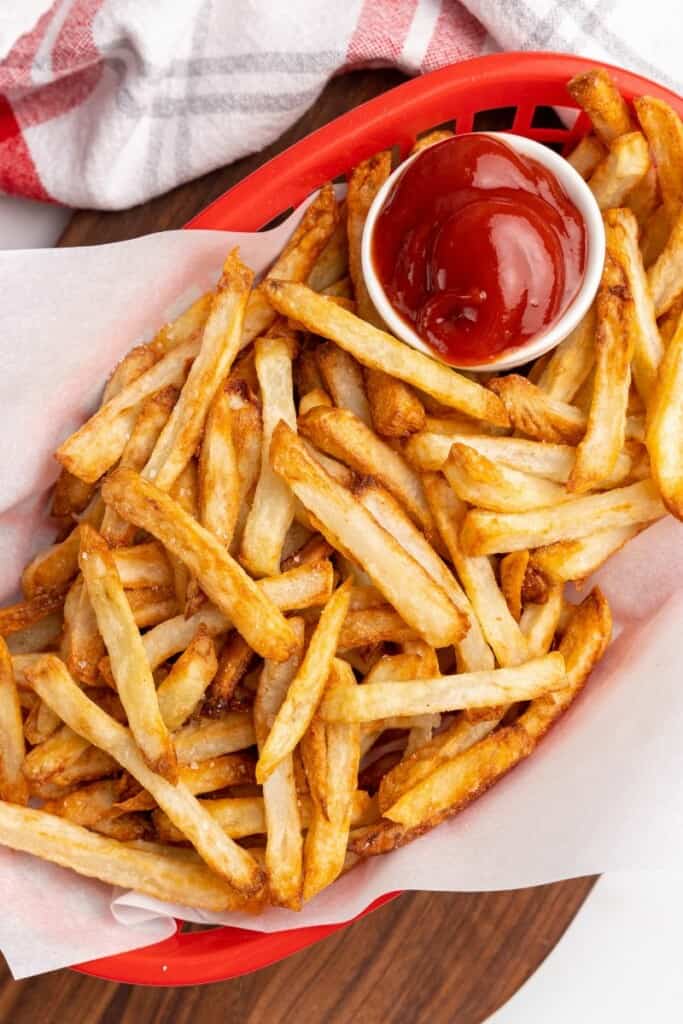
STEP SIX: Sprinkle with additional salt to taste and serve immediately with your favorite dipping sauces.
What to Serve with Ninja Foodi Fries
How Long to Cook French Fries in the Ninja Foodi
We want the fries to be super crispy on the outside and hot and fluffy on the inside.
If you cut them into ¼-inch rectangles, they should cook in 25-30 minutes in the Ninja Foodi.
I recommend checking on them around the 25 minute mark and then checking every minute until they’re cooked just the way you want them.
Tips for Making the Ninja Foodi Air Fryer French Fries
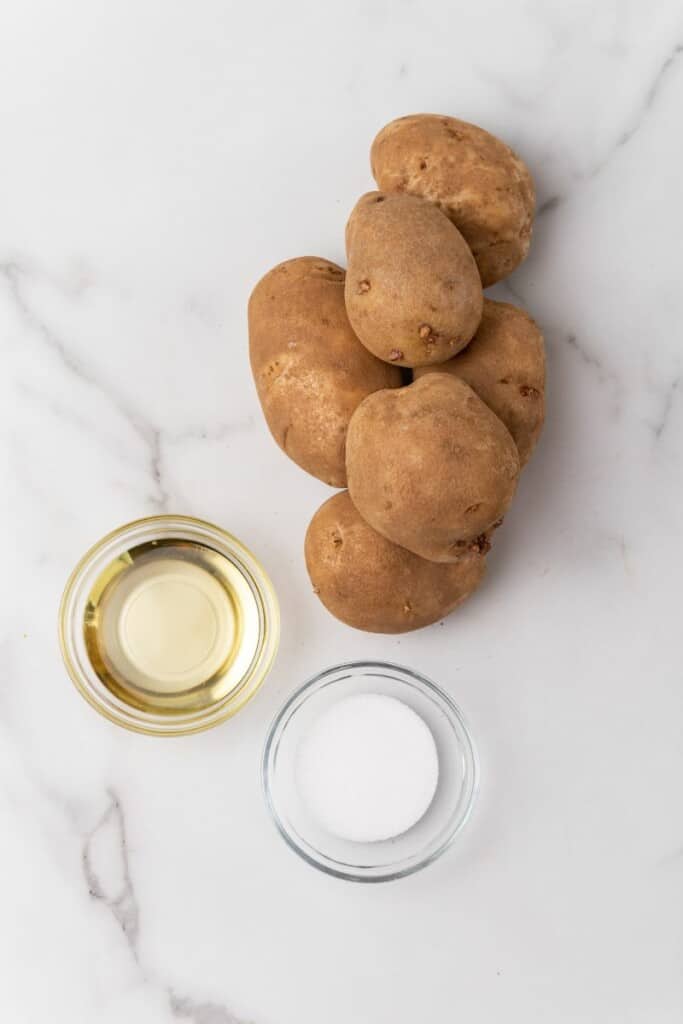
Use russet (baking) potatoes for the fries. They are high in starch, which makes them great for Ninja Foodi French fries.
Try to cut the potatoes into even rectangles. Slicing all of the potatoes to the same size will help them cook evenly. A fry cutter is a great tool here!
After draining the potatoes,dry them as thoroughly as possible. By removing the excess moisture, this helps them crisp up beautifully. If there’s too much moisture, the potatoes will steam instead.
Shake the basket every 10-15 minutes to help the fries cook evenly.
Add extra salt right when they come out of the Ninja Foodi for a true restaurant-quality batch of fries!
For an extra burst of flavor, feel free to add a little French fry seasoning right before serving.
More Delicious French Fry Recipes
Other Ninja Foodi Recipes You’ll Love:
Prep Time 10 minutes
Cook Time 30 minutes
Soak Time 30 minutes
Total Time 1 hour10 minutes
Ingredients
1.5 – 2 lbs russet (baking) potatoes
1 tablespoon + 1 teaspoon salt (divided)
2 tablespoons canola or vegetable oil
Instructions
Peel and wash all potatoes, then cut into ¼” rectangle french fries, using a fry cutter or a knife.
Rinse the potatoes, then soak in cold water with 1 tablespoon of salt for at least 30 minutes (or up to overnight if in the fridge).
Drain the water, rinse the potatoes, then pat dry with paper towel until all moisture has been absorbed (this helps them crisp not steam)
Drizzle oil, and toss to coat.
Air crisp at 390 F in the foodi for 25-30 minutes, shaking the basket every 5-10 minutes to make sure they cook evenly.
Sprinkle with additional salt to taste and serve immediately.
This nutrition information is based on the exact products I used in this recipe. Brands and sizes of products could alter exact nutrition and should always be calculated independently.
Did you make this recipe?
Share a photo on Instagram tagging @EverydayFamilyCooking! I love to see your pictures!
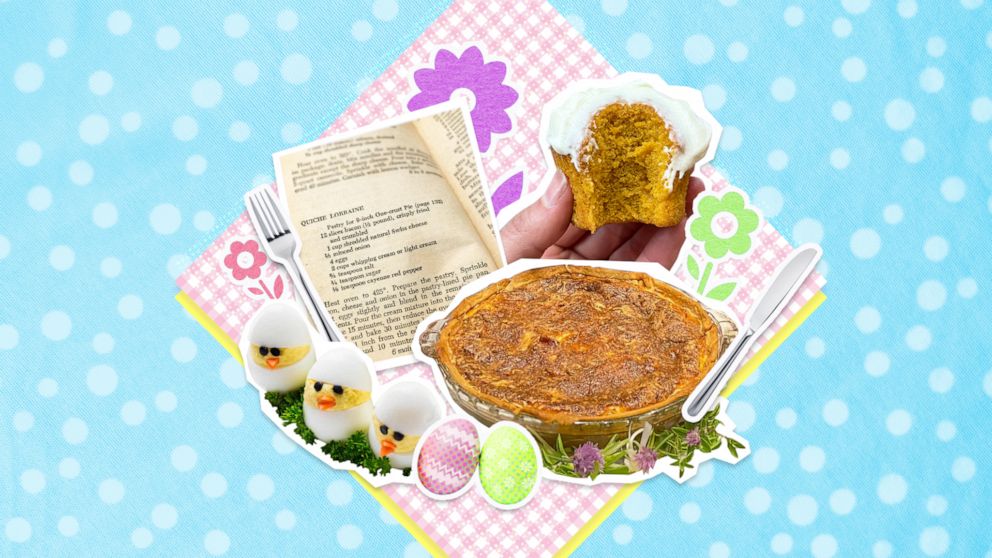
From egg hunts and spiral cut ham to sweet lemon-filled desserts, every Easter table is sure to include some tried and true favorite foods.
Whether you’re searching for a nostalgic recipe like ambrosia salad to whip up fresh for the family or in need of a festive new addition to your usual menu, “Good Morning America” tapped some top food creators who shared passed-down dishes and family recipes that always pop up on their tables.
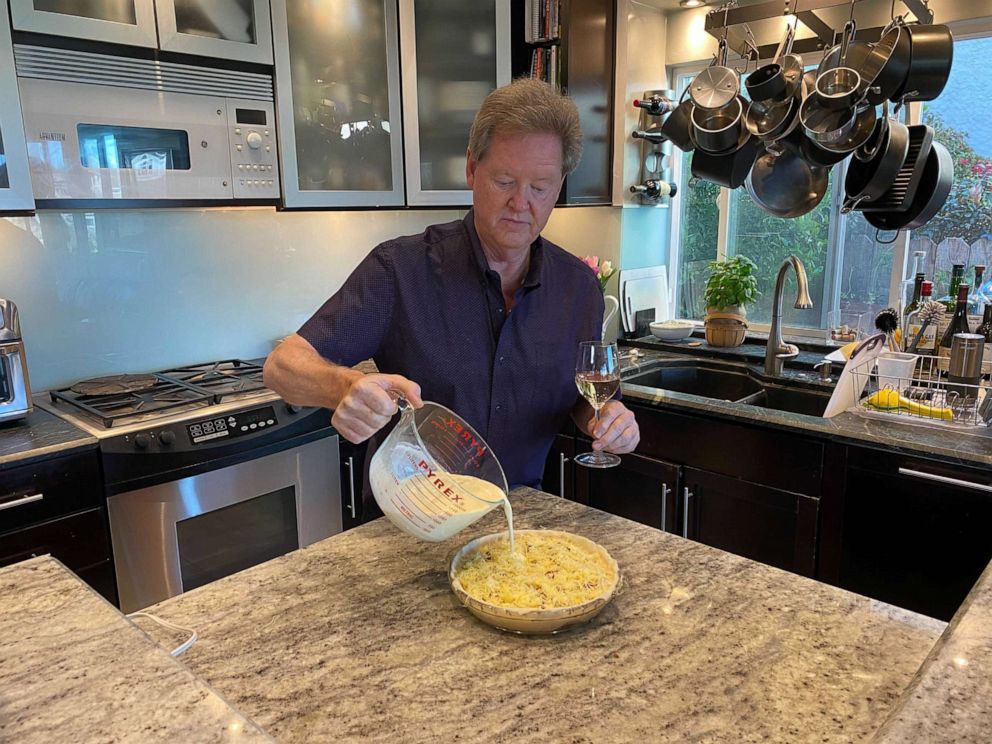
Dan McCarthy proudly serves his classic Quiche Lorraine ahead of Easter brunch.
Lori McCarthy
Air Fryer Hard-Boiled Eggs
Yumna Jawad, creator of Feel Good Foodie, has a creative and fast hack that’s easier than standing over a boiling pot of water.
Food blogger Natasha Kravchuk of Natasha’s Kitchen shared this recipe for a creative twist on an Easter classic, deviled eggs.
Ingredients
12 large eggs, hard boiled and peeled
1/3 cup mayonnaise
1 1/2 teaspoons dijon mustard, or add to taste
1/4 teaspoon garlic powder
1/8 teaspoon salt, or to taste
1 small carrot, peeled and sliced into rings
6 black olives
Directions
Peel 12 hard-boiled eggs. With a sharp knife, slice off a very thin layer from the base of the egg – this will give it a flat surface to stand on a platter. Cut off a generous top third of the egg. Squeeze around the egg base gently to loosen the yolk and it should pop right out. Keep the lids paired with their bases.
In a medium mixing bowl, combine 12 cooked yolks and mash well with a fork. Add 1/3 cup mayonnaise, 1 1/2 teaspoons dijon (or add to taste), 1/4 teaspoon garlic powder and 1/8 teaspoon salt, or season to taste. Mash everything together until smooth. Transfer mixture to ziploc or pastry bag and pipe generously into egg bases. Place top 1/3 back over the base and press down slightly to adhere.
For the eyes, poke through an olive with a plastic straw several times then gently squeeze down the straw and the little circles of olives will pop right out. For the beaks, thinly slice a few rings of carrot and cut each ring into sixths. Insert 2 olive spots for eyes and 2 carrot wedges for the beak. Set chicks on a platter and garnish with fresh parsley or dill to give them that “free range” feel.
Dan McCarthy prepares his Quiche Lorraine, a traditional brunch for Easter morning.
Lori McCarthy
In Dan McCarthy’s house, this French classic has become a holiday brunch staple. He shared his full recipe here and I made my best attempt to recreate it on my own.
Easter Ham and Cheese Omelet Casserole
A slice of baked ham and cheese omelet for Easter brunch.
The Seasoned Mom
If your family opts for a big brunch instead of dinner, this hearty dish from Blair Lonergan, aka The Seasoned Mom, combines Easter ham with eggs to feed a crowd with ease.
Ingredients
8 large eggs (or use 4 whole eggs and 6 egg whites)
1 cup whole or 2{d2b09b03d44633acb673e8080360919f91e60962656af8ade0305d5d8b7e4889} milk
1/2 teaspoon seasoned salt (such as Lawry’s brand)
8 ounces diced cooked ham (or substitute with cooked bacon or sausage)
1 cup grated cheddar cheese
3 tablespoons very finely diced sweet onion
Optional garnish: chopped fresh chives or parsley
Directions
Beat eggs, milk, and seasoned salt together in a large bowl.
Stir in ham, cheese, and onion.
Pour egg mixture into a greased 8-inch square baking dish.
Bake at 350 F for 40-45 minutes, or until the eggs are set and a knife inserted in the center comes out clean.
Cut into squares and garnish with fresh herbs, if desired.
Recipe reprinted with permission courtesy of The Seasoned Mom.
Ambrosia Salad
A bowl of ambrosia salad made with yogurt and homemade whipped cream.
Tastes Better from Scratch/Lauren Allen
Tastes Better from Scratch blogger and recipe developer Lauren Allen shared this throwback recipe that still holds up thanks to its light and refreshing taste that works in accompaniment with any Easter ham or lamb dish.
“I particularly love Ambrosia Salad around Easter time because the soft pastel colors remind me of the season,” she wrote alongside the recipe. “Many recipes for ambrosia salad use cool whip, but if you’ve followed my blog at all, you know I would never use cool whip when I could substitute fresh whipped cream. The taste is so much better!”
Ingredients
1 cup heavy whipping cream
1/4 cup powdered sugar
1/2 cup plain or vanilla Greek yogurt
1 cup shredded sweetened coconut
11-ounce can mandarin oranges, drained
8-ounce can pineapple tidbits, drained
1 cup maraschino cherries, drained
1 1/2 cups mini fruit-flavored marshmallows
Other optional fruit salad add-ins: chopped pecans, sliced bananas, chopped apples
Directions
Add whipping cream to a large bowl or stand mixer and beat with electric beaters for 1-2 minutes. Slowly add powdered sugar and continue beating until stiff peaks form. Fold in yogurt.
Drain canned fruits very well, then add remaining ingredients to a large serving bowl.
Fold in whipped cream mixture. Chill for at least 30 minutes before serving.
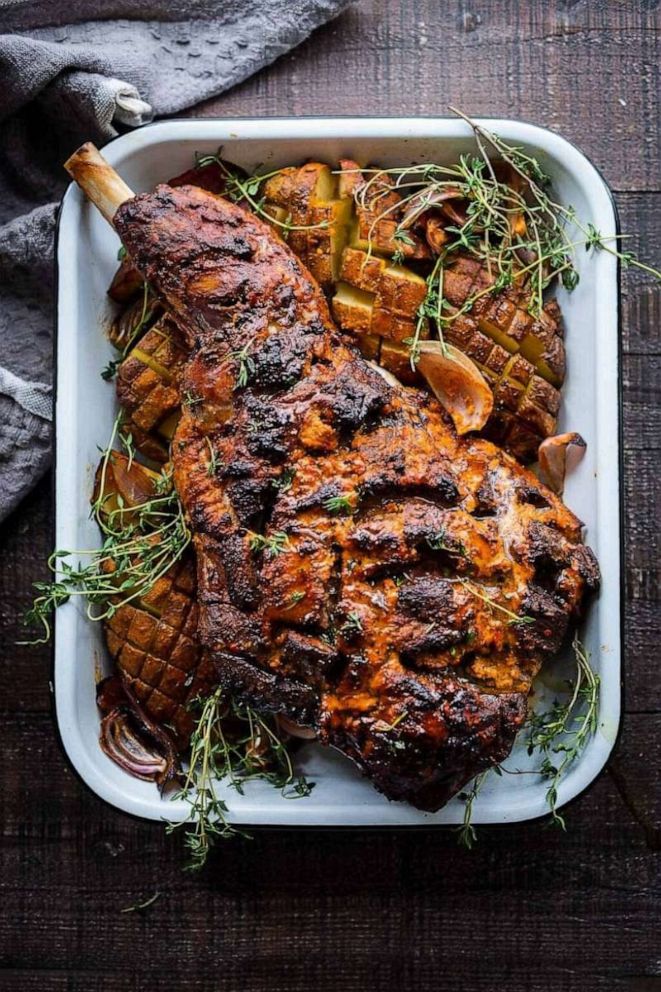
Personal chef and former restaurant owner Sylvia Fountaine — creator of Feasting at Home — shared this showstopping centerpiece for Easter dinner.
With only three minutes of hands-on time, this succulent and savory main dish is a star for a holiday meal like Easter. The bone-in leg of lamb yields a flavorful crust with juicy and tender meat thanks to low and slow-roasting in the oven.
Prep the lamb: Trim the fat off the leg if you prefer a leaner version — or leave some on for extra flavor. Score all sides of leg 1/2 inch deep, 1 1/2 to 2 inches apart (crosshatch if you like), sprinkle generously with salt and bring to room temperature for at least 1 hour.
Preheat oven to 350 F.
Make the marinade: Place garlic, shallot, harissa paste, preserved lemon, salt, cumin, pepper, caraway seeds, thyme and olive oil in a food processor and pulse until uniformly chopped. Add the yogurt, pulse a few times (don’t blend or it will get runny). Taste for heat, adding more harissa paste to taste.
Assemble: Place the lamb over a rack in a roasting pan. Lift the bone end of the leg straight up and brush the underside of the leg with the harissa yogurt, getting into the slits and cuts as best you can. Lay it down over the rack, brush the remaining marinade over the top, getting into slits and lathering it up generously. Nestle in any roasting veggies you like (toss with olive oil and season with salt and pepper first.) You could brush any remaining marinade on the veggies if you like.
Bake at 350 F, plan on 20 minutes per pound for rare to medium-rare, so plan on roughly 2 hours. Place lamb on the lower third of the oven, loosely covered with a foil “tent” for one hour.
Remove foil and check temp. Because every oven is different, keep an eye on the roast after the first hour, checking every 20 minutes or so for over-browning. You can always re-tent with foil if it’s getting too dark. A little color is good here, but you don’t want it to burn. (If you leave the fat on, you can always carefully brown using the broiler at the end to help crisp up that fat.)
Once the roast reaches 125 F to 130 F at the thickest end, pull it out, tent it again and let it rest 15 to 20 minutes before cutting into it, allowing the juices to remain in the meat, which will help keep the meat tender.
Grandma’s Carrot Cake Cupcakes
A homemade carrot cake cupcake.
Jackie Rothong
Chef, food stylist and recipe developer Jackie Rothong shared her grandma’s recipe for delicious carrot cake cupcakes with “GMA.”
“My grandma Mary’s favorite dessert on Easter was always carrot cake, which inherently became our whole family’s favorite cake,” Rothong said. “I started making them into cupcakes when I was in high school — the perfect portion for one — although she would always sneak two.”
“Grating the carrots was always my least fave part. This Easter, I decided to try a new method, let’s call them ‘blender carrot cupcakes.’ A smooth carrot cake does exist and it will be your new favorite holiday dessert,” she added.
Ingredients
4 large eggs
2 cups granulated sugar
2 teaspoons vanilla extract
4 cups carrots, peeled, chopped into 1-inch pieces
2 cups all purpose flour
1 teaspoon baking powder
1 teaspoon baking soda
1/2 teaspoon kosher salt
1 cup neutral oil
Cream Cheese Frosting
1 stick unsalted butter, room temperature
8 ounces cream cheese, room temperature
1 teaspoon vanilla extract
1 pound powdered sugar
1/4 teaspoon salt
Directions
For the frosting, combine butter and cream cheese until smooth. Add the vanilla and powdered sugar. If using a stand mixer, use the paddle attachment until fluffy and light.
Prepare a set of muffin tins with parchment or cupcake liners.
Using a blender combine eggs and sugar and blend until creamy.
Add vanilla and carrots and blend until smooth. Add the measured dry ingredients and scrape down the sides of the blender. Blend until incorporated.
Stream in the neutral oil slowly while blender is on low. Once fully combined and smooth.
Fill the lined pan with batter about 3/4 full.
Bake in a 350 F oven for 18 minutes and let cool before frosting.
Use an offset spatula to cover the cupcakes with cream cheese frosting.
Serve and enjoy!
Check out even more festive Easter dessert recipes here.
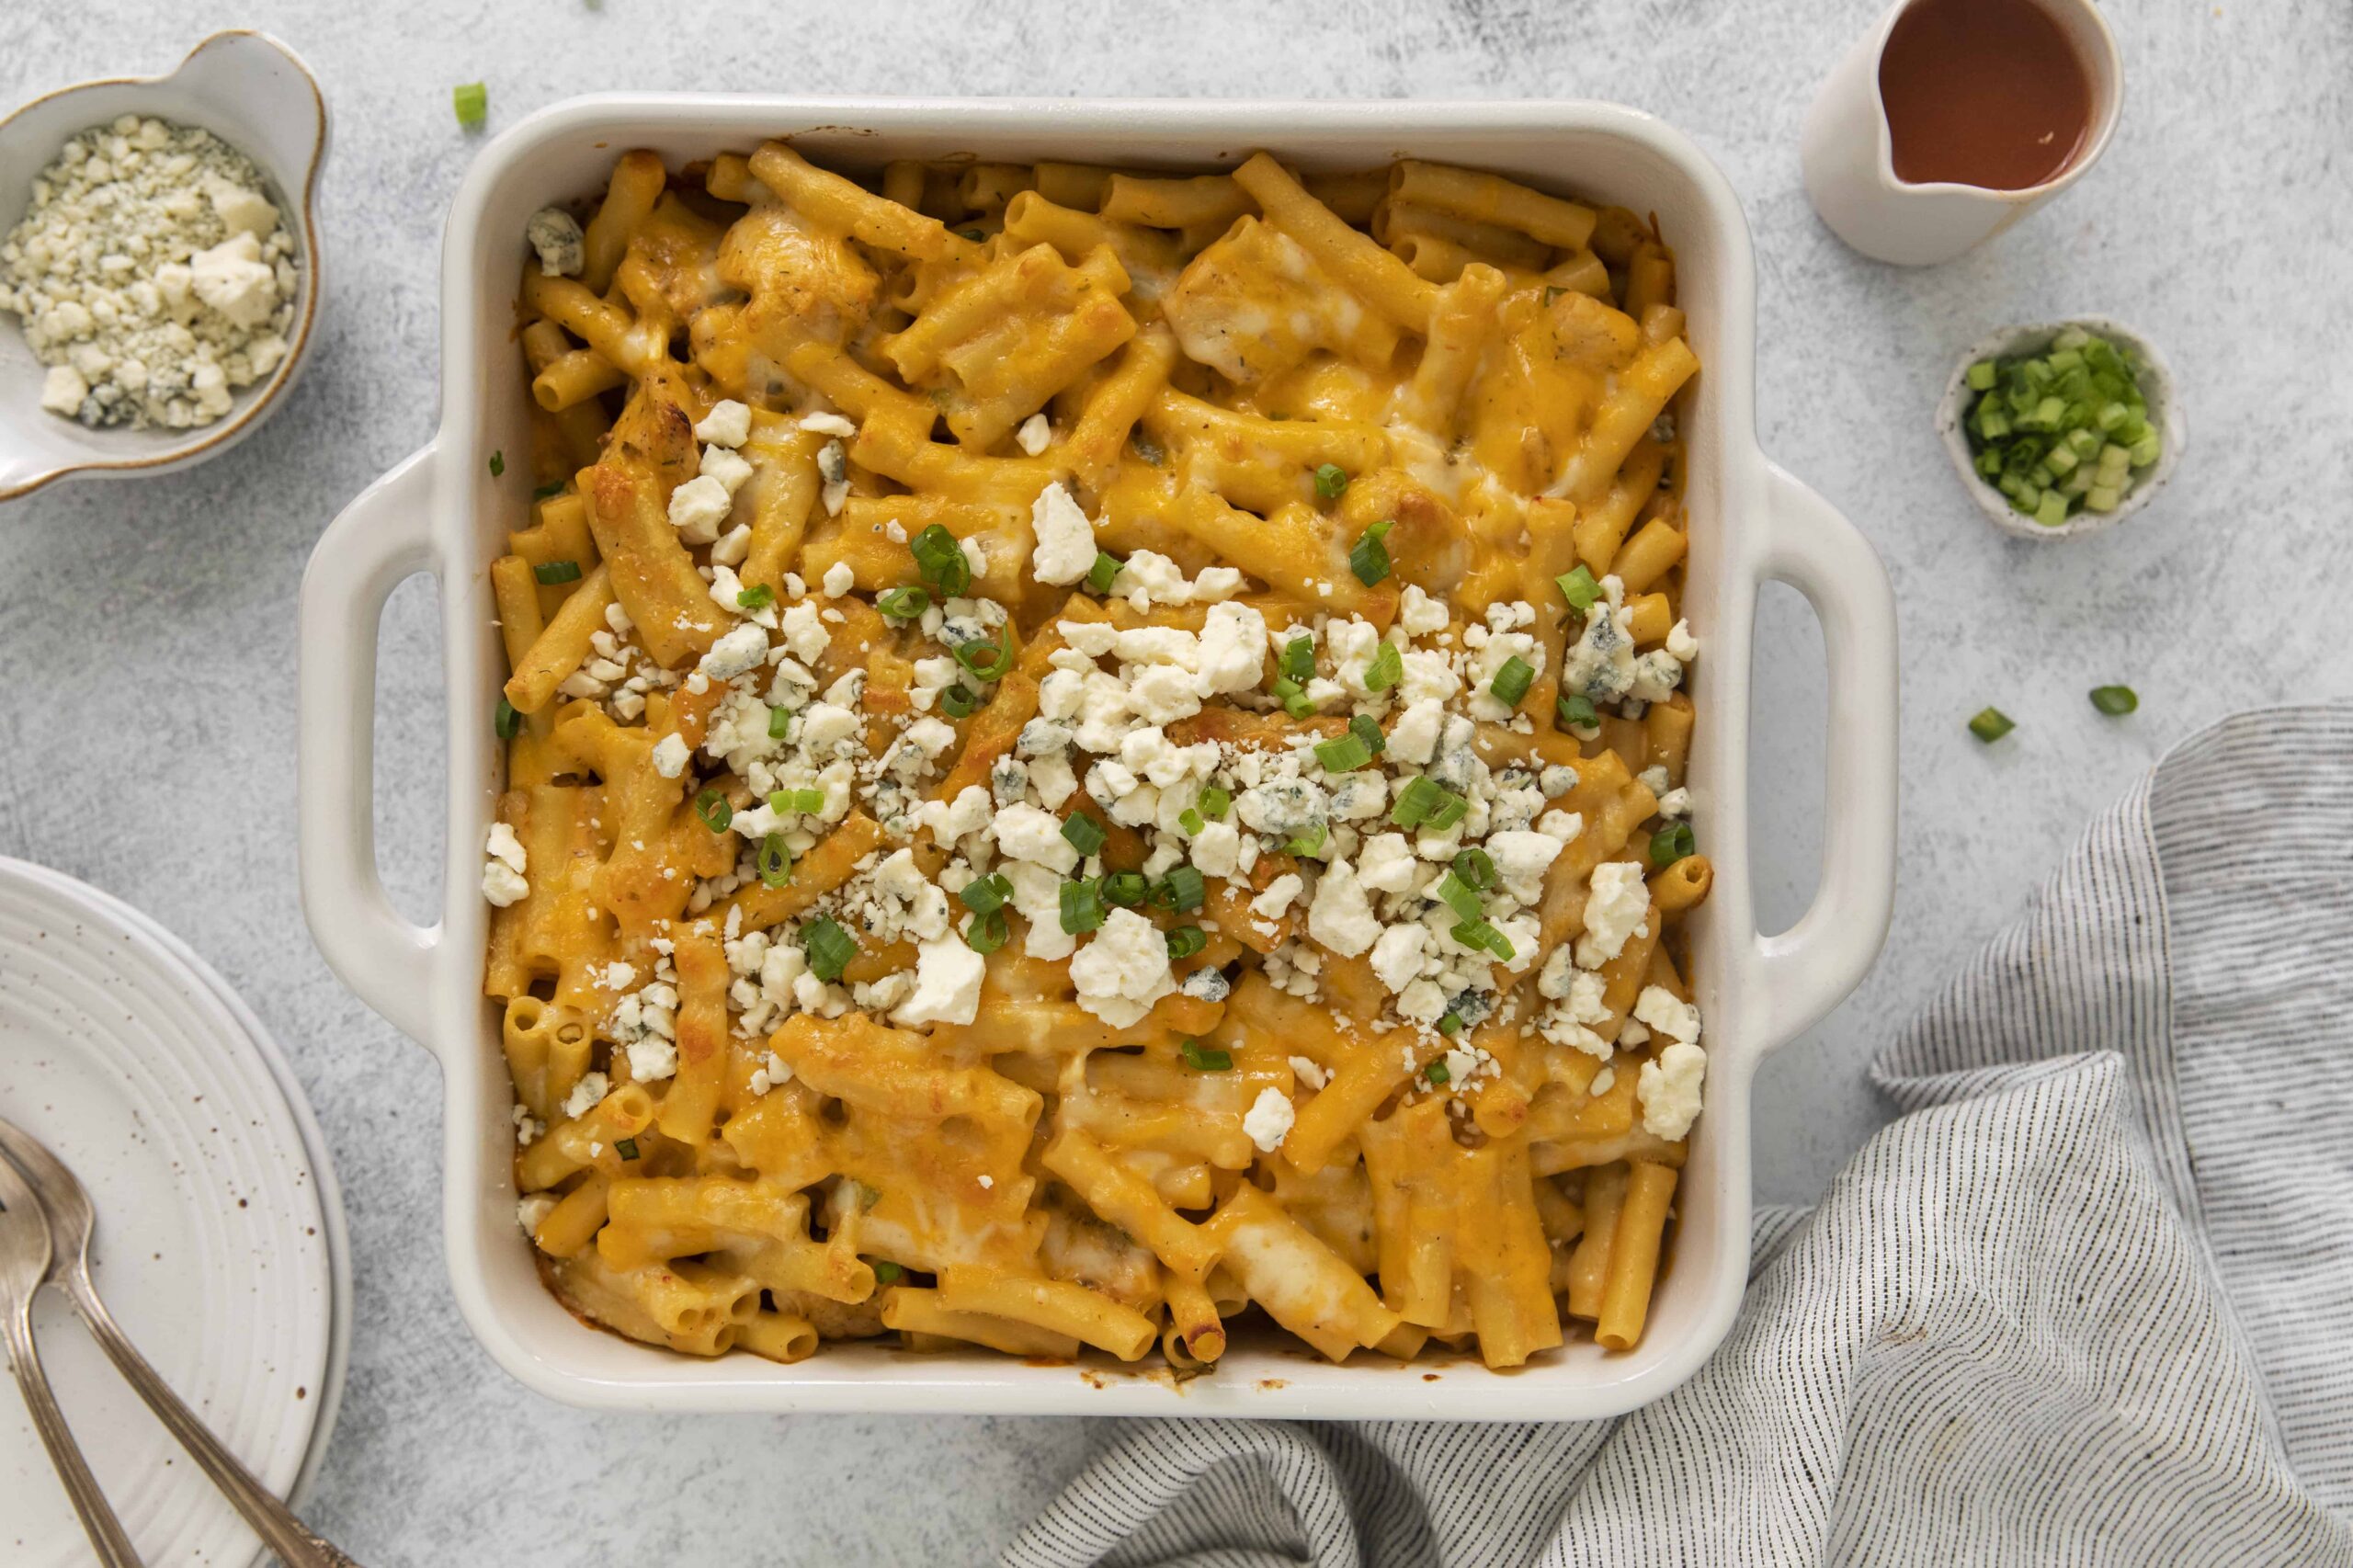
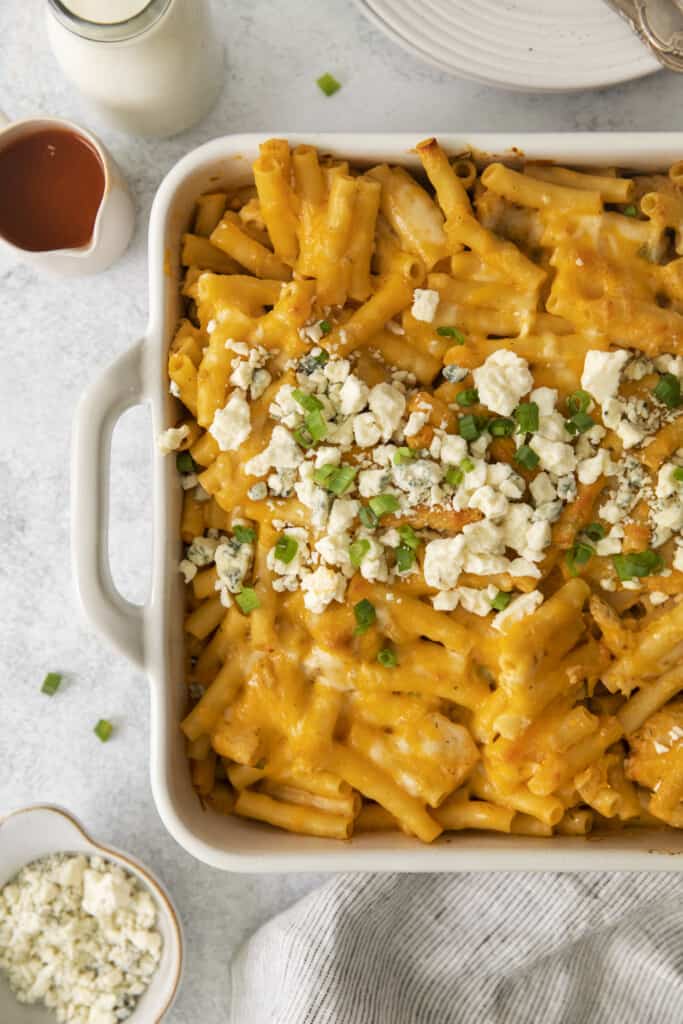
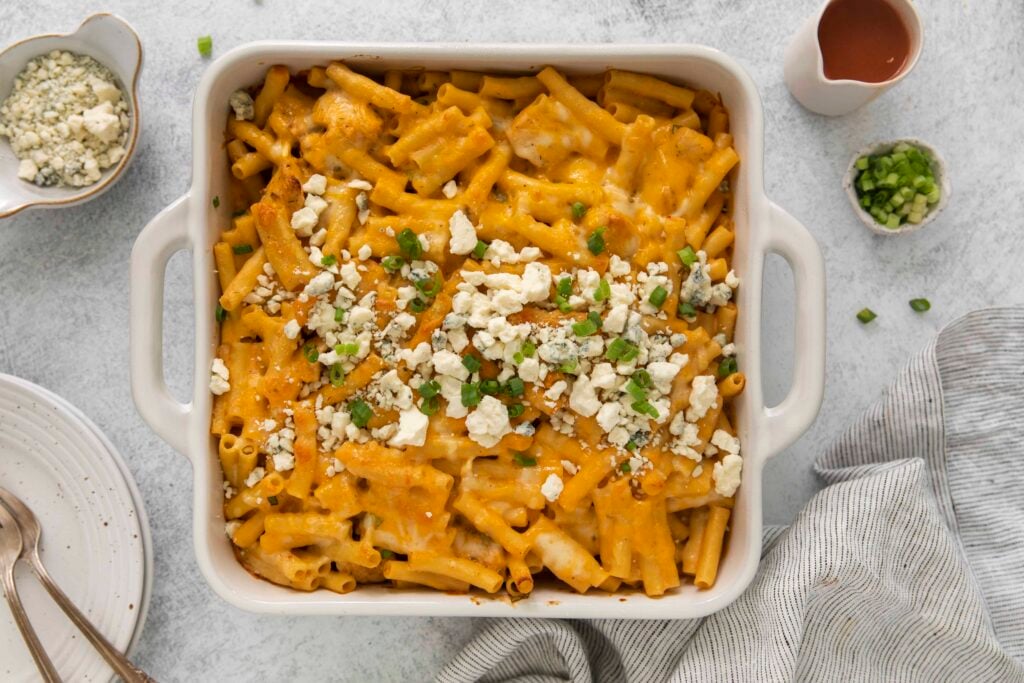
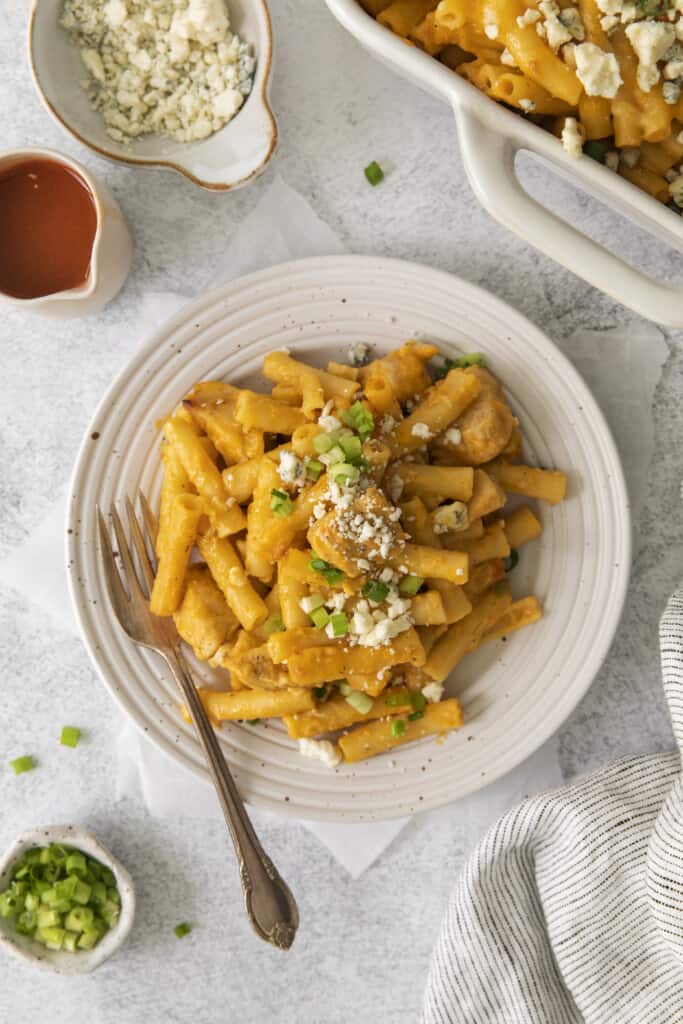
It has heat, meat, and plenty of melty cheese – buffalo chicken pasta bake has everything! It takes just an hour and is perfect for weeknights, gamedays, and every day in between.
This post may contain affiliate links. If you click on a link and make a purchase, I may receive a small commission at no extra cost to you. For more information, please read my disclaimer.
Combining buffalo chicken dip and pasta, you just know it’s going to be good! You get that thick, rich, spicy sauce smothered all over springy, chewy noodles.
This buffalo chicken pasta recipe can be easily doubled, but it’s best to use multiple dishes to make sure all of the cheese melts and the pasta cooks evenly.
It keeps for up to 3 days, so there’s no harm in making plenty to enjoy leftovers throughout the week!
I make this recipe with my homemade buffalo sauce. Note that this recipe makes more than enough for this buffalo chicken pasta recipe – luckily there are plenty of ways to use the leftovers!
Dress up a regular chicken sandwich or make everyday mac and cheese extraordinary.
How to Make Buffalo Chicken Pasta Bake
A full printable version of this recipe with ingredient measurements is available at the bottom of this post.
STEP ONE: Preheat the oven to 400F and lightly grease your 9×13” baking dish.
STEP TWO: Prepare the ziti in a pot of boiling, salted water until al dente. Save ½ cup of the cooking water, then drain the pasta.
STEP THREE: Warm the olive oil in a pot over medium-high heat. Season the chicken with salt, pepper, and ranch seasoning. Add it to the pot and sear for a couple of minutes per side until browned – it’s okay if it isn’t cooked through. Remove from the heat and set aside.
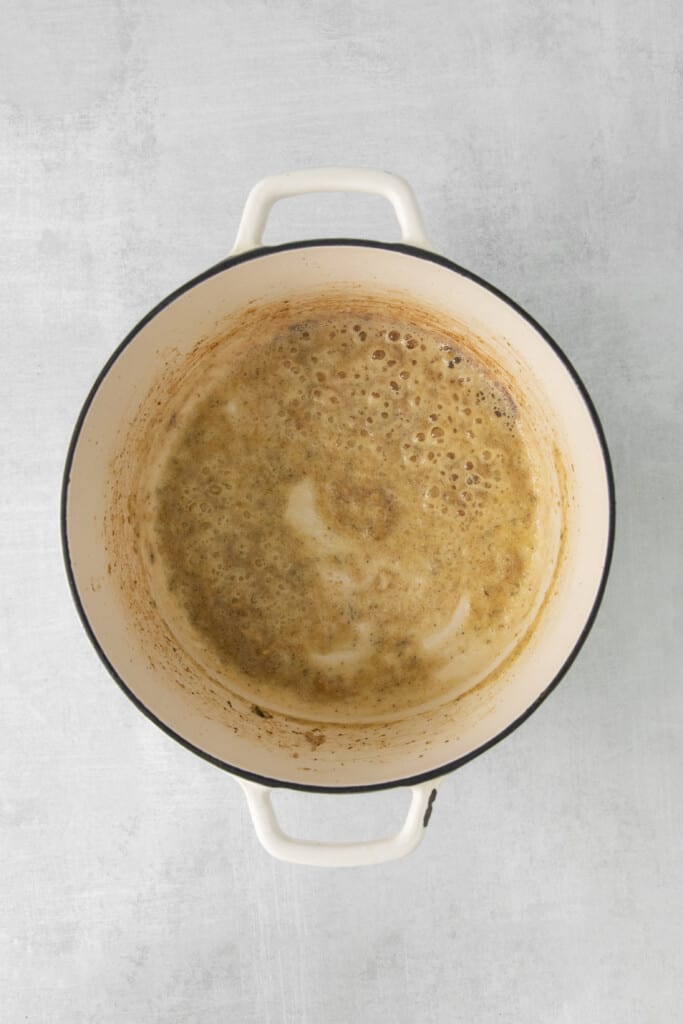
STEP FOUR: Add butter to the pan. Once melted, add the flour and whisk. A roux will form after a few minutes of continuous whisking.
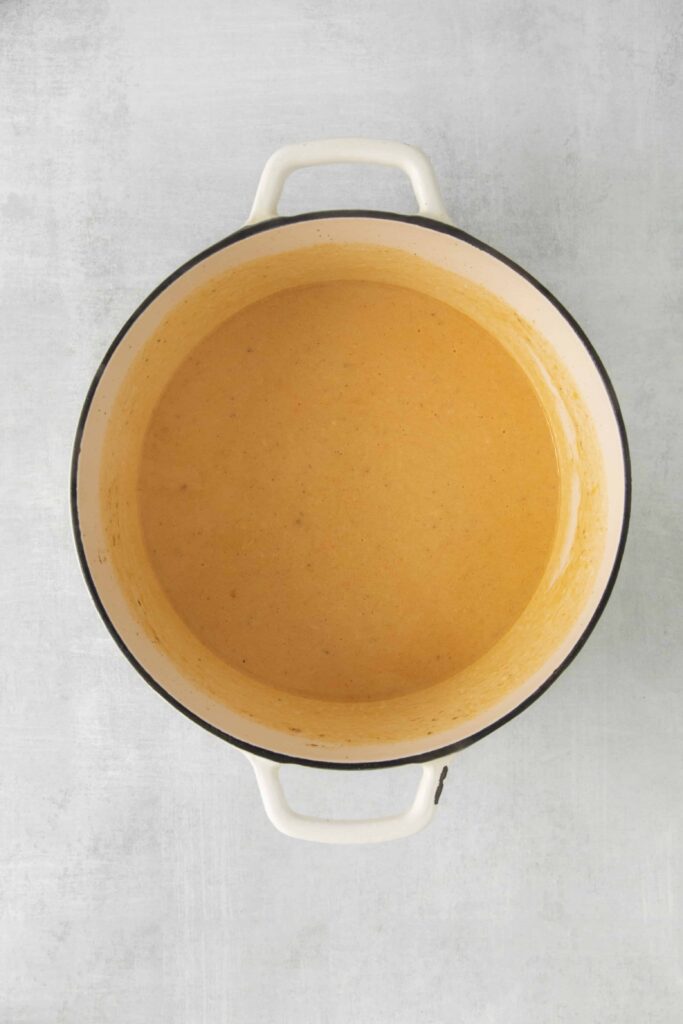
STEP FIVE: Add the milk and buffalo sauce. Continue whisking until all lumps are worked through. Bring to a simmer and cook until thick enough to coat your spoon.
STEP SIX: Bring the heat down to low and add 1 ½ cups of cheddar cheese and 1⁄2 cup of Pepper Jack. Whisk until the cheese melts.
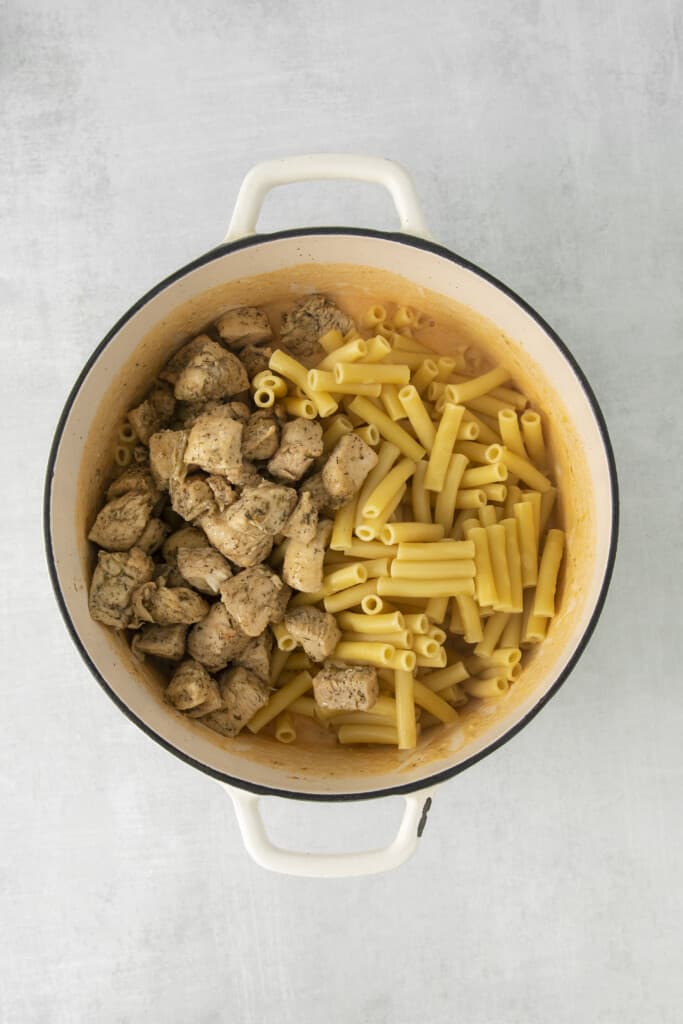
STEP SEVEN: Take the pot off the heat and add the pasta. Follow with the chicken, onions, and blue cheese. Stir until combined. If the sauce is too thin to coat, pour some of the retained cooking water and stir until thickened.
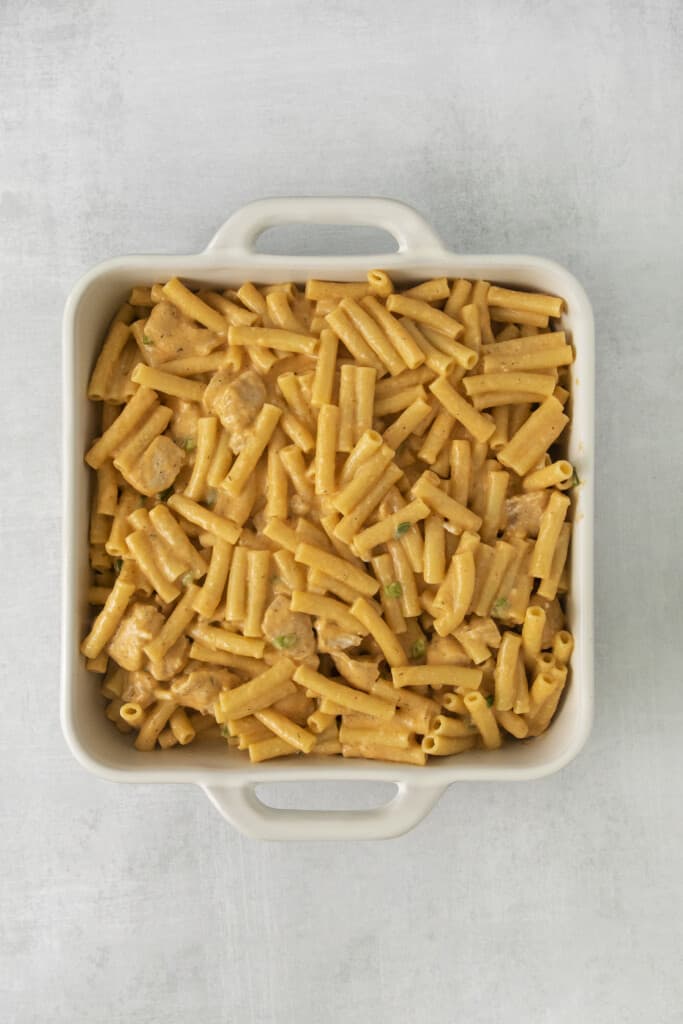
STEP EIGHT: Spoon the coated pasta into the prepared dish, top it with the remaining cheeses, and bake for 15 to 18 minutes until the cheese is melted and bubbling. Give the buffalo chicken pasta bake a few minutes to cool and garnish with extra cheese and onions if desired.
Adjust the Spice of Your Buffalo Chicken Casserole
This buffalo pasta chicken bake has a medium spice level as-is – not at all overwhelming.
However, if you find you’d like less heat, simply reduce the amount of buffalo sauce to just ¼ cup. It can also be left out of the buffalo chicken bake altogether, although it isn’t really buffalo chicken pasta at that point!
Spice lovers can amp things up by adding just a pinch of cayenne or red pepper flakes to the cheese sauce as it melts.
Buffalo Pasta Chicken Bake Recipe Variations
We use blue cheese. It gives that chicken wing flavor but is certainly an acquired taste. A tangy feta or some cream cheese does a great job of adding extra dimension too!
Any short pasta is suitable for our buffalo chicken pasta recipe. Macaroni is another popular choice, for example, as well as rotini.
While this buffalo chicken bake is made with breast meat, you could use thighs or tenders. You could even use shredded rotisserie chicken to really save some time!
Ranch is a staple of any buffalo chicken dip pasta (or just the dip on its own), but the ranch seasoning can be left out if desired.
The onions aren’t necessary, but the sharp earthiness they bring helps to keep each bite interesting! If you’re looking for substitutes, I recommend fresh parsley.
Can This Buffalo Chicken Pasta Bake Recipe Be Made Ahead of Time?
Buffalo chicken casserole keeps well in the refrigerator for up to three days.
It’s important to keep it chilled and properly covered so the cheese does not harden or turn in the meantime.
You could also put the whole thing together and then bake it for just an hour or so before serving. Give it 30 minutes or so for it to come to temperature before putting it in the oven.
Then, you can bake it as you normally would.
In this case, make sure the chicken is cooked all the way through before adding it to pasta.
Why Is My Buffalo Chicken Pasta Bake So Dry?
This usually happens because you have more pasta than you have sauce.
Another common culprit is undercooked pasta – it can be hard to get it al dente without following the instructions on the box, so be sure to follow them just right.
Finally, be sure to cook the sauce until it’s properly thick, ooey, creamy, and cheesy.
Other Casserole Recipes You’ll Love:
More Buffalo Chicken Recipes
Prep Time 15 minutes
Cook Time 40 minutes
Total Time 55 minutes
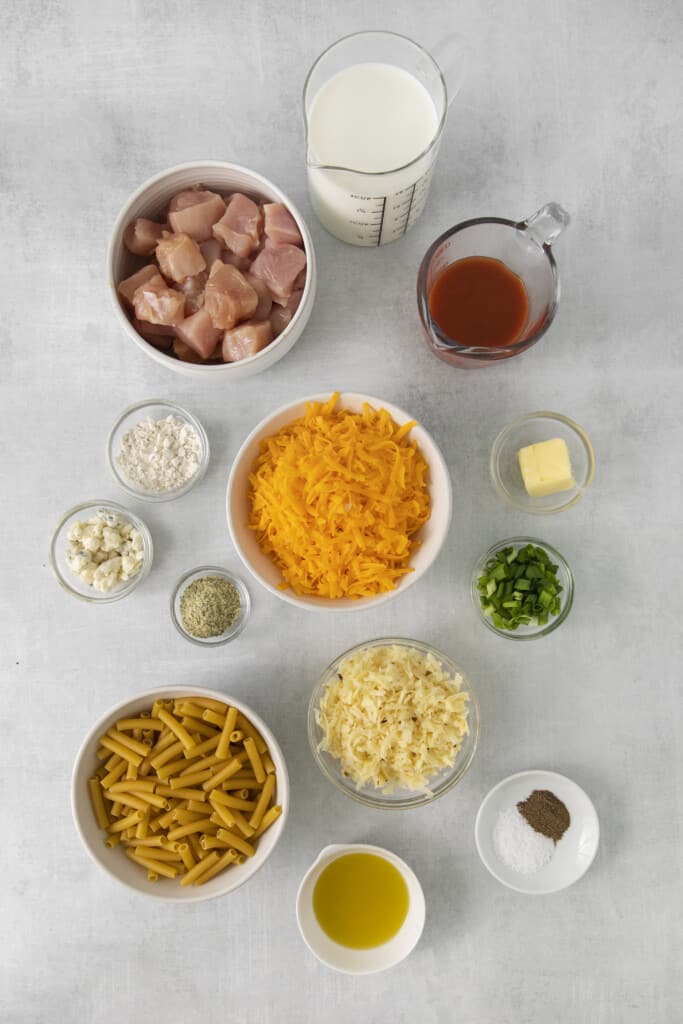
Ingredients
1 box (16 ounces) uncooked ziti
2 tablespoons olive oil
1 pound boneless skinless chicken breast, cut into ½” cubes
2 teaspoons ranch seasoning
1 teaspoon kosher salt
½ teaspoon black pepper
2 tablespoons butter
2 tablespoons all purpose flour
3 cups milk
½ cup homemade buffalo sauce (see notes)
2 ½ cups freshly shredded cheddar cheese
1 ½ cups freshly shredded pepper jack
¼ cup sliced green onion, plus more for garnish
¼ cup blue cheese crumbles, plus more for garnish
Instructions
Preheat the oven to 400F and grease a 9×13” pan with nonstick cooking spray.
Bring a large pot of salted water to a boil. Cook the ziti to al dente according to the package directions (about 8 minutes). Reserve ½ cup of starchy cooking water and then drain the pasta and set it aside.
In a large pot or dutch oven, add the olive oil and warm it over medium-high heat.
Sprinkle the cubed chicken with kosher salt, ranch seasoning, and black pepper. Toss to evenly coat the chicken with the seasoning.
Add the chicken to the pan and sear for 1-2 minutes per side, or just until the chicken is lightly browned– it won’t be fully cooked in the middle. That’s okay! Remove the chicken to a plate and set it aside.
Add the butter to the pan (still over medium-high heat) and allow it to melt. Next, add the flour and whisk until a roux forms. Cook the roux, whisking constantly, for 1 minute.
Next, add the milk and buffalo sauce. Whisk until no lumps of roux remain. Bring the sauce to a simmer and cook until it has thickened just slightly and barely coats the back of a spoon.
Reduce the heat to low and add 1 ½ cups of cheddar cheese and ½ cup of pepper jack cheese. Stir until the cheese has melted.
Remove the pan from the heat and add the cooked pasta, cooked chicken, green onion, and blue cheese crumbles. Stir to combine. If the sauce becomes too thin, add a splash of the reserved pasta water and continue to stir– we want a really gooey, creamy sauce.
Transfer the pasta mixture to the greased pan and top with the remaining cheddar and pepper jack cheese.
Bake for 15-18 minutes or until the cheese is melty and bubbling. Garnish with additional crumbled blue cheese and sliced green onion, and enjoy.
This nutrition information is based on the exact products I used in this recipe. Brands and sizes of products could alter exact nutrition and should always be calculated independently.
Did you make this recipe?
Share a photo on Instagram tagging @EverydayFamilyCooking! I love to see your pictures!
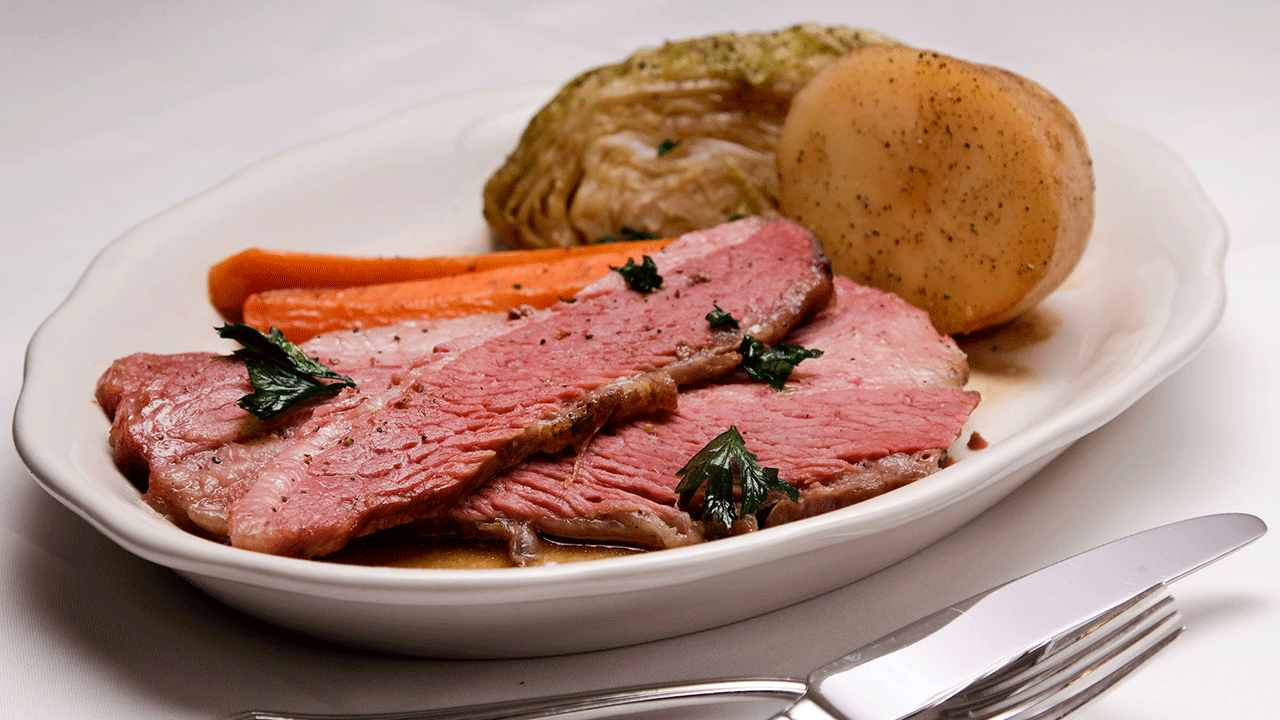
If you are celebrating St. Patrick’s Day, you may be interested in making (or eating) corned beef and cabbage.
If the responsibility to make the corned beef falls on you this year, here are some tips and tricks to help you cook the perfect Irish meal for everyone to enjoy.
Best seasonings
Best cheeses
Best sauces
Best temperature for cooking
Best bread
1. Best seasonings for corned beef
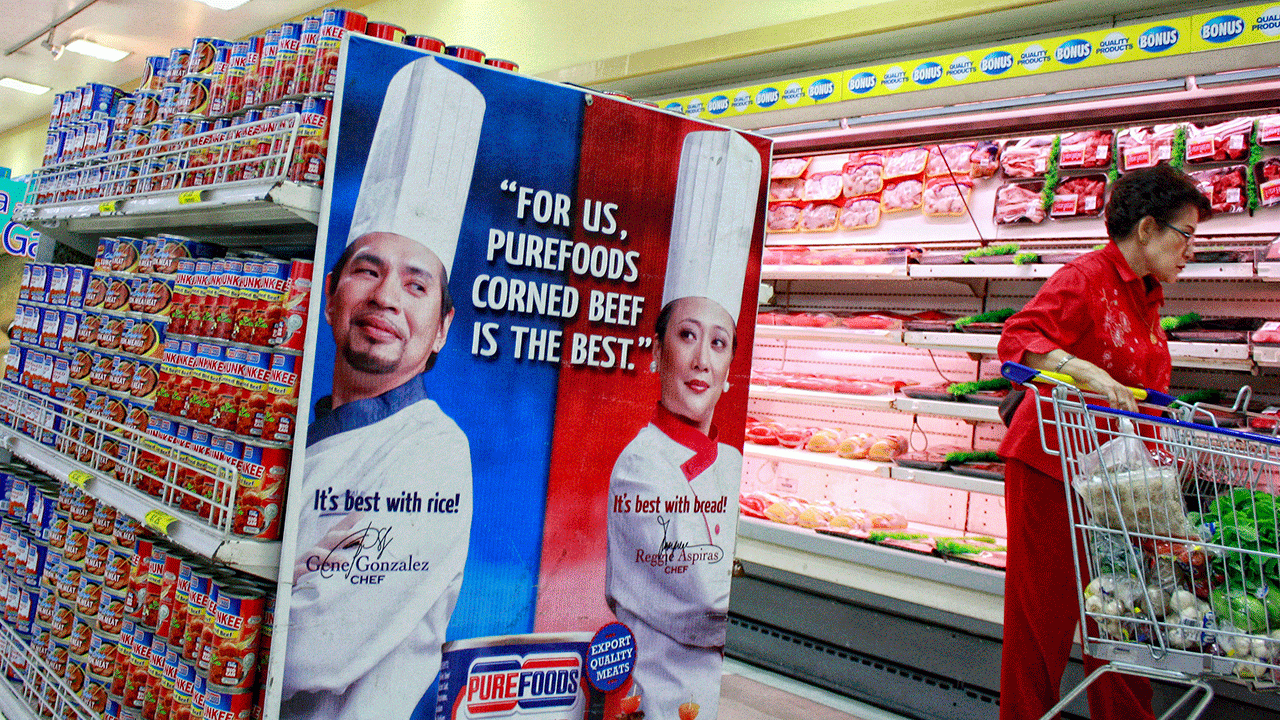
If you buy a packaged corned beef from the store, it is very possible that it has already been seasoned.
ST PATRICK’S DAY: THE HISTORY BEHIND THE HOLIDAY IN THE UNITED STATES
While it wouldn’t hurt to add more, make sure to check before you start adding extra ingredients.
If you buy a packaged corned beef from the store, make sure to check and see if it has already been seasoned.(Edwin Tuyay / Bloomberg via Getty Images / File)
Some of the best seasonings for corned beef, according to NewsCore, include peppercorn, bay leaves, allspice, cinnamon, ginger, coriander, cloves, nutmeg, mustard seed and garlic.
2. Best cheeses for corned beef
There are lots of different cheeses that pair wonderfully with corned beef.
Because there are so many different variations of cheese that work, it’s up personal preference as to which cheese you pair with the meat.
ST PATRICK’S DAY: THE BIGGEST PARTIES ACROSS UNITED STATES TO CELEBRATE LUCK OF THE IRISH
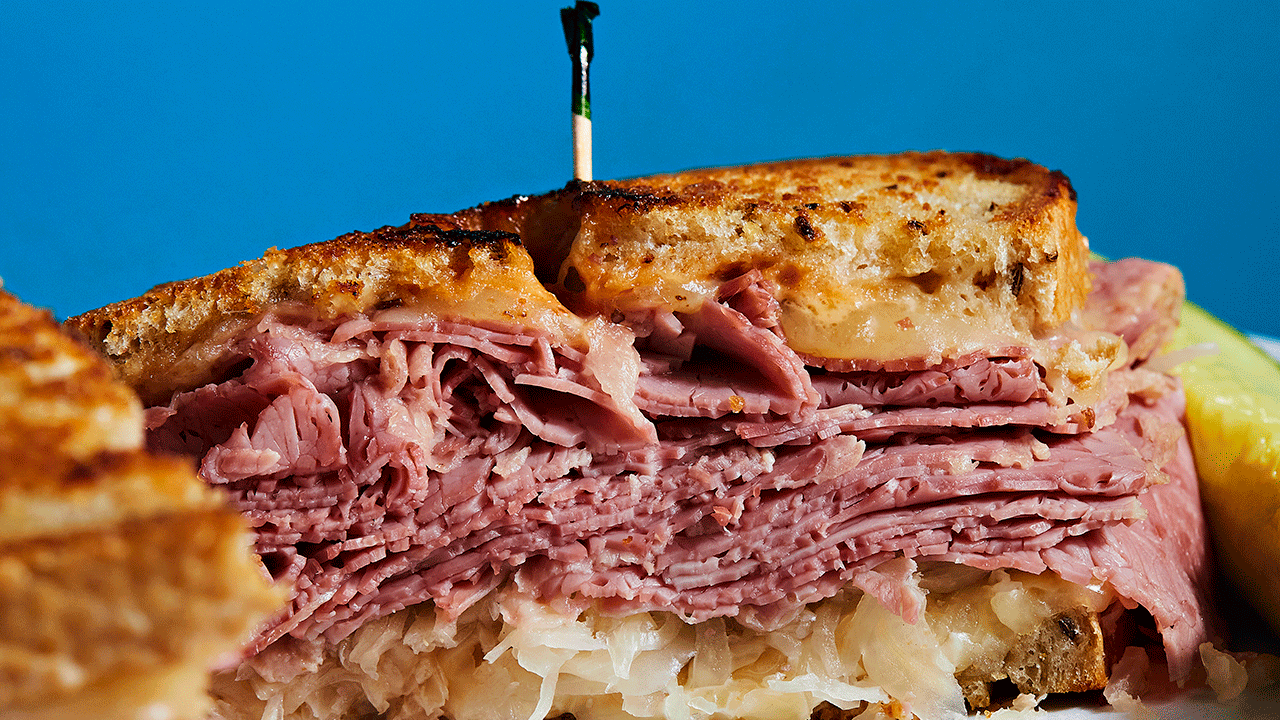
That said, when it comes to making corned beef sandwiches, Swiss cheese is the favored choice, with provolone also being a popular option.
If you’re making a platter of a variety of meats and cheeses, include corned beef, include Havarti and cheddar cheese. If you are someone who likes a little extra kick, add pepper jack to your tray.
Popular cheeses for a corned beef sandwich are provolone and Swiss.(Deb Lindsey for the Washington Post via Getty Images / File)
3. Best sauces for corned beef
If you’re making ham, you’ve got to have your ham sauce. If you’re making turkey, you can’t forget the gravy. When it comes to corned beef, mustard is the way to go.
There are lots of different sauces you can make with your corned beef, but mustard sauce is the most popular.
CELEBRATE ST PATRICK’S DAY WITH AUTHENTIC IRISH SODA BREAD: ‘EVERY MOTHER IN IRELAND HAS HER OWN VERSION OF IT’
Mustard sauce is extremely easy to make. It is made with just a few ingredients that you probably already have around the house. All you need to make your own mustard sauce is yellow mustard, vinegar, sugar, salt, pepper, and for extra flavor, you can add garlic powder. Include a raw egg whisked well for a creamier texture.
There are lots of different sauce options for corned beef, one of which is a mustard sauce.(Paul Aiken / Digital First Media / Boulder Daily Camera via Getty Images / File)
Some other sauces to pair with your corned beef are horseradish sauce or gravy with a Guinness base.
4. Best temperature for cooking corned beef
Most corned beef recipes call for the meat to be cooked at 350 °F for two to three hours.
CLICK HERE TO SIGN UP FOR OUR LIFESTYLE NEWSLETTER
The amount of time that you cook the corned beef depends on how large it is.
The best temperature to cook corned beef at is 350 °F until the temperature of the meat reaches 195 °F. This will typically take two to three hours, depending on the size of the meat.(Ricardo DeAratanha / Los Angeles Times via Getty Images / File)
The internal temperature of corned beef, according to Taste of Home, should be 195 °F when it is done cooking.
5. Best bread to pair with corned beef
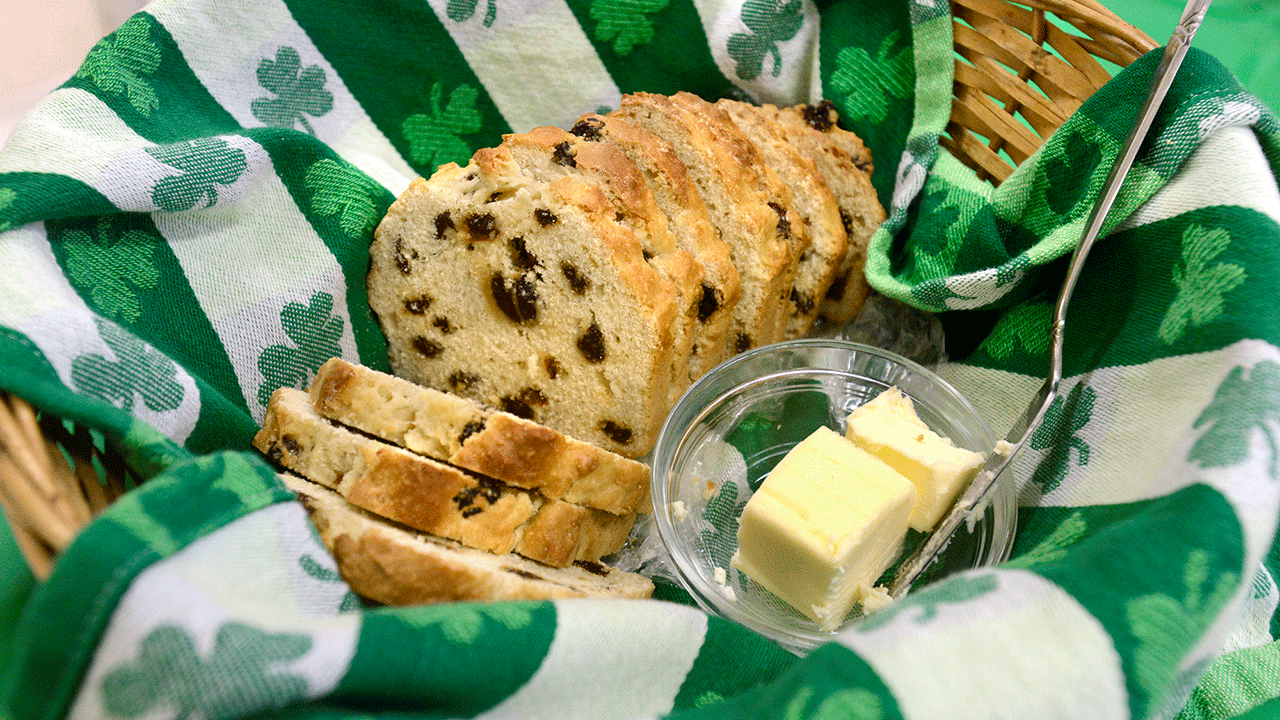
One of the most popular breads to pair with corned beef is Irish soda bread.
The recipe for Irish soda bread via Kraft Heinz calls for an egg, sour cream, butter, brown sugar, flour, baking soda, salt and raisins.
Ingredients:
1 egg
1 container (16 oz.) sour cream
1/4 cup butter, melted
1/4 cup packed brown sugar
3-3/4 cups flour
1 tsp. baking soda
1/2 tsp. salt
1 cup raisins
Once you’ve got all your ingredients together, combine the egg, sour cream, melted butter and sugar.
Irish soda bread is a commonly made dish for St. Patrick’s Day.(John Patriquin / Portland Press Herald via Getty Images / File)
Then, in a large bowl, combine flour, baking soda and salt. Pour in the sour cream mixture and raisins. Stir until you reach a dough-like consistency.
Place your dough on a floured surface and knead. Shape the dough into a ball and put it into a 4-quart slow cooker that has been sprayed with cooking spray.
Make a light “X” on the top of the dough. Cover with lid.
CLICK HERE TO GET THE FOX NEWS APP
Cook the dough on high for 2 hours and 45 minutes to 3 hours. Put a cake tester or toothpick into the dough to check if it’s fully cooked. If it comes out clean, your bread is done.
While Irish soda bread is the most popular choice, there are others that pair well with corned beef. You can serve with sourdough or rye bread, brioche, ciabatta, focaccia, pumpernickel or challah bread.
I find it very refreshing to know that every family trying to figure out dinner struggles. From meal planning to prepping to grocery shopping, it’s all kind of chaotic, and I find that the simpler, the better. (Especially if you have picky kids anyway.) Sticking to five-ingredient meals, from desserts to breakfast to dinner, means you can give yourself an easier grocery shopping list and less time stressing at 5 p.m. Five ingredients sounds so specific that it almost feels impossible to do, but there are a surprising amount of five-ingredient meals and recipes to try for the entire family.
And trust me, as a mom of three, I’ve struggled a lot with figuring out budget-friendly recipes. I get real tired real quick of casseroles featuring rice and canned soups, and can only have so many of those types of dinners before I’m ready to pull out a cookbook with extensive recipes that require a $100 grocery trip. But this list of five-ingredient meals is a good mixture of super easy kid-friendly recipes like pizza chicken casserole, but also has some fun favorites sprinkled in, like pumpkin cinnamon rolls and coconut curry.
So whether you need something for lunch, a quick dinner before soccer practice, or want to make a sweet treat that doesn’t require half the pantry, this list of five-ingredient meals is for you.
1
Coconut Curry
This coconut curry featured on Yummly is, of course, only five ingredients, but it’s also incredibly filling thanks to the chickpeas and broccoli. This is an easy one to double up for leftovers or lunches if you want, and it’s super quick to pull together.
2
Teriyaki Chicken
This teriyaki chicken recipe featured on Yummly could not possibly be any easier. All you need are some pantry staples like soy sauce, brown sugar, garic, and ginger to make this flavorful sauce over chicken breasts. Throw a bag of frozen veggies in the microwave to steam and add some rice, and you’ve got a gourmet meal ready to go in no time.
3
Pizza Chicken Casserole
I mean, casseroles are usually pretty flavorful and full of cheese, but this pizza chicken casserole featured on Yummly is like the ultimate comfort food. Tons of mozzarella cheese, cream cheese, and marinara sauce over chicken with garlic make for an epic dinner.
4
Instant Pot Carnitas
I love the idea of making these five-ingredient Instant Pot carnitas for a week of lunches, but they’re obviously great for any time of the day. Using oranges and limes, this recipe is super budget-friendly and doesn’t skip out on any flavor.
5
Italian Sausage & Kale Baked Ziti
OK, to be fair, a lot of five-ingredient meals are going to require pasta so that they are nice and filling, but this baked ziti recipe from Gimme Some Oven is especially good. With italian sausage and kale (and of course, lots of cheese), this five-ingredient recipe kind of breaks the mold and packs a lot of flavor.
6
Pizza Poppers
Another pizza recipe, but these five-ingredient supreme pizza poppers featured on Yummly are literally so easy to put together, it’s hard to believe they’re also delicious. Rolling out crescent roll dough and adding in the toppings is really all you need to do — and you can feel free to customize them. But a note: on their own, these are really best as an appetizer or heavy snack, so maybe put together a salad or some veggies on the side to go with them.
7
Chicken Soup
Who doesn’t love a great chicken soup recipe? This one from Yummly is full of protein thanks to the chicken breast and great northern beans, and you can really jazz it up with some toppings you already have in your fridge like avocado or sour cream.
8
Rolo Cookies
If you love an uncomplicated dessert, these five-ingredient Rolo cookies from Yummly are too perfect. Using a boxed cake mix and a couple of other pantry staples (plus Rolos), you and your family can make some delicious, easy cookies for a family movie night or just a sweet treat.
9
Chicken Parmesan Lasagna
OK, remember what I said about pasta? Here’s another five-ingredient pasta recipe that goes above and beyond noodles and sauce. The five-ingredient chicken parmesan lasagna from Yummly can be made on the stove or in your slow cooker, so it even has the added benefit of being done at 5 p.m. thanks to just a little bit of work on your part in the morning.
10
Baked Tortellini Casserole
Yes, we’re still sharing pasta recipes, but stick with me. This five-ingredient baked tortellini casserole from Yummly is so good. Using both spaghetti sauce and alfredo sauce, it’s hard to believe such a decadent dish is only five ingredients. Add in some sausage links and tortellini (and cheese, always) and this is a super filling meal everyone will love.
11
Crispy Potsticker Brie Bites
I love the idea of these five-ingredient crispy potsticker brie bites from Cooking for Keeps for a heavy snack or a light dinner. They’re also super festive and look great for a holiday party, but delicious bites of brie are always in season, so feel free to make whenever.
12
Airfryer Zucchini Fries
Another heavy snack idea (or a great dinner side) is this recipe for airfryer zucchini fries from A Pretty Life in the Suburbs. Zucchini are usually pretty cheap for produce, so it’s nice to think of this easy five-ingredient meal as an appetizer or for kids who love a crunch, but need some extra veggies.
13
No-Bake Peanut Butter Oat Squares
These no-bake peanut butter oat squares from Cookies and Cups are so easy and also so delicious and filling. Even better: they only have three ingredients. With peanut butter and oatmeal, these actually feel like a fairly good-for-you treat, and the honey is a great way to add some sweetness without going overboard.
14
Banana Pancakes
Who doesn’t love pancakes? These banana pancakes from Cookie and Kate are easy, budget-friendly, and help you combat food waste by using super ripe bananas that might’ve been ignored by the family the rest of the week.
15
Chicken Guacamole Taquitos
Give me all the taquitos. If you’re having a relaxing family movie night or planning for a party, these chicken guacamole taquitos from Gimme Some Oven are a great five-ingredient meal to pull together. You can even freeze these and save them for future lunches or dinners.
16
Lemon Chicken With Asparagus
Talk about a one-pan meal, this lemon chicken with asparagus from Pinch of Yum is so flavorful and easy. Add some mashed potatoes on the side if you want, but I think this is a filling enough meal all on its own.
17
Skillet Gnocchi
OK, OK, let’s do another pasta dish! But this five-ingredient skillet gnocchi from Two Peas and Their Pod is so lovely. Fair warning: there’s no meat in this one, but it’s still a great weeknight meal that you could pair with some chicken or sausage if you wanted.
18
Peanut Butter Cookies
Peanut butter is definitely a theme in easy, cheap desserts, and these peanut butter cookies from Cookie Named Desire prove that. There are only three ingredients, and the recipe makes the chewiest, most delicious treats.
19
Sheet Pan Sausage & Potatoes
Sheet pan meals had a huge moment a few years ago and I think it’s time to bring them back, especially when the sheet pan only has five ingredients. This sheet pan sausage and potatoes recipe from Averie Cooks is a great one to customize — make it spicy, add extra garlic, whatever you want — and can reheat beautifully for lunch the next day.
20
Pumpkin Cinnamon Rolls
Making a fancy breakfast, especially on the weekends, can take a lot of time and money and ingredients, but not this one. These five-ingredient pumpkin cinnamon rolls from The Comfort of Cooking are so easy and will fill your entire house with the best smells.
21
Potato & Corn Chowder
I love a hearty soup! This five-ingredient potato and corn chowder from The Modern Proper is so good and is full of so much stuff, honestly. Five ingredients is only five ingredients, but the way each of these ingredients works with the other makes for a super hearty and filling recipe.
22
Chili Cheese Dip
Whether you want a heavy appetizer or just a yummy side (maybe to go with those taquitos), try this chili cheese dip from Willow Bird Baking. Added bonus: it really only requires two ingredients.
These five-ingredient meals are perfect if you’re looking for some budget-friendly recipes or if you just want to make meal time a little bit easier for you and your family.