10 Tips to Finish Cooking for Shabbos (Even for a Crowd) Before Friday

10 Tips to Finish Cooking for Shabbos (Even for a Crowd) Before Friday

For all the 9-5 working ladies, you probably figured this one out already—but for those of you feeling the Friday rush, this one’s for you.

I’m a natural procrastinator, but I’ve hosted entire Shabbosim for 20+ people without ever cooking on Friday (minus the exception in #4). It can be done. Procrastination often stems from a fear of unknown, so if you have your menu and prep schedule planned ahead, it can take the fear out of how will I get this all done on time?! And even leave you with a freed-up Friday for a manicure or beach day—or a stress-free workday. 

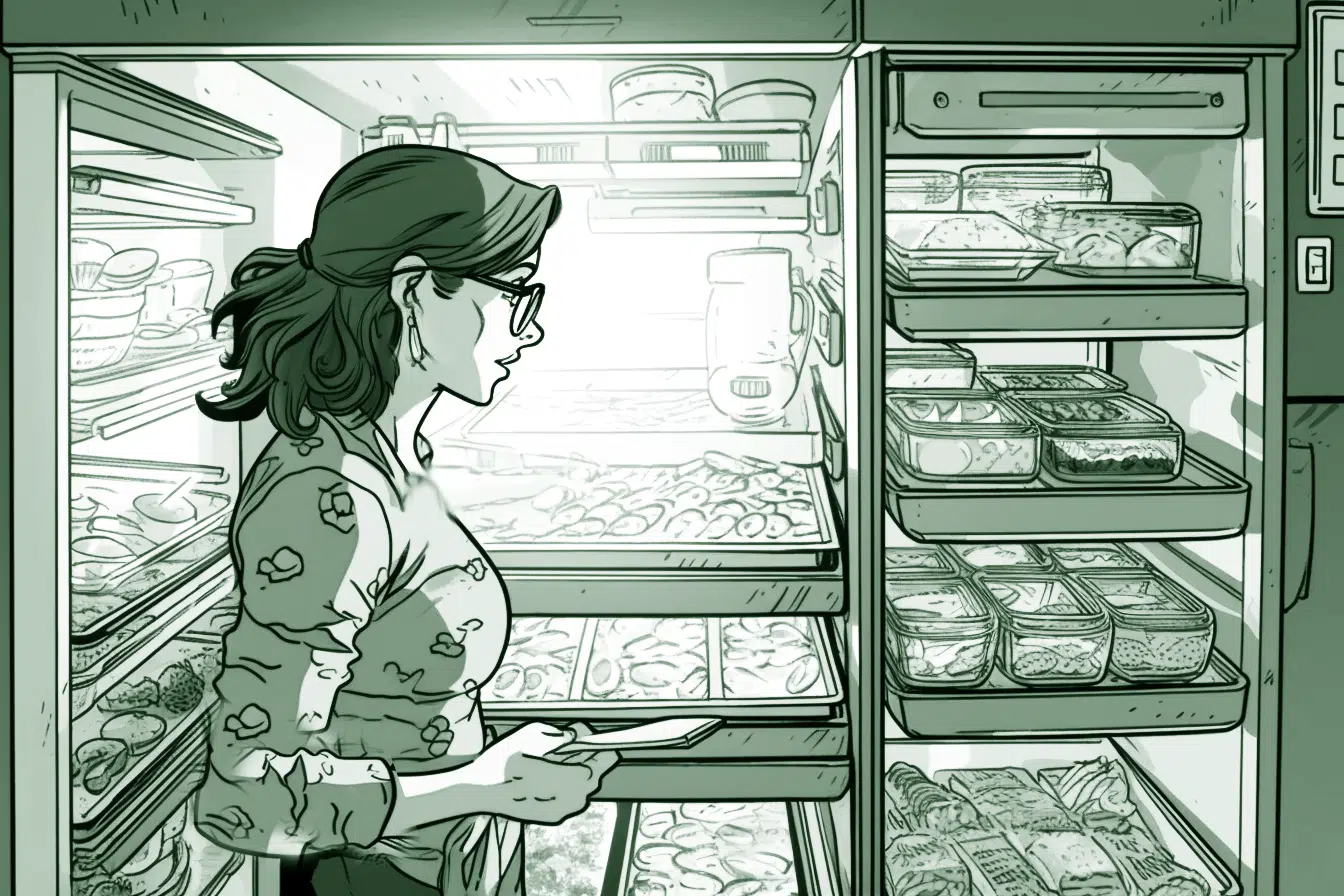
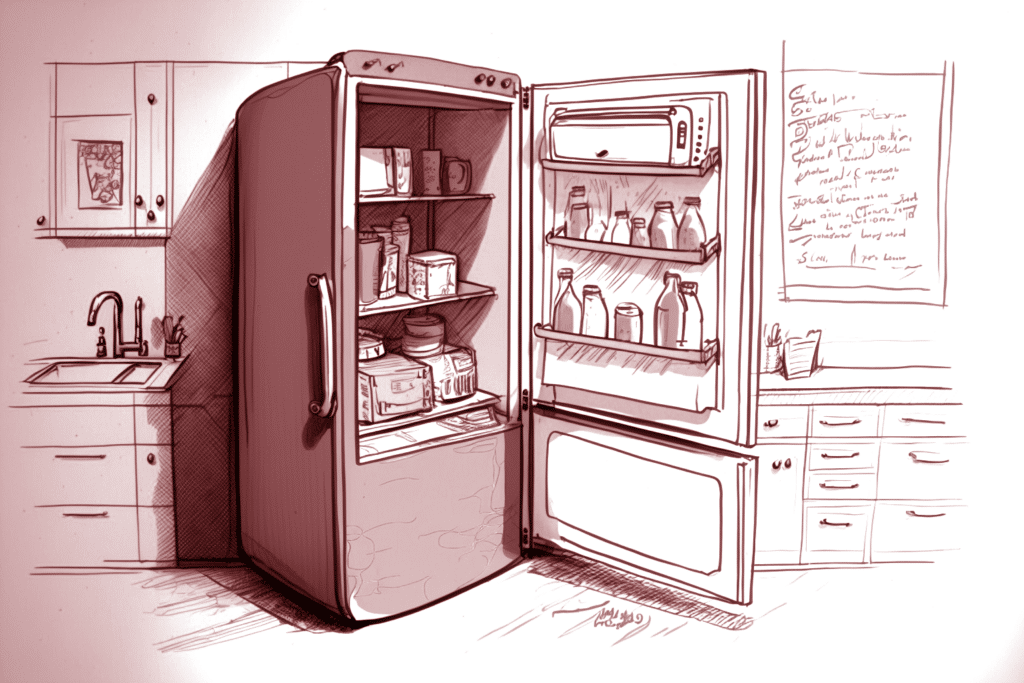
#1 The freezer is your friend

Get in the habit of making and freezing your key freezable Shabbos staples. Think: kugel, soup, slow roasted meats (brisket, ribs etc.—trust me, even picky eaters always compliment my frozen ribs more than when they’re fresh out of the oven- the flavors develop over time). 
#2 Shabbos cooking prep can begin as early as… Motzei Shabbos

Don’t associate Thursday or Friday as your Shabbos prep day, look at the whole week and make it work for you. If motzei shabbos or Sunday morning is free time for you, make your challah or dessert then and freeze. Dips, dressings, and toppings like pickled onions etc. can all be prepped and refrigerated up to a week (or 2! ahead). Have cleaning help on Mondays? Sunday night just became your new kugel night! Bring out all the mixers, food processors on Sunday evening or Monday morning…Yes, you can freeze it.

#3 Wednesday fresh is fresh enough- so cook ahead

I used to be super particular about making certain dishes as close as possible to Shabbos for maximum freshness, but guess what? If it’s not going from oven to table within 15 minutes– it’s pretty much all the same. It turns out those hot steaming veggies taste the same 4 hours later and when made the night before….and your deli roll doesn’t know the difference between being reheated on a hot plate 24 hours or 36 hours later…it just knows it was in the fridge and now ready to get heated up and crispy.

#4 Exception to the cook ahead tip: oven-ready prep

If you’re home or someone’s available to remove food from the oven on Fridays–do all prep work on Wednesday or Thursday and pop it in the oven Friday morning or before Shabbos with enough time to finish cooking. Think pre-marinated meats and pre-made cookie dough. 

Sometimes I’ll throw in a ready-to-cook dish at 7am and take it out by 9am before I need to leave the house. 

#5 Organize your food prep by like-minded tasks

For example: all veggies get cut the same time. If you’re making soup, roasting vegetables, prepping for a salad—those tasks happen together. Your cutting board, knife, and peeler are already out… get your soup veggies sweating in the pot and then move onto your roasted vegetables, even if you only plan to cook them the next day.

#6 Organize your cooking by oven temp times

Time your oven. I separate my cooking by oven temperature. If I’m roasting at 425, I do all my roasting in one shot. Even if it’s 2 batches– have all vegetables and roasted items ready on sheet pans waiting for a spot to open up. Then you’re not stuck waiting for your oven to be ready for that batter you just made. Or, for example, rice gets scheduled to be put in the same time as chicken (yes, in case you missed the memo, rice goes in the oven—it’s impossible to burn, easier to reheat, and no need to dirty an extra pot and transfer.)

#7 When pressed for time, skip patchkes. Roasted potatoes can replace kugel, baked goods are easy to replace with store bought or frozen dough.

In general, I don’t do much kugels, cakes, baked anything— I opt for lots of roasted vegetables that get used to top salads, rice, grains, along with fresh herbs (pre-checked for time saving), and sauces. But that’s a personal preference. 

#8 Have extra time one week— double or triple your recipes

6 sticks of margarine sounds like a lot…but you won’t feel that way when you have ready-to-bake homemade dessert 3 weeks in a row without the prep. (Be careful, some baked good recipes don’t triple well without adjusting the leavening agents and spices.)

#9 Prep your cholent on Thursday night 
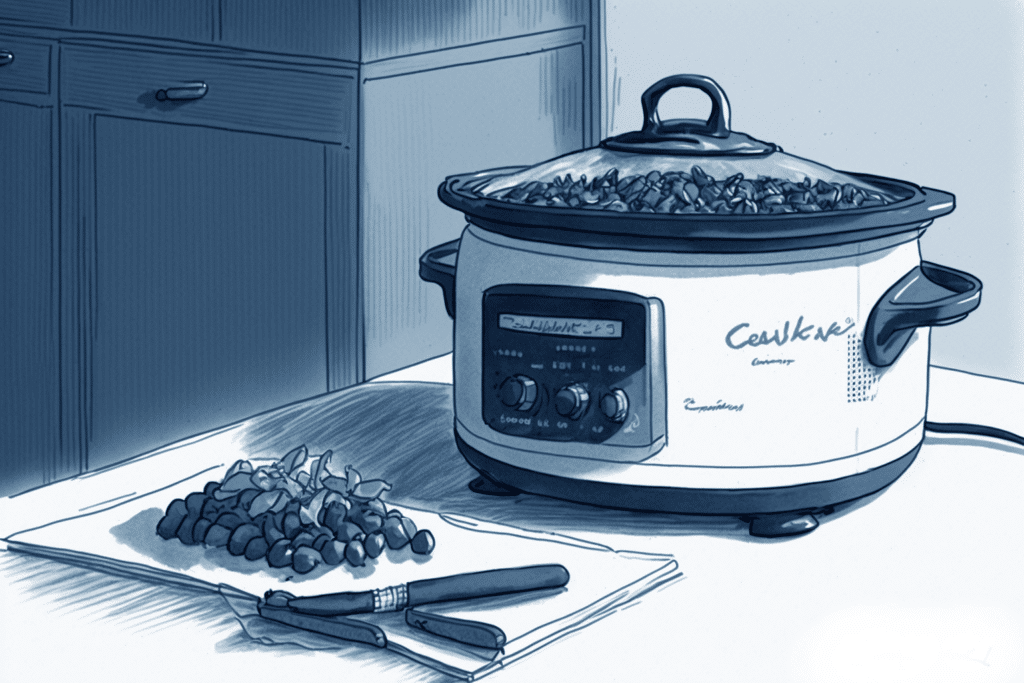
Refrigerate and just plug it in on Friday.  (Make sure potatoes are fully emerged in liquid so they don’t brown.)

#10 Outline your shopping/cooking schedule and stick to it

Don’t leave anything off your schedule, everything from garnishes to salad prep goes on the schedule. 

Something didn’t make it into production in its intended time slot—you may need to drop it or find something else to drop. 
Sample Schedule 

Here’s a menu if I’m cooking for a crowd and corresponding schedule (all 1st course & fish get repurposed for Shabbos lunch):

Menu

Challah

Dips (store bought)

Roasted Eggplant & Red onion herb mixture

Garlic & Tomato Confit

Crunchy Cabbage Salad

Balsamic Dill Salmon

Chicken Soup

Roasted Mini Potatoes & Pearl Onions

Crunchy Onion & Everything-Spice Topped Rice

Roasted Broccoli

Dry-Rubbed Ribs

Skillet Cookie Dessert (Dough pre-made frozen)

Cholent

Mini Pulled Rib & Avocado Tacos (Repurpose 3-4 ribs)

Roasted Vegetable Kale Salad

Potato Kugel-if needed, but it’s coming from the freezer

Sunday Make cookie dough & freeze (or have frozen from previous week)
Monday Salad Dressings (last all week) Pickled Onions for Tacos (last 2 weeks)
Tuesday Make Challah & Freeze
Wednesday Food/Fresh Produce Shop Chicken Soup- get this on early in the day or as part of dinner prep Cut/prep all vegetables for roasted vegetables, salad, dips, potatoes for cholent (soak in water) Cut red onions for fish &Red onion herb mixture for eggplant  Prep Garlic Tomato Confit for roasting
Thursday Prep Cholent& Rib Rub 6:30pm-7pm Bake Pre-made or frozen dessert dough 7pm| Bake Salmon& Covered Rice 7:30pm | Roast all vegetables: potatoes, broccoli, eggplant ramen/almonds for cole slaw 8:30pm | Bake ribs low for 1.5 hours same time as garlic confit-finish last hour or so in oven before Shabbos.
**Alternatively, throw in prepped ribs 7:30am-10am Friday morning
8:30pm Finish Active Cooking! 
Friday You time!

Outdoors with Luke: Luke shares outdoor cooking tips | Sports

Outdoors with Luke: Luke shares outdoor cooking tips | Sports

  If you’ve been reading my column the past couple weeks, you’ve seen my account of a successful turkey hunt on the famed Y.O. Ranch near Mountain Home down in the Texas Hill Country.

  As Mr. Paul Harvey used to say, this week, I’ll relate to you the “Rest of the story.”

  To me, a hunt or a fishing trip are not complete until I cook and enjoy a meal from my harvest from the woods or water. Through the years, I’ve learned a lot of different ways to cook fish and game from others and I’ve done a great deal of experimenting on my own. One of my favorite recipes I learned is from the late Bob Hood. Bob loved cooking with dutch kettles over campfire coals and we often prepared this dish for a noon-time meal after a successful quail hunt out in West Texas. The ingredients are pretty basic; a kettle full of quail, 1.5 sticks of butter, quail, 4 rows of Ritz Crackers and salt and pepper.

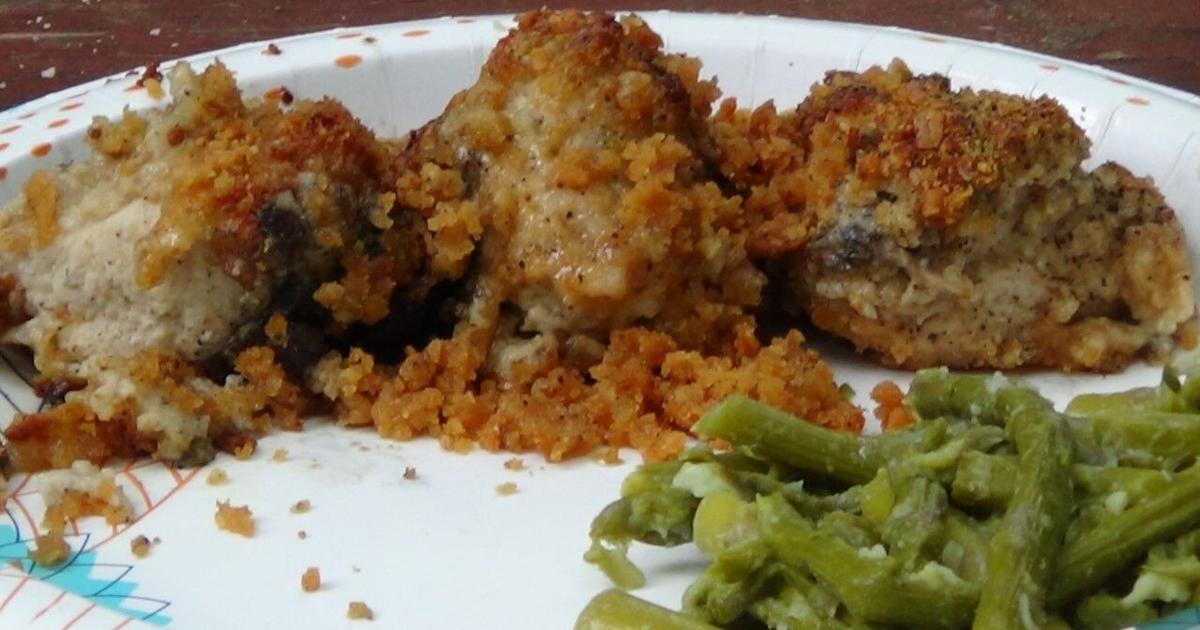
  After this recent turkey hunt, I decided to substitute the white meat from my gobbler for the quail Bob and I usually cooked. I cut the breast meat into pieces about the size of a quail, coated them with melted butter and then covered them with cracker meal. I do most of my campfire cooking in a big cast-iron skillet with lid and a #10 dutch kettle. The key to success with a dutch kettle is to make sure you do not get too much heat under the pot. A good rule of thumb is about 13 charcoal briquettes on top of the recessed lid and about seven or eight underneath. I usually cook with embers from the campfire but briquettes are much easier to work with until you learn how to gauge the heat. Of course, the amount of heat depends upon the ambient air temperature. When it’s freezing and windy outside, it obviously requires more heat to bring the kettle up to cooking temperature. When the air temperature is 70 degrees or more, the basic 13-above and 7-below formula works just fine.

  It’s important to have extra cracker meal to cover the pieces of breast meat; an ample amount of black pepper on top is a must! While the kettle is working its magic, rotate the lid with coals 180 degrees and pick up the entire kettle and turn it the opposite direction. This helps to distribute the heat and avoid hotspots. It takes somewhere around 40 minutes once the coals are placed on top but it’s a good idea to gingerly pull the lid after about 30 minutes for a check. 

  Cooking with cast iron over a campfire is a bit more challenging than setting the kitchen oven at the desired temperature and removing the finished product when the timer sounds but dutch kettle cooking is not rocket science.

  You will find that the aroma coming from that kettle will have your friends hovering just downwind with plates, fork and knives ready to dig in but give it about 40 minutes. Fight them off if you must! About two quail-size pieces of the turkey breast, covered with extra Ritz cracker crumbs is about right for the average person. Grilled asparagus is in season now and it makes a great side dish to this meal.

  Through the years, I have encountered a lot of turkey hunters that have no idea how to prepare the legs and thigh meat from wild turkeys. Wild turkey, unlike their domestic counterparts, have to use their “landing gear” for motivation while foraging for food, often traveling many miles each day. A wild turkey drumstick is extremely tough. I’ve seen guys try to grill them and it would take the teeth of a grizzly bear to chew the meat! With 10 or so tiny feather bones it can be a challenge to cook but years ago I learned from an old Mexican cook down on the border how to make the best fajitas out of wild turkey legs and thighs. The trick to tenderizing any cut of tough meat is slow cooking with moisture.

  I begin with placing the dark meat in heavy duty aluminum foil and coating with olive oil, then sprinkling with a generous amount of Fiesta Fajita seasoning. I use my Smokin Tex electric smoker set at 225 degrees for an hour to give the pieces plenty of smoke flavor; pecan wood is my favorite but hickory or any fruit wood also gives the meat a great flavor. After the pieces are smoked, add a bit more oil and just a little water or apple juice, then wrap tightly and allow to steam/bake for five or six hours. Make sure and check for doneness after four hours. I then hold the end of the drumsticks to keep the little feather bones intact and strip the meat away. The thigh meat will simply fall off the bone. I often freeze the smoked/seasoned meat and make fajitas later. If I’m at camp with friends, I toss the meat in a cast-iron skillet with a bit more seasoning, onions, bell pepper and onion and enjoy some very fresh camp fajitas. Wrapped in a hot flour tortilla and garnished with cilantro and a bit of picante sauce, these fajitas will rival those you enjoy at your favorite restaurant.

  Note: If you haven’t had a successful turkey season thus far, you can substitute chicken breast in either of these recipes or, for the dutch kettle recipe, cornish hens. Just make sure and have plenty of that Ritz cracker meal! You will thank me when you spoon a generous pile of the cracker meal on the dutch kettle baked fowl! And wrap five or six pieces of asparagus in bacon for the grill. The bacon bastes the asparagus while cooking and adds a great deal of flavor. You might want to dust it with a bit of garlic powder to add even more flavor!

  Contact outdoors writer Luke Clayton through his website www.catfishradio.org

I am a Gordon Ramsay’s Next Level Chef contestant- here are my secret tips and tricks for success on the cooking show

I am a Gordon Ramsay’s Next Level Chef contestant- here are my secret tips and tricks for success on the cooking show

OMI Hooper, whose still making it through season 2 of Gordon Ramsay’s Next Level Chef, gave her best tips and tricks for getting on the cooking show. 

Speaking exclusively with The U.S. Sun, Omi said anyone who hopes to be on Gordon’s fast-paced cooking show needs to remember it’s a game and it’s all about how you play it.

Omi Hopper is having a successful run on Next Level Chef and gave her tips & tricks for her time on the show

4

Omi Hopper is having a successful run on Next Level Chef and gave her tips & tricks for her time on the showCredit: The US Sun
Gordon Ramsay's show takes chefs and has them compete for a cash prize and a chance at a top-notch mentorship

4

Gordon Ramsay’s show takes chefs and has them compete for a cash prize and a chance at a top-notch mentorshipCredit: Not known, clear with picture desk

“I think that you have to look at the competition as a game. We are playing a game and it’s about who’s going to play it best,” she said of her time on Next Level Chef.

“You have to be aware of the time, you need to make sure that you are listening actively to the mentors.

“It’s $250,000, but it’s also a one-year mentorship by Gordon Ramsay, Nyesha Arrington and Richard Blais. 

“They want to know how coachable you are, they want to know how well are you listening on that floor as you’re cooking, and that will be very telling for them. 

I'm a Brit & visited Gordon Ramsay's Times Square fish & chip shop
This is how much TV chef Gordon Ramsay is REALLY worth

“They really want to know ‘Does this person have the potential or does this person already know it all and feel like they don’t need anything from us?’

“And I feel like that was probably the best advice that I even took for myself… remain a student at all times.”

Omi also opened up about the secret, surprising rules the contestants were given.

“The rules are to be yourself. The rules are straight out be yourself. 

Most read in Entertainment

“Please don’t try to make a scene for the cameras please don’t act out of character what got you here is you being yourself and please remain that way. 

“So they were constantly preaching that to us, like just forget that the cameras are here and just be yourself, and I felt like that liberated a lot of people from just being able to just be.”

THE MENTORS

Next Level Chef sees three mentors take talented chefs under their wings to compete in unique cooking challenges in hopes of finding the “food world’s newest superstar.”

Those mentors include Gordon Ramsey, Nayisha Arrington and Richard Blais.

Legendary British chef Gordon Ramsay is no stranger to the culinary world or television.

Since 1997, he has been awarded 17 Michelin stars overall across various restaurants and has been seen on several cooking shows, including Hell’s Kitchen, Kitchen Nightmares, and MasterChef.

When Ramsay is not working, he can often be found at home with his wife, Tana Ramsay, and their five kids.

Nyesha Arrington is a popular chef from California who began cooking at the age of five.

After graduating from the Art Institute of California in Los Angeles, she went on to open two restaurants- which have both been placed on Pulitzer Prize-winning critic Jonathan Gold’s iconic list of 101 Best Restaurants- and star on several cooking shows, including Top Chef and Guy’s Grocery Games.

Richard Blais is known as a chef, television personality, restaurateur, and author.

Over the years, he has been seen competing on several shows, including Top Chef and Top Chef: All-Stars, which he previously won.

When Blais is not in the kitchen, he can often be found at home, spending time with his wife, Jazmin Blais, and two kids.

How can I watch Next Level Chef?

Season 2 of Next Level Chef first premiered on February 12, 2023, and is already a hit among fans.

New episodes can be watched weekly on Fox, Thursdays at 8pm EST.

Madonna’s boxer boyfriend, Josh, 29, all smiles ahead of big NYC fight
Schumacher 'interview' shows how AI can be 'dangerously poisoned', warns expert

The show can also be streamed on Hulu with an active subscription.

This year, the contestants will be competing for the $250,000 grand prize and a one-year mentorship from the three chefs, according to Variety.

Omi was given an important rule for being on the show- contestants were told to just be themselves

4

Omi was given an important rule for being on the show- contestants were told to just be themselvesCredit: Getty
The show is in its second season and airs Thursdays at 8/7 central

4

The show is in its second season and airs Thursdays at 8/7 centralCredit: Getty

Mild Buffalo Sauce | Everyday Family Cooking

Mild Buffalo Sauce | Everyday Family Cooking

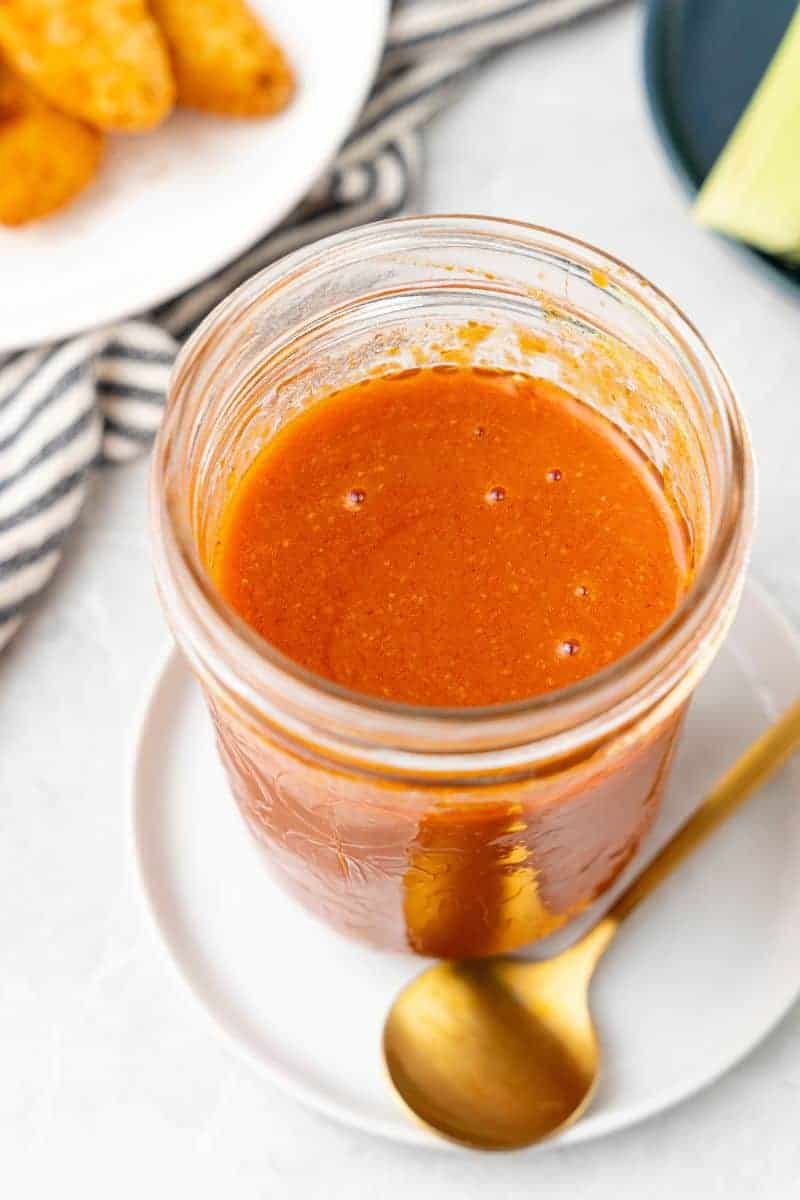
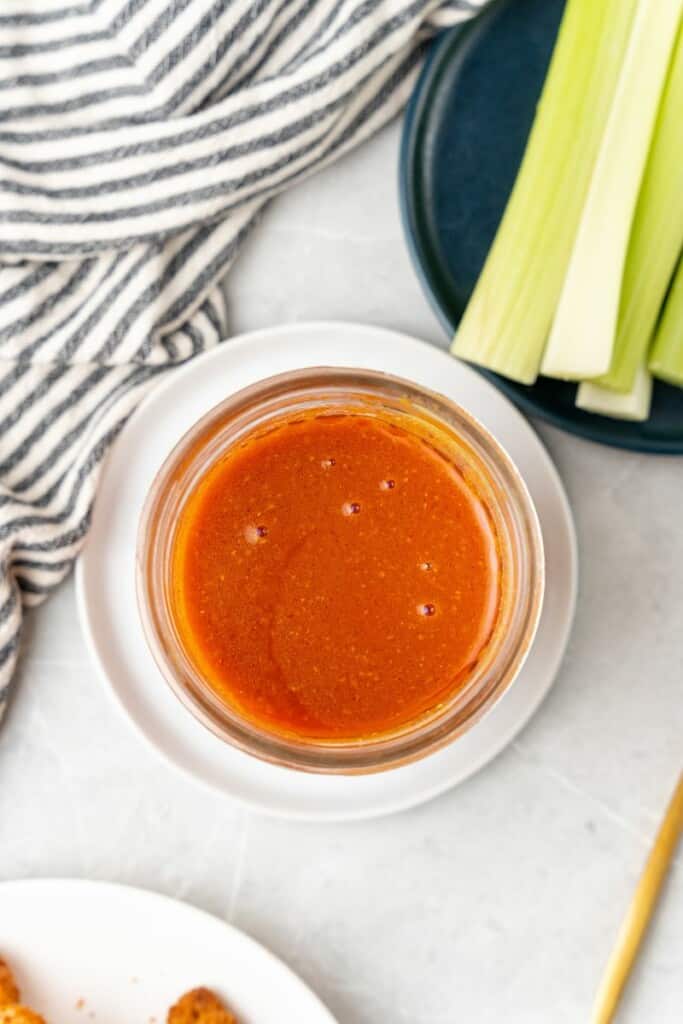
My mild Buffalo sauce is slightly spicy without being overpowering, thanks to the addition of sweet tomato sauce. It’s perfect for wings, dressings, sandwiches, and more and is ready in 10 minutes!

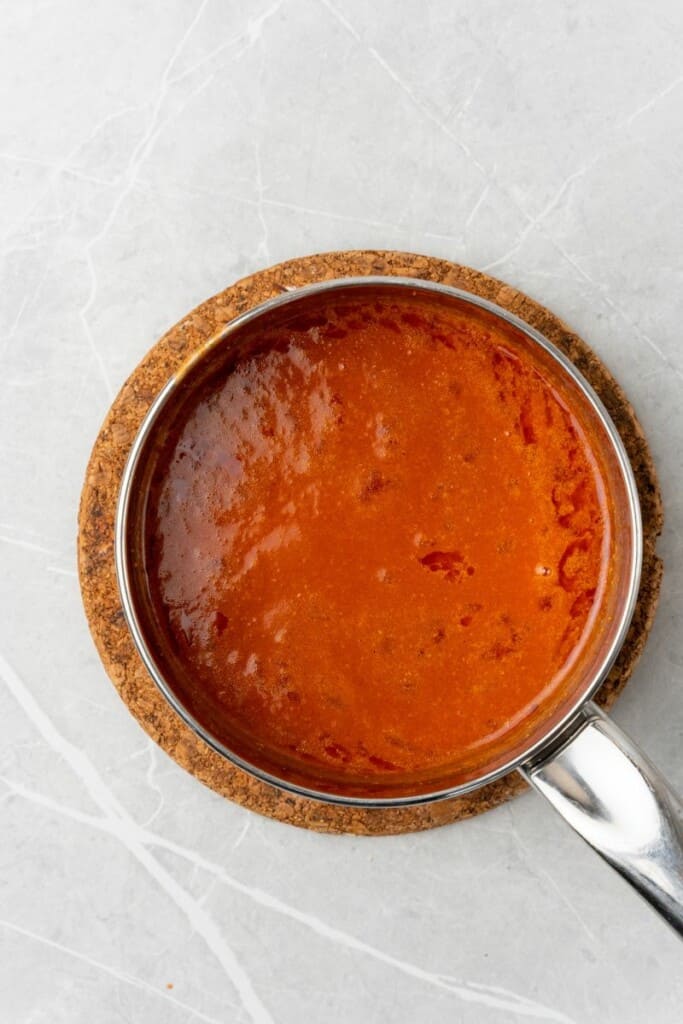
overhead shot of mild buffalo wing sauce

This post may contain affiliate links. If you click on a link and make a purchase, I may receive a small commission at no extra cost to you. For more information, please read my disclaimer.

Those who know me, know how much I love Buffalo sauce! I add it to pretty much any savory dish…from my morning eggs to my mid-day sandwich to my wings for dinner.

It’s spicy, tangy, and creamy and pairs well with so much.

Buffalo sauce was first created in Buffalo, New York, which is where it gets its name. Legend has it that restaurant owner Teressa Bellissimo came up with the sauce when preparing a snack for her son.

She fried up some chicken wings and then topped them with hot sauce, cayenne pepper, and butter. And so, Buffalo sauce was born.

My husband is from Buffalo, so it’s a staple in our meals!

Mild Buffalo sauce, mild Buffalo wing sauce…whatever you call it, I’ve got a really easy recipe that you can follow to make it from scratch.

Learn everything you need to know about how to make mild wing sauce below. 

In the meantime, know that it’s made with only 5 ingredients that you likely already have at home.

You’ll be able to enjoy the best mild Buffalo wings slathered in my mild buffalo wing sauce in no time! 

How to Make Mild Wing Sauce

A full printable version of this recipe with ingredient measurements is available at the bottom of this post.

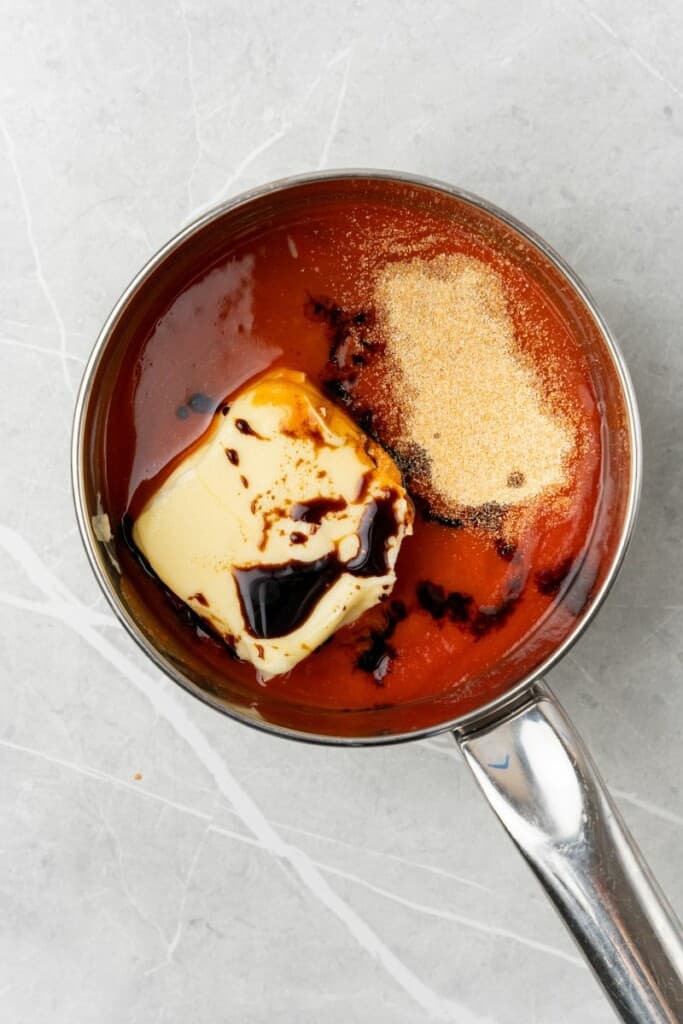
STEP ONE: Add the butter, Frank’s hot sauce, tomato sauce, garlic powder, and soy sauce to a small saucepan.

ingredients in a pan

STEP TWO: Heat over medium until the butter has melted and all of the ingredients are well combined. Make sure to stir often to prevent burning!

simmering mild buffalo sauce

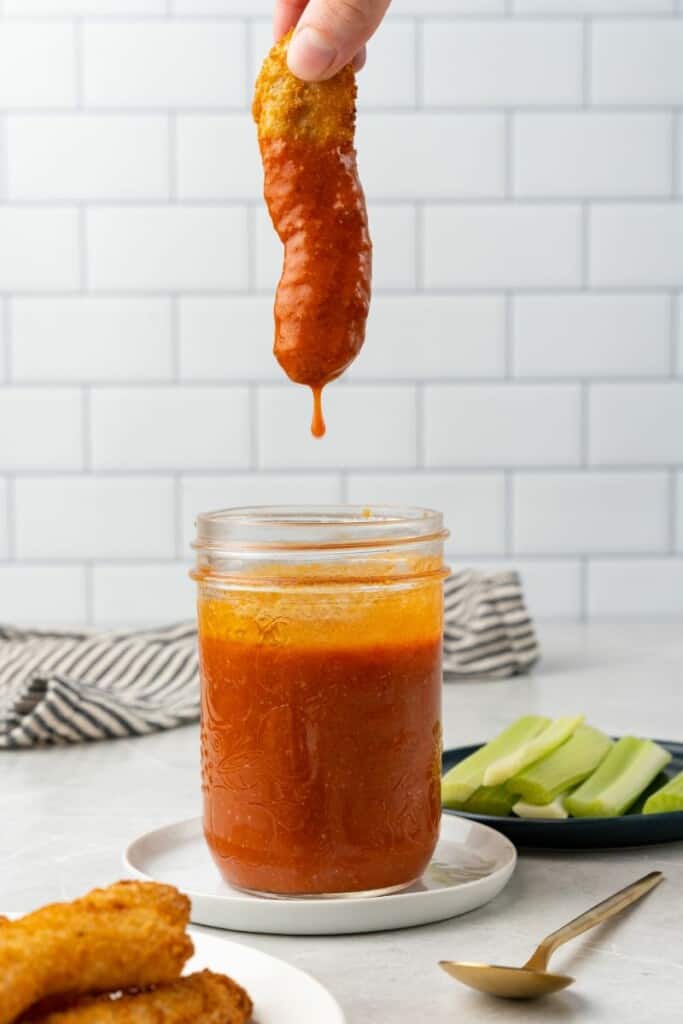
STEP THREE: Allow your mild Buffalo sauce to cool a bit before serving. This mild wing sauce recipe also works wonderfully as a dipping sauce or in a dressing!

What to Serve with Mild Buffalo Sauce From Scratch 

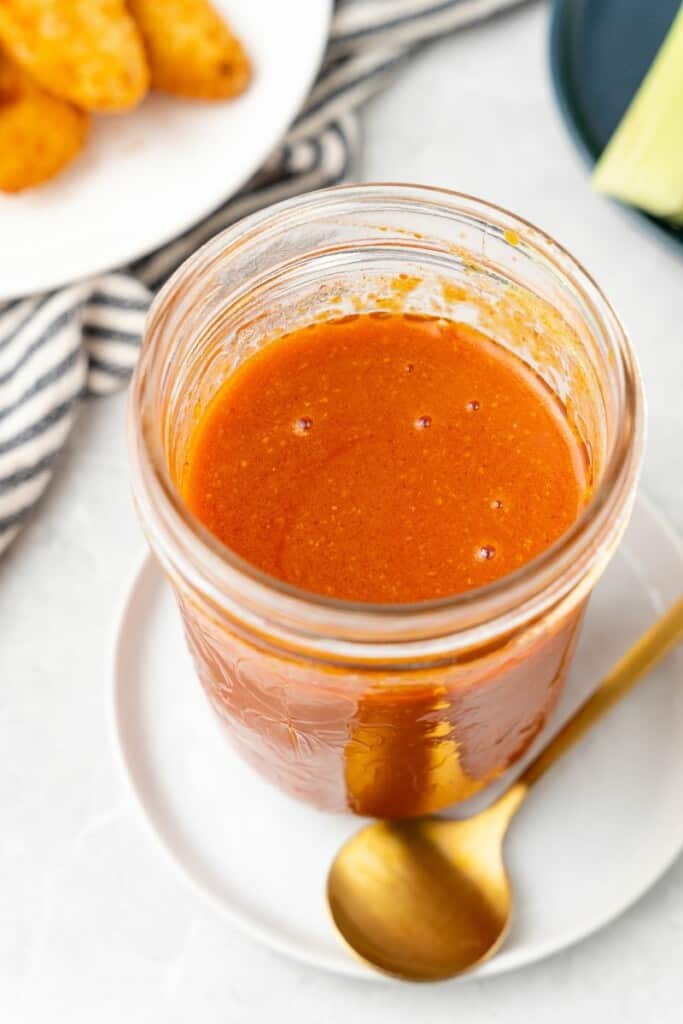
jar with mild buffalo sauce

Variations for This Mild Wing Sauce Recipe

  • Start with my buffalo sauce from scratch to save time. It already includes the extra ingredients like butter and seasonings so you’ll only have to add the tomato sauce.
  • Add some honey for more sweetness — you can try my honey buffalo sauce!
  • Serve alongside blue cheese and ranch sauce for more dipping options.
  • Use Worcestershire sauce, tamari, or coconut aminos instead of soy sauce.

What is Mild Buffalo Sauce Made Of?

My mild wing sauce recipe is made with Frank’s hot sauce, tomato sauce, soy sauce, garlic powder, and butter.

I find that the addition of sweet tomatoes does much to tone down the spice of the hot sauce. You’ll get all of the flavors without worrying about too much heat.

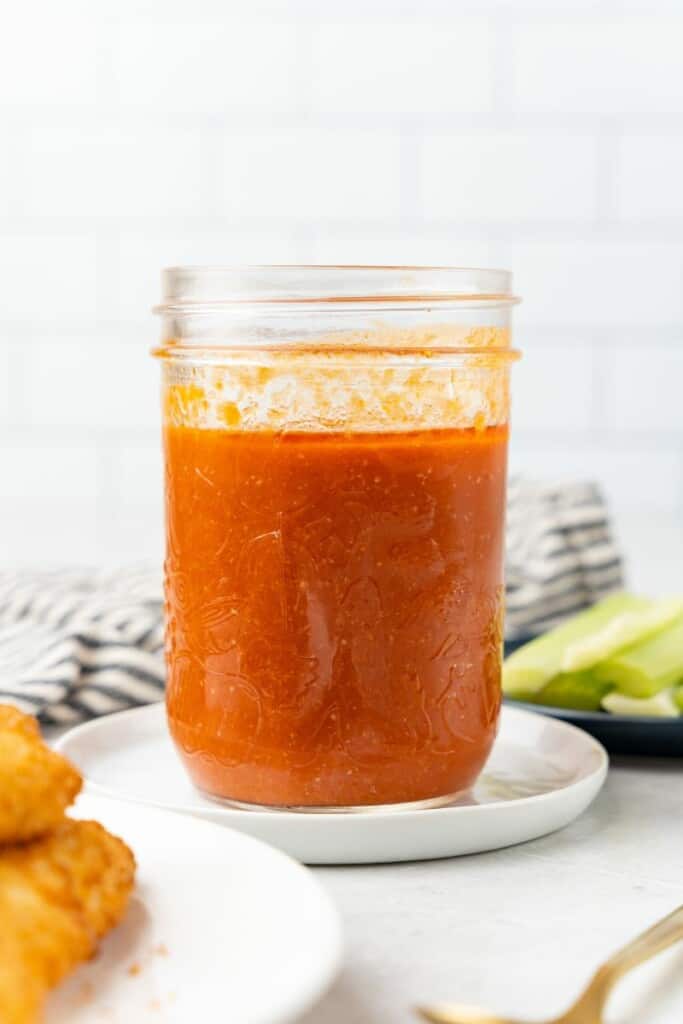
mild buffalo sauce in a jar

How Do You Mild Down Buffalo Sauce?

The key to mild sauce is in the butter and the tomato sauce. The added dairy takes away some of the spice, and the sweetness of the tomatoes balances out the heat.

I also recommend serving it with another dipping sauce, like ranch or blue cheese. Again, the dairy takes away the heat but leaves the flavor!

Is Buffalo Sauce the Same as Mild?

Traditional Buffalo sauce is considered to be moderately spicy. It’s tangy and creamy thanks to the addition of butter.

I would say that Buffalo is medium in terms of spice level, which is higher than mild.

That’s why I wanted to create this mild wing sauce recipe for those who find Buffalo too hot.

jar with mild wing sauce

Is Buffalo Sauce Always Spicy?

No, and my mild Buffalo sauce is proof! Yes, this condiment is slightly spicy, but the tomato sauce and butter do a great job of tampering with the heat.

You’ll be able to make mild wings easily and quickly with the addition of my mild sauce!

Other Buffalo Recipes You’ll Love:

More Sauce Recipes

purchase my cookbook here!

Prep Time
5 minutes

Total Time
5 minutes

Ingredients

  • ½ cup butter
  • ½ cup franks hot sauce
  • ½ cup smooth tomato sauce (a sweeter one works best)
  • 1 teaspoon garlic powder
  • ½ teaspoon soy sauce

Instructions

  1. In a small saucepan, add the butter, franks, tomato sauce, garlic powder, and soy sauce and heat over medium heat, stirring often, until the butter has melted and all ingredients are mixed well
  2. Allow to cool slightly before serving; works great as a dipping sauce or for wings!

Nutrition Information:

Yield:

8

Serving Size:

1

Amount Per Serving:
Calories: 108Total Fat: 12gSaturated Fat: 7gTrans Fat: 0gUnsaturated Fat: 3gCholesterol: 31mgSodium: 559mgCarbohydrates: 1gFiber: 0gSugar: 1gProtein: 0g

This nutrition information is based on the exact products I used in this recipe. Brands and sizes of products could alter exact nutrition and should always be calculated independently.


Did you make this recipe?

Share a photo on Instagram tagging @EverydayFamilyCooking! I love to see your pictures!

Tips For Barbecue Cooking While on Charter

Tips For Barbecue Cooking While on Charter
Grilling on a boat
The grill is a system like any others on a boat. It needs to be used and maintained safely.  
LightItUp/stock.Adobe.com

Special delivery: Sign up for the free Cruising World email newsletter. Subscribe to Cruising World magazine for $29 for 1 year and receive 3 bonus digital issues.

No question about it: Bareboat charters and hamburgers go together. Most bareboats have a barbecue grill in the cockpit (they’re scarce in Europe, so check first), and grilling is perfect for no-fuss dinners that keep galley time to a minimum and let you to enjoy the sunset outdoors.

But the grill is a system like any others on a boat. It needs to be used and maintained safely.  

For starters, spend as much time having the check-out crew show you how to operate the grill as they do showing you the engine. Nearly every charter company has done away with charcoal (oh, the horror of live coals!) in favor of propane. Before you leave the check-out dock, have them light the grill to make sure it heats properly, and be sure you have enough propane for the duration of your adventure. Make sure the grill is bolted solidly to the rail so that you don’t feed dinner to the fishies. Also ask if any marinas in your planned cruising area prohibit grill usage; some have safety rules at the dock.

Barbecuing aboard is far different from grilling at home. Your backyard isn’t rolling with passing wakes, and you likely have no stray lines near the home grill, let alone a Bimini top. Safety for the crew and boat is your first concern, followed by perfect burgers, steaks or fish. Never—ever—try to grill while the boat is underway. That’s just asking for trouble. And if you have a flare-up (did you remember to trim all the excess fat from the meat?), a spray bottle with water can knock down the flame. On many grills, simply closing the lid will put out any flares.

Every grill has its own personality, with hot spots, cold spots, being fast or slow to heat, or just plain being cantankerous. Unless you bring a mitt, potholders, a meat thermometer and tongs, you should not expect to find them on board. 

While many propane grills have temperature gauges, trust me on this: You can’t trust them. Better to use the “Mississippi test.” Hold your hand 3 to 4 inches above the hot grill and count one Mississippi… two Mississippi…. Two to three Mississippis before you have to remove your hand is high temp for burgers. Medium is three to four Mississippis, and low heat is six to 10. Propane barbecues should be heated long enough so that the meat sears when it’s placed on the grill.

Want to start a fight? Ask people whether meat should be flipped during cooking. Some chefs say you should flip meat at least twice so that the sear will keep the juices inside and the food won’t end up welded to the grill. But flipping continually is also the easiest way to create a dry burger or steak. If you think something is cooking too fast, just move it to the outside of the grill, where the heat is lower. 

shrimp and scallops being grilled on a boat
There’s nothing quite as enjoyable as the smell of fresh fare sizzling on a grill while watching the sunset in your own semiprivate “backyard” in the BVI.
Andrew Parkinson

Burgers have a tendency to grow upward as they cook, and some chefs try to smash them flat with a spatula. No! Goodbye, juices. Instead, pat them gently. Don’t make them too thin. Make a little dent in the center of each patty before you start grilling, and the problem is solved. That dent also gives you a spot to add some zip with a splash of Worcestershire sauce, which soaks in quickly and gives a distinctive flavor.  

After placing food on the grill, close the lid to circulate the heat evenly—but never leave the grill unattended. Don’t get sucked into watching another boat trying to anchor, or go to fix yourself something rummy and cold.  

And with burgers, don’t forget the bun. It’s hard to beat fresh-from-a-Bahamas-bakery buns. Lightly coat them with butter on the grill side, and watch them like a hawk so that they don’t turn to charcoal. French brioche buns with high egg/butter content are delish, as are toasted onion rolls.

Want to start another fight? Ask someone about seasonings. For burgers, we’ve been successful with a little Kosher or sea salt, ground black pepper, perhaps a dash of garlic powder, all rubbed gently into the meat before grilling. My wife swears by Cavender’s Greek seasoning, which is a good substitute for salt and pepper. Bring it with you because it’s not available everywhere.  

Don’t stop at grilling burgers or steaks. Throw some veggies on the barbie too. Grilled fruit is the new dessert. Grilled watermelon or pineapple is a delight. Brush slices lightly with olive oil, grill for five to six minutes, and turn once. Yum. The same goes for grilled onions or peppers (seasoned with herbs). Or brush peach slices with amaretto, grill two minutes a side, and serve with whipped cream. Mmm. 

As for how long to keep all these things on the grill, the correct answer is: not too long. Grill heat, burger thickness, a breeze blowing—these all affect the cooking time. Instead of using a stopwatch, look for the burger to get juicy or “sweat” on top. At that point, flip the patty, check the time, and cook one or two minutes less than the first side. Cheeseburgers? Add the cheese with about two minutes to go, and close the lid to melt the cheese. 

One last warning: A barbecue takes surprisingly long to cool off, so keep fingers, kids and canvas items far away until it is truly cold. Pay attention to your barbecue and grill safety, and you’ll find yourself humming Jimmy Buffett’s “Cheeseburger in Paradise.”

Cajun Corn on the Cob

Cajun Corn on the Cob

Get ready for that smoky, spicy street corn flavor in a matter of minutes! Whether you are preparing for your next barbeque or simply making a weeknight dinner, this Cajun corn on the cob recipe is a keeper.

ready to serve cajun corn

This post may contain affiliate links. If you click on a link and make a purchase, I may receive a small commission at no extra cost to you. For more information, please read my disclaimer.

This recipe features boiled corn but will also work with corn that has been roasted, grilled, or cooked in the air fryer.

I find boiled corn on the cob the simplest when I am interested in saving time but feel free to use whichever method suits you. 

The important part is that sumptuous swirl of creamy butter and spicy goodness melting together between those plump yellow kernels. My opinion, of course, but I’m not wrong!

However, if you do choose to make grilled or roasted cajun corn on the cob, get ready for an added bonus.

The taste of slightly charred kernels mixed with creamy butter and spicy seasoning is out of this world!

ingredients for cajun corn on the cob

How to Make Cajun Corn on the Cob

A full printable version of this recipe with ingredient measurements is available at the bottom of this post.

STEP ONE: Place a large pot of water on the stove. Add salt and bring it to a boil. 

corn in water

STEP TWO: Being sure not to splash, carefully add the ears of corn to the boiling water. Boil for about 5 minutes, or until tender and bright yellow. 

STEP THREE: In a small bowl, combine the butter and Cajun seasoning and melt together. 

cajun sauce

STEP FOUR: Transfer the corn to a serving platter. Using a brush, coat the corn with the butter mixture. Add a squeeze of fresh lime juice and a sprinkling of parsley if desired. 

STEP FIVE: Serve warm and enjoy!

platter with cajun corn on the cob

Variations for Cajun Corn on the Cob

There is more than one way to get perfectly seasoned corn on the cob.

Follow this easy recipe for boiled Cajun corn or mix it up with one of these scrumptious suggestions.

  • For an extra authentic street corn flavor, try topping it with a mayo-sour cream spread, cotija cheese, and fresh cilantro. 
  • If spicy seasoned corn on the cob isn’t your thing, try out another seasoning blend like Italian, curry, garlic, or simple salt and pepper. 
  • Sprinkle on parmesan, asiago, feta, or your favorite cheese. 
  • Try adding a drizzle of honey or sugar for a uniquely spicy-sweet and savory treat. 
  • Switch out the butter for an herb-infused butter or a simple touch of mayonnaise. 

What to Serve With Cajun Corn on the Cob

You can enjoy your Cajun corn on the cob with just about any kind of meat or side dish out there. I recommend incorporating Cajun corn into your next fish fry or family bbq. 

Pair it with chicken, burgers, steak, or any of these other potluck-appropriate dishes:

closeup of corn on the cob

Should Corn Be Started in Cold Water?

You should start your pot of water and allow it to come to a boil first, before adding the ears of corn.

If you have trouble remembering which veggies go should go into cold vs. already boiling water, try this trick:

  • Above ground vegetables such as peas, beans, corn, etc. should be added to already boiling water. 
  • Vegetables that grow under the ground such as root vegetables like potatoes, are fine to start in cold water. 

Should I Soak Corn Corn on the Cob in Water?

No. For this boiled corn on the cob recipe, you do not need to soak the ears of corn in water before cooking. 

In fact, you don’t technically need to soak corn on the cob before grilling or air frying either. 

However, this changes if you are planning on grilling or roasting your ears with the husks on.

In that case, give them a nice water soak prior to cooking to prevent the husks from catching fire. 

cajun corn with a bite out of it

Can You Overcook Boiled Corn on the Cob?

Yes! You can overcook your Cajun corn, so be careful. 

Once the ears of corn go into the boiling water, it only takes about 4-5 minutes for the process to complete.

You’ll see the corn plumping up, looking more tender, and taking on a much brighter yellow hue. 

If the corn remains in the boiling water for too long, its starches will begin to absorb an excessive amount of water.

This will dissolve the pectin and render your corn soggy and mushy. 

Other Side Dish Recipes You’ll Love:

purchase my cookbook here!

Prep Time
5 minutes

Cook Time
5 minutes

Total Time
5 minutes

Ingredients

  • 6 cobs corn, husk and silks removed
  • 3 tablespoons butter
  • 1 tablespoon cajun seasoning
  • 1 lime, sliced into wedges
  • Minced parsley or cilantro (optional)

Instructions

  1. Bring a large pot of salted water to a boil, then carefully add the corn on the cob and boil 5 minutes, or until bright yellow and tender.
  2. Meanwhile, melt the butter and cajun seasoning together (using the microwave takes about 45 seconds).
  3. Carefully remove the corn to a serving platter, then brush with the butter mixture, squeeze some lime juice on top, then sprinkle with parsley if desired.
  4. Serve warm.

Nutrition Information:

Yield:

6

Serving Size:

1

Amount Per Serving:
Calories: 155Total Fat: 7gSaturated Fat: 4gTrans Fat: 0gUnsaturated Fat: 3gCholesterol: 15mgSodium: 589mgCarbohydrates: 23gFiber: 3gSugar: 5gProtein: 4g

This nutrition information is based on the exact products I used in this recipe. Brands and sizes of products could alter exact nutrition and should always be calculated independently.


Did you make this recipe?

Share a photo on Instagram tagging @EverydayFamilyCooking! I love to see your pictures!